Saturday Stamping with Jo Ann: Under the Sea
This post was originally seen on the Honey Bee Stamp Blog on 9/16/17. It is being added to my personal blog so that it can be archived. Enjoy!
……….
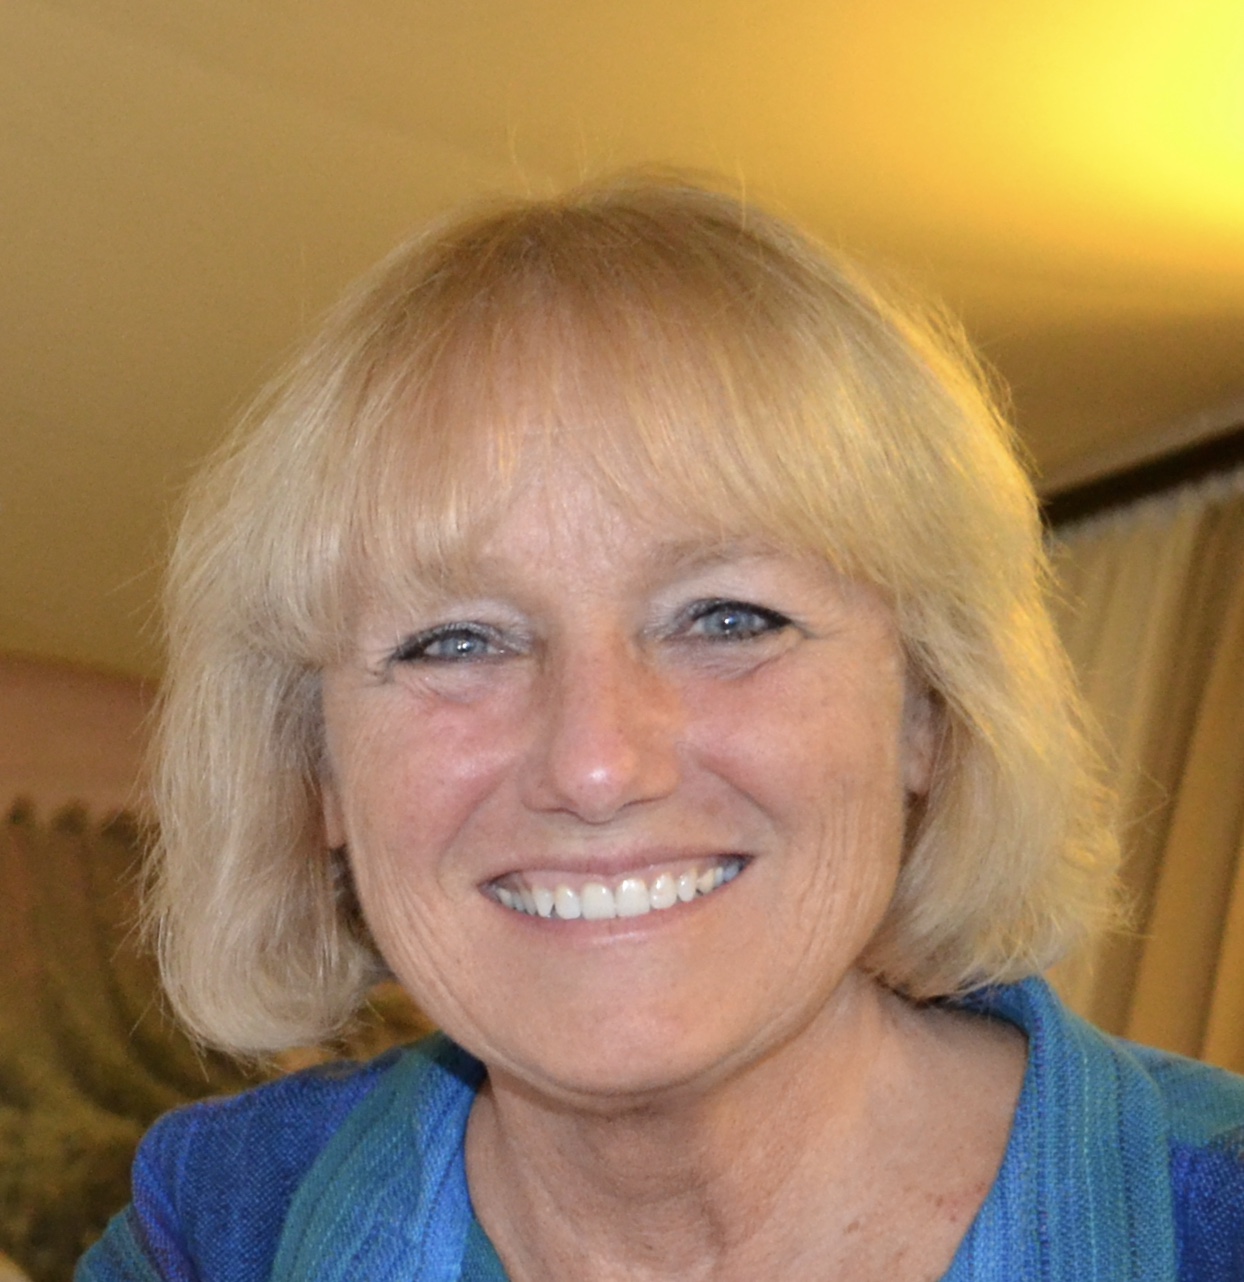
Hi…my name is Jo Ann Danchik and I am thrilled and honored to be a guest today on the Honeybee Stamp blog! I have had a lot of fun playing with the many stamps, dies, and stencils from the “Under The Sea” July release.
……….
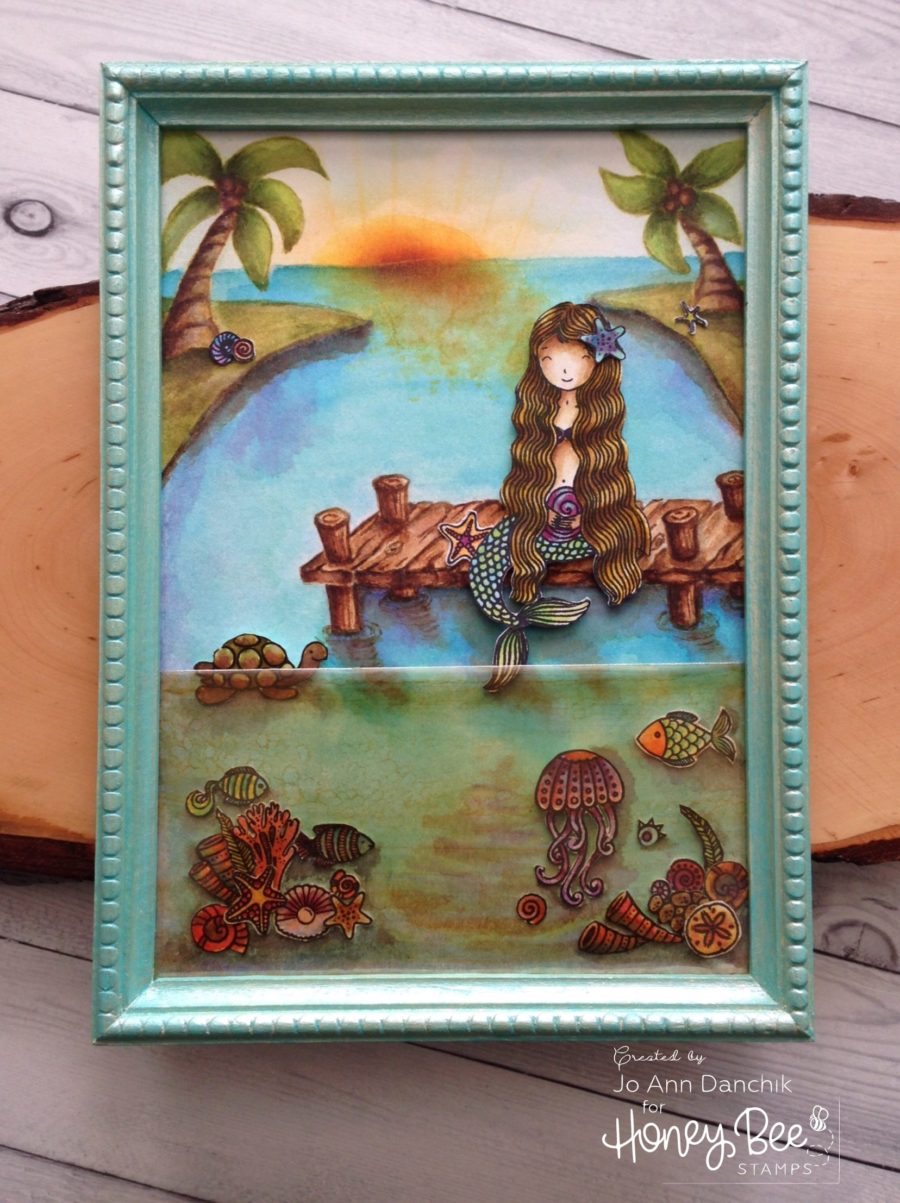
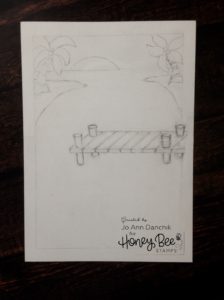
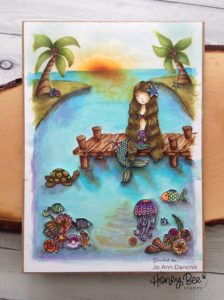
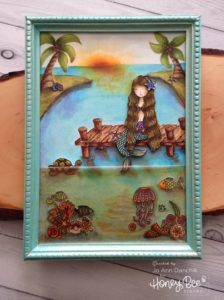
Today’s project started with the Ocean Bliss mermaid. I traced the inside of the coordinating die onto a thin piece of copy paper. I knew that I wanted to put the mermaid on a dock, so I drew one around her. Drawing is not a skill set that I have been blessed with but I have been branching out lately and trying my hand at small bits and pieces to add to whatever scene I am creating. A dock really only involves some simple straight lines. Given enough time…and an ample eraser…anybody can do it! 🙂
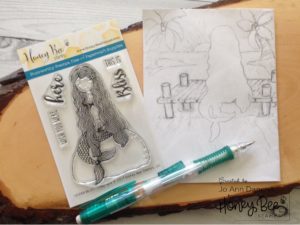
As my idea evolved I came to the realization that a regular card front would be a tight fit. Using a light box, I traced my initial sketch onto a 6 1/2” x 8 3/4” piece of Ranger watercolor paper.
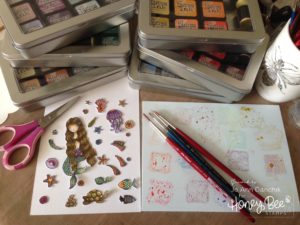
I stamped the Mermaid from the Ocean Bliss set, the turtle from the Swimming By set, and various shells, fish, and coral from the Message In A Bottle and the Zen Ocean sets. All the images were watercolored using Tim Holtz’s Distress Inks. I’m not a fan of fussy cutting, that’s why I buy the coordinating dies, but I knew that I would have to hand cut the pieces from the Zen Ocean image. I wanted all the pieces to match so I fussy cut everything to avoid the white outlines.
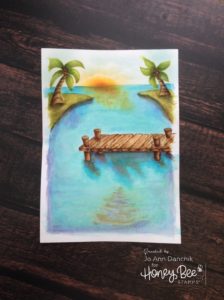
Using the same inks, I watercolored the background scene. I added sun rays and a reflection in the water using a sponge dauber and the Narrow Light Rays and Water Light Reflection stencils from the Ocean Scene Builder stencil set. A larger reflection was added, at the bottom of the scene, using the same stencil. With the Cloud Borders dies, I cut several different edges into a piece of heavy cardstock. Using different parts of these edges, and another sponge dauber, I created a sky with puffy clouds.
After glueing the background to a large Tim Holtz Idea-ology Framed Panel, I added the Mermaid, turtle, shells, fish, and coral with liquid adhesive. Some pieces were given dimension with foam tape. I added cast shadows around them with my watercolors.
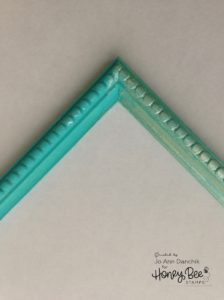
Next, I painted the outside frame with Caribbean Seas chalk acrylic paint from Paper Artsy (left). When it dried, I added a layer of ‘Mother of Pearl’ Nuvo Embellishments Mousse for a beautiful sheen (right).
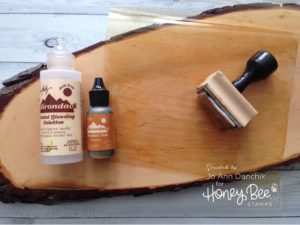
I was wracking my brain for a way to give everything an underwater look…without a lot of extra painting and shading! I remembered a technique that I had used on an earlier piece to age a glass bottle. Using a piece of thin plastic packaging, from a stamp set, I cut off the top and bottom and slit open one long side. With an applicator tool, and Tim Holtz’s ‘Caramel’ Alcohol Ink, I lightly sponged color on half of the plastic. If it gets too dark you can remove some color with Blending Solution. The blending solution also helps to create streaks and bubbles.
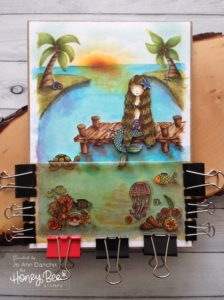
I glued the plastic edges shut on three sides, trapping the ink inside. With the fold at the top, the sides and bottom were glued to the background using Ranger’s Glossy Accents. I used clamps to keep it taut while the glue dried.
To finish the piece, the frame was added with more Glossy Accents and set aside to dry.
Thank you for sharing your time with me.
Joyfully, Jo Ann

