Honey Bee Sneak Peek Day One: Mr. & Mrs.
It’s Release Week at Honey Bee Stamps. This is Day One of the 2018 Spring Release Sneak Peeks. This release is HUGE! Be sure to visit the Honey Bee Stamp Blog to see what the other DT members have created.
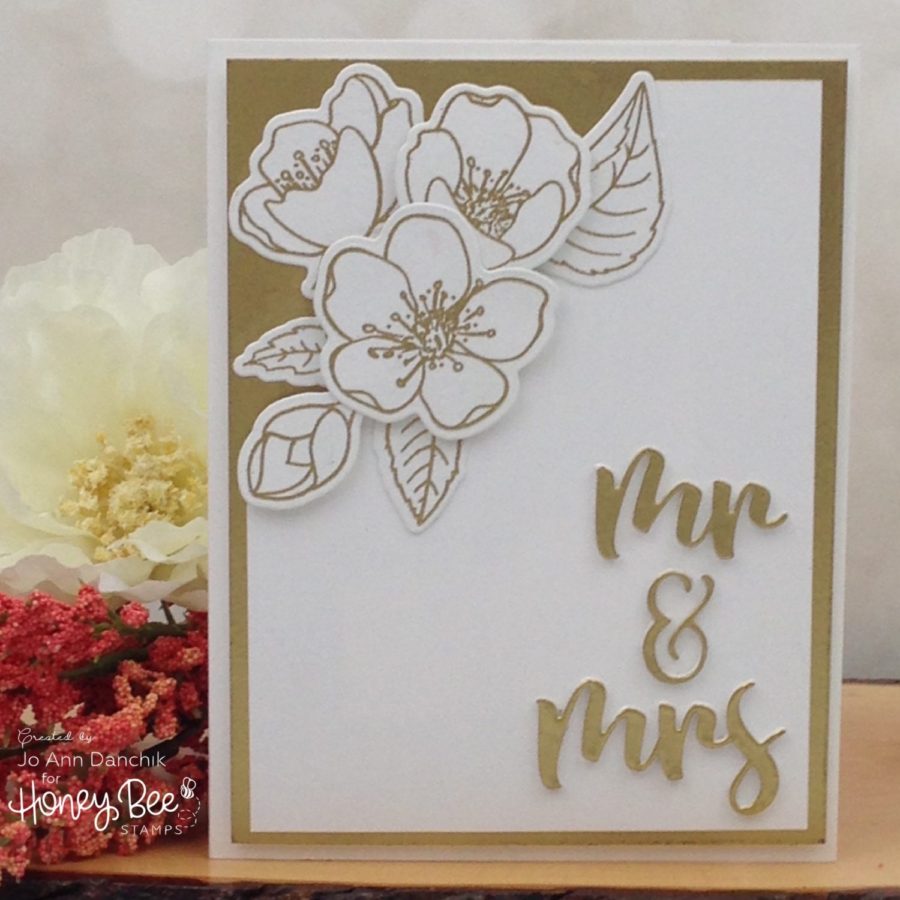
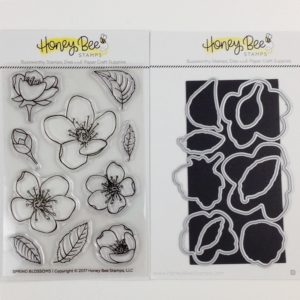
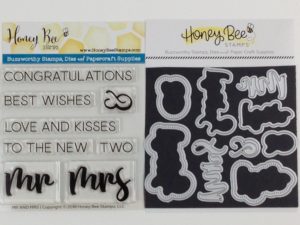
I am using two of the new sets today, the Spring Blossoms Stamp Set (10 stamps) with the Coordinating Die Set (10 dies), and the Mr & Mrs Stamp Set (7 sentiment stamps) with the Mr & Mrs. Coordinating Die Set (9 dies, including shadow dies). You can use them alone or mix and match them to come up with your own expressions.
(Compensated affiliate links are used with NO cost to you. Products highlighted in teal are active links. All the supplies used are also linked to multiple shops at the end of the post. Thank you for your support!)
____________________
Wedding season is upon us and these two sets pair beautifully for a quick and easy card. It would also work beautifully for Anniversaries. I made this card in about an hour, and that included stopping to take pictures!
____________________
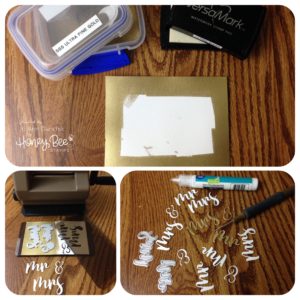
I stamped a variety of flowers and leaves onto Tim Holtz Watercolor Cardstock. It had been my intention to watercolor the flowers but I loved the simple elegance of white and gold and left them plain. (Because this watercolor cardstock is white I did not have to restamp them onto regular cardstock!) I prepped the paper first with the Embossing Magic Powder Tool and stamped with Versamark Ink. I added Simon Says Stamp Ultra Fine Gold Embossing Powder and heat set it with a heat gun. I never grow tired of watching the powder melt! 🙂 They were cut out using the coordinating dies.
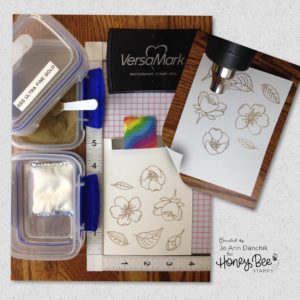
I cut a piece of #80 Neenah Classic cardstock to 5 1/4” x 4”. To create a matching border I edged it with Versamark Ink and embossed it with the same gold powder. I repeated this process with a small scrap of paper. I die cut the Mr & Mrs three times from white cardstock and once from the gold embossed scrap. The Tim Holtz Die Pick Tool came in handy for releasing the small pieces from the dies. They were stacked and glued using a Lawn Fawn Glue Pen. I have been using this glue a lot and really like it!
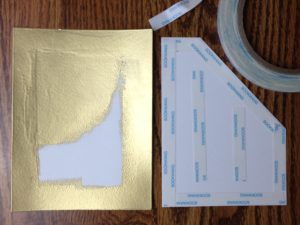
I cut another piece of #80 cardstock to 5” x 3 3/4”. I decided to cut an angle out from the top left. I loosely arranged the flowers and words, marked about where I wanted it to go, and cut it. I then had to go back and add a bit more gold embossing. I added 1/4” Scor Tape to the back. I wanted to make sure that it would stick to the slick gold embossed layer. As you can see, I have no problem changing my mind in the middle of a card! LOL
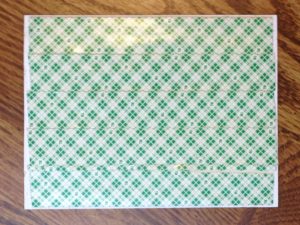
I covered the back of the gold panel with Scotch Foam Tape to give the card some dimension. Yes, I overtape…but I don’t want the card to bend or sag in the mail. The panel was added to a #110 Neenah Classic cardstock card base.
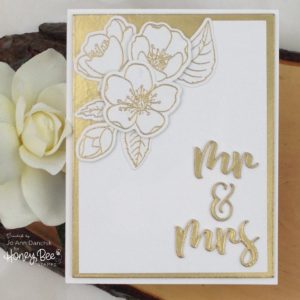
The sentiment, flowers, and leaves were added using more of the Lawn Fawn Glue Pen. Some of the flowers had Scotch Foam Tape behind them to add depth.
Thanks for joining me today. Be sure to check back each day for more sneak peeks of the new release. I will also be part of the Day One New Release Blog Hop May 1st, at 7:00 am CDT, where you will be able to find more inspiration.
Joyfully,
Jo Ann
Supplies used:
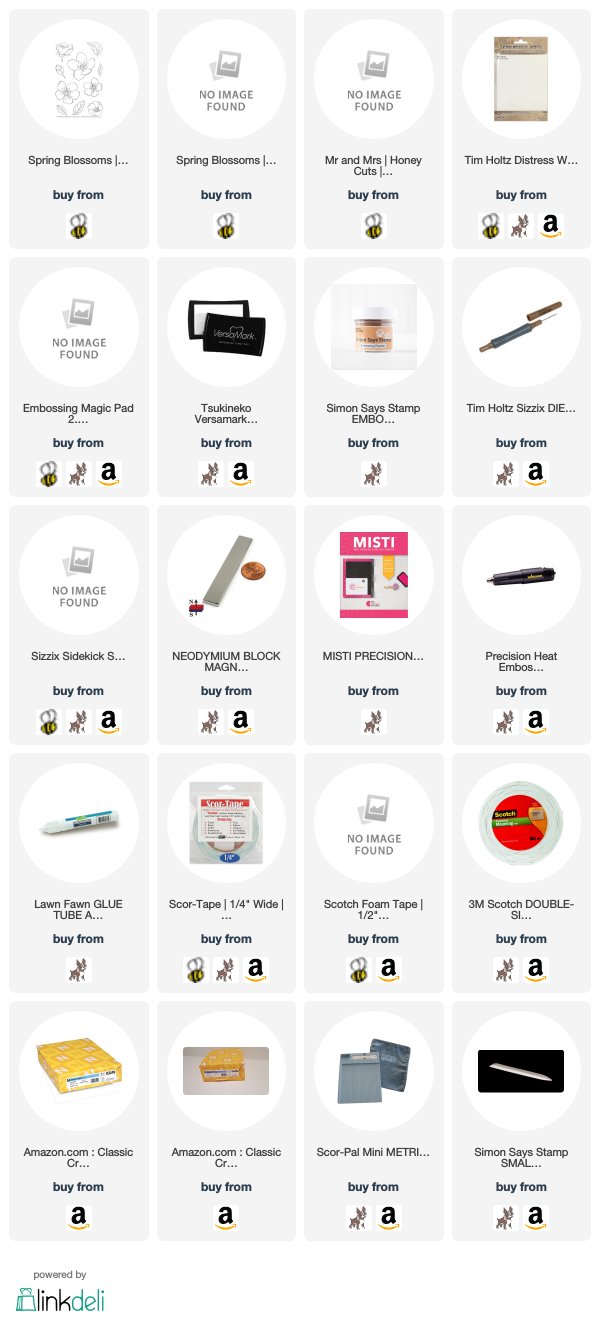
The products that I used are listed below in compensated affiliate links. You can click the icon of your choice, below the product picture, to go directly to your favorite shop. There is NO additional cost to you when using these links. Thank you for your support!
SaveSave

