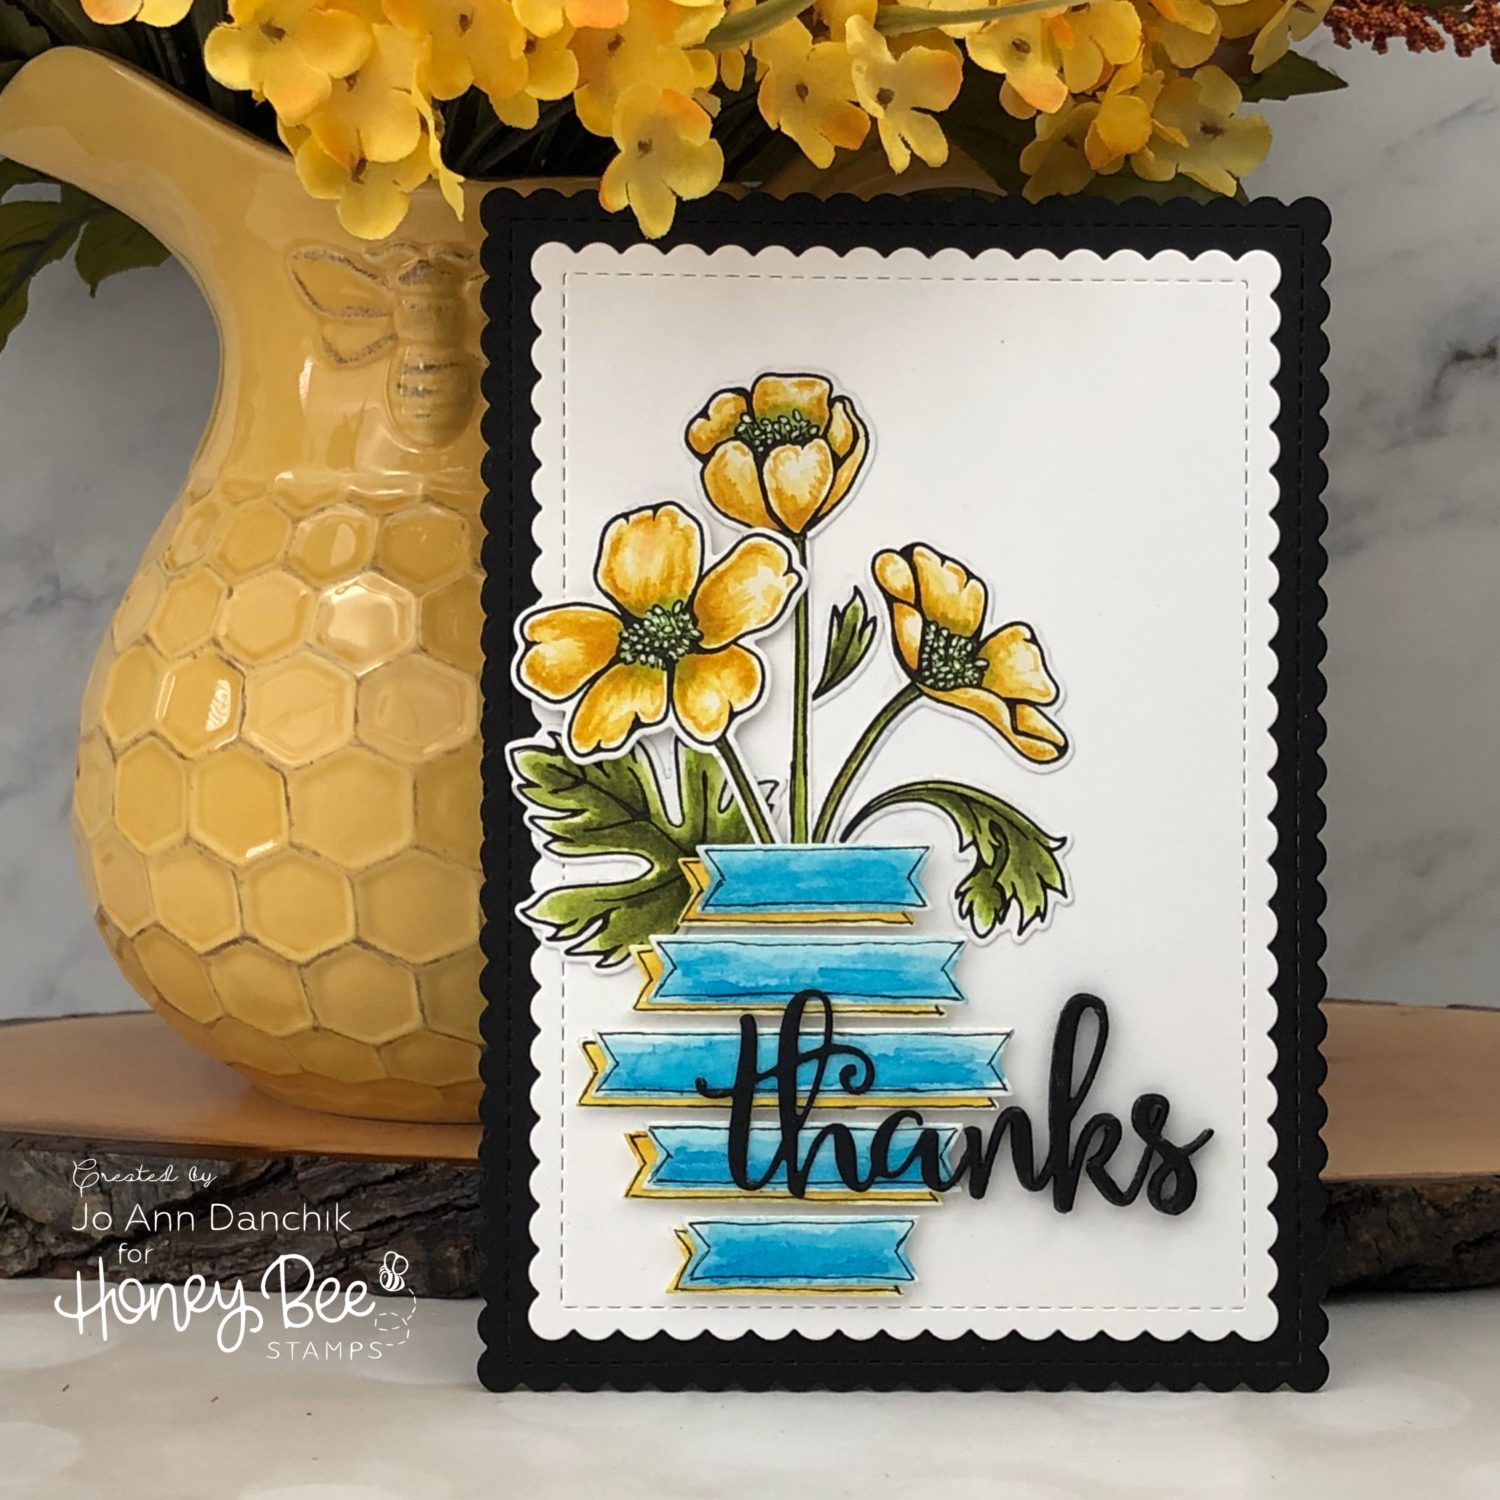
Creative Sundays With Jo Ann: Simple Banner Vase
Buttercups…I remember picking these tiny, cup shaped, luminescent yellow flowers as a child. Folklore says that if you hold a buttercup under your chin, and there is a yellow reflection…you like butter! I did not need a flower to tell me that! LOL I suppose that is where the phrase, “chin up buttercup” comes from.
_____________________
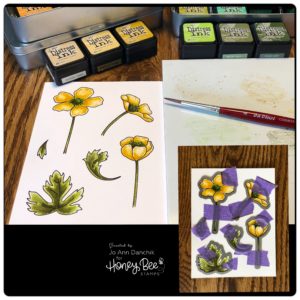
To start with I stamped all the images, in the Chin Up Buttercup Stamp Set, onto Tim Holtz Watercolor cardstock, using Black Ranger Archival Ink. I watercolored them using Distress Inks. (Antique Linen, Fossilized Amber, Scattered Straw, Twisted Citron, Peeled Paint, Forest Moss)
I cut out all the images using the coordinating Chin Up Buttercup Die Set. I like how this set cuts really close to the image.
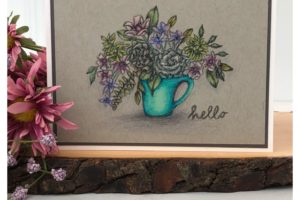
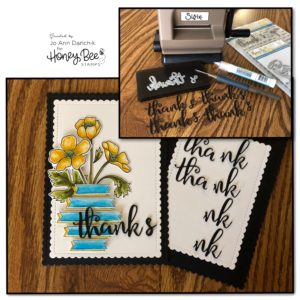
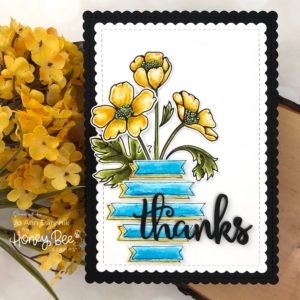
The title says it all…I made a simple vase using the new Sentiment Banners Dies. I knew that I wanted to try this the minute that I saw these dies. I cut three different sizes, multiple times. I loosely watercolored them using Distress Inks. (Fossilized Amber, Scattered Straw, Tumbled Glass, Salty Ocean)
I stacked and glued them, offsetting the yellow banners underneath the blue ones. I added a thin line around the edges, with a Pigma Micron 03 Black pen, to give them a stylized modern look, and to match the black outline in the flowers.
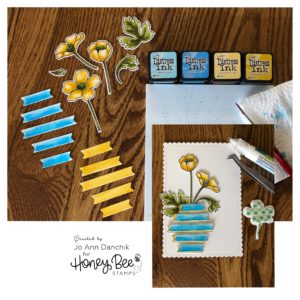
I cut a card panel, from #80 Neenah Solar Crest Cardstock, using the second largest die from the Scallop A7 Card Frame Die Set. These dies are a bit larger than the average A2 card base.
I laid out the pieces to form the vase and attached them to the card front using Scotch Foam Tape for added dimension. The flowers and leaves were attached using Lawn Fawn Glue. I like using liquid glue for adding multiple pieces. It gives me time to move the pieces around and tuck other pieces underneath. The last flower was added using Scotch Foam Tape.
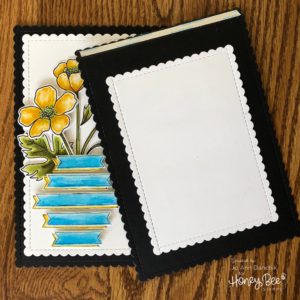
To form the card base, I cut two pieces of black cardstock using the largest die from the Scallop A7 Card Frame Die Set. I scored the back piece about 1/4” from the top and added 1/4” Scor Tape to the edge. Another smaller panel was cut and added for a place to write a message. The panels were attached to the card base using a Kokuyo Tape Runner.
To create the sentiment I cut multiple pieces of the word THANKS from black cardstock, using the Thanks and Giving Die Set. I stacked and glued two together. Because the vase had depth from the foam tape I had to figure out how to attach the word. I knew that it would be tedious to add tiny pieces of foam tape to the back of such a thin word. I laid it on top of the vase and noted that the vase ended at the letter N. I cut the words apart and added only the NK to the back. It took about 5 NK’s to level out the word. The S took a total of 7 layers.
The A7 dies make a slightly larger card, but that is perfect when you need just a little more room to fit everything in. It is the size that is commonly used for invitations and envelopes are easy to find at any office supply store. I have included a link below if you are like me and would rather order them.
As always, thank you for sharing a bit of your time with me today on another creative journey.
Joyfully, Jo Ann
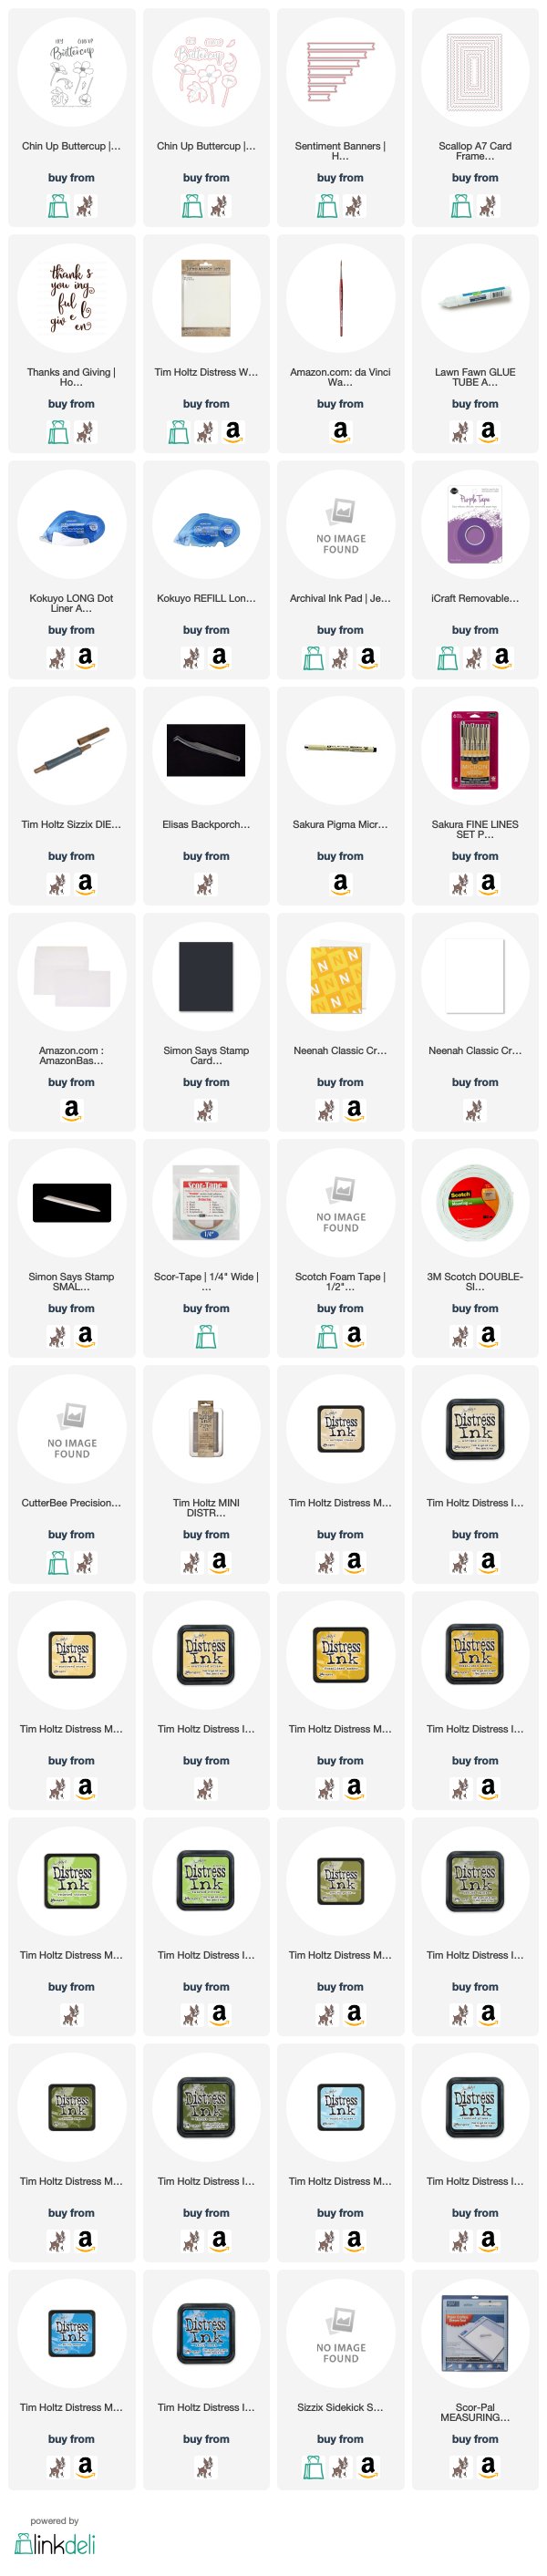
Supplies used:
The products that I used are listed below in compensated affiliate links. You can click the icon of your choice, below the product picture, to go directly to your favorite shop. There is NO additional cost to you when using these links. Thank you for your support!