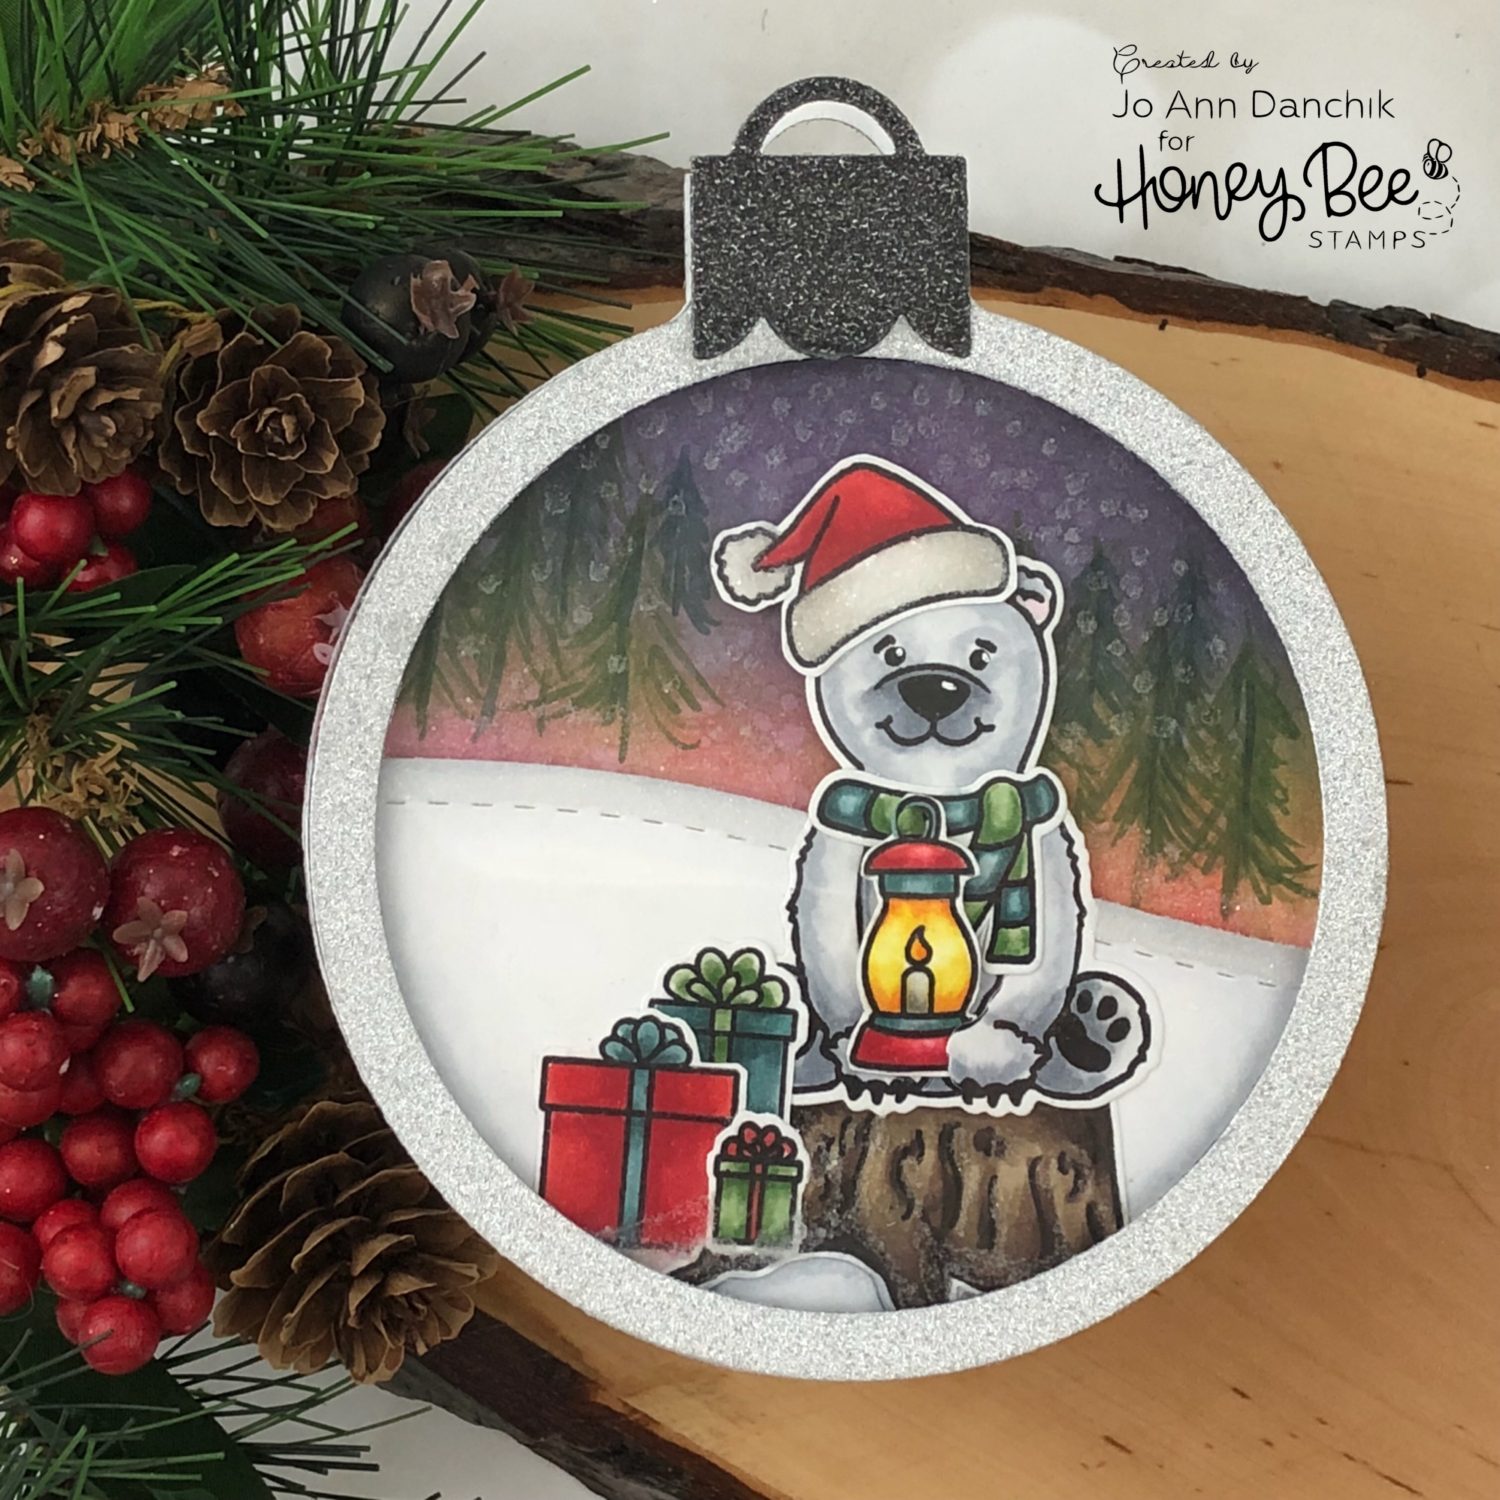
Creative Sundays With Jo Ann: Holiday Birthday Ornament
This past October, several Honey Bee Stamps DT members were invited to be a part of a British magazine publication, called Die Cutting Essentials. We were included in Issue 44. I was assigned several colors, which you will see below, and asked to create a card that could be used during the holidays for a birthday. Being fairly new in the industry, this was my first publication. I am excited to finally be able to share it with you here as well.
____________________
(Products highlighted in teal are active links to the shop.)
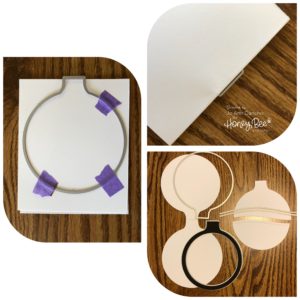
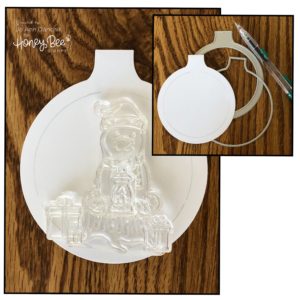
To make an ornament shape card, fold a piece of #110 Neenah Solar Crest cardstock in half. Place the ornament die, from the Globe and Ornament Shaker Card Die Set, slightly above the cardstock fold, so that the fold does not cut. Low tack purple tape is perfect for holding the die in place as it passes through the machine.
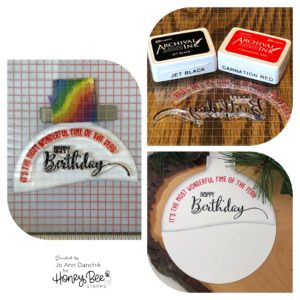
Using the ornament die, cut a single piece from #80 Neenah Solar Crest cardstock and a piece of acetate. Cut the cardstock piece in half, using the straight line and stitched line dies from the Hill Border Die Set. The bottom half will be used for the snowy ground on the front of the card and the top half will be used for the sentiment inside.
The Tim Holtz Silver Glitter Deco Sheet is adhesive backed, but is very thin, so I attached it to a scrap piece of black cardstock and cut it out using the shaker window die.
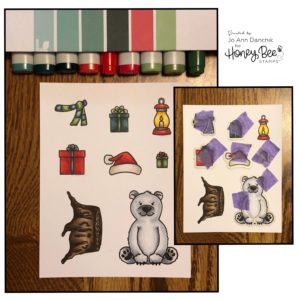
Because Copic markers tend to soak through the cardstock, I cut another piece of #80 cardstock with the ornament die. This will be the base panel for the background. I drew a light pencil line around the opening so that I could lay out my stamps for placement.
All the images were stamped onto #80 cardstock, using copic friendly Simon Says Stamp Intense Black Ink. I chose Copic markers to match the colors assigned for this project. The images were cut using the coordinating dies.
Bill The Bear Stamp Set and Bill The Bear Dies
-Wood Stump: E43, E44, E47, E49
-Lantern: R24, R27, R29, Y13, Y15, Y19, YR04, BG72, BG75. W0, W2, W4
Flakey Friends Stamp Set and Flakey Friends Dies
-Bear: C00, C0, C2, C4, RV00
-Scarf: BG72, BG75, BG78, YG 61, YG63, YG67
More Flakey Friends Stamp Set and More Flakey Friends Dies
-Small and Medium Presents: R24, R27, R29, BG72, BG75, BG78, YG 61, YG63, YG67
Blah Humbunny Stamp Set and Blah Humbunny Dies
-Santa Cap: R24, R27, R29, W00, W0, W2
-Large Present: BG72, BG75, BG78, YG 61, YG63, YG67
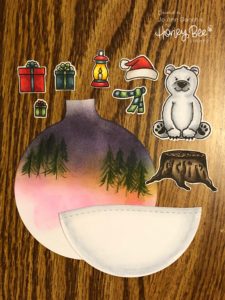
The night sky was created using Tim Holtz Distress Inks (Pink Raspberry, Wild Honey, Stormy Sky, Dusty Concord, Black Soot) & Ink Blending Tools. The trees were loosely drawn with YG 61, YG63, YG67, BG78 Copic Markers.
The bottom half circle was colored along the edges to create snow and shadows using C00, C0, C2. The panel was attached to the card base using Lawn Fawn Glue. I like to use liquid glue as it gives you a little more time to line things up correctly.
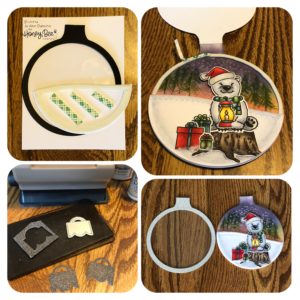
Scotch Foam Tape was added to the back of the snowy half circle cutout and attached to the front panel. It is easy to curve the tape to match the edges if you take both the top and bottom paper liners off first.
The images were added to the front using Lawn Fawn Glue. This glue was also used to add Tim Holtz Clear Rock Candy Distress Dry Glitter to the Santa cap fur, the snow ridge, along the bottom of the stump and presents, and as stars in the night sky.
The acetate window was attached to the the back of the shaker cutout using Tim Holtz Collage Medium. A layer of Scotch Foam Tape was molded to the top of the panel, liquid glue was added to the bottom, and the window was added to the card.
To complete the ornament look, I attached a scrap of Tim Holtz Deco Halloween Black Glitter Paper to a piece of cardstock and die cut two ornament toppers. One was glued to the front of the card and one to the back.
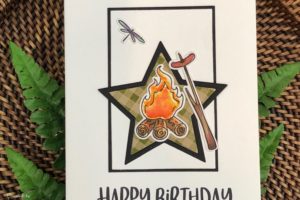
I used the MISTI door to shape the sentiment stamp pieces to match the curves of the card. The holiday sentiment from the Joy To The World Stamp Set was stamped in Ranger Archival Carnation Red Ink. The birthday sentiment, from the Happy Everything Stamp Set, was stamped in Ranger Archival Black Ink. The panel was edged in C00, C0, C2 Copic markers and glued to the inside.
Having a birthday that is close to Christmas, I was uncertain how I felt about it when I started to make this card. My family and friends have always been careful to separate the two. My birthday presents are NEVER wrapped in holiday paper. LOL
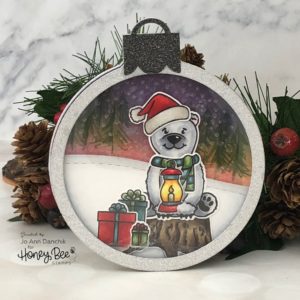
I have no trouble making a birthday card using elements for any other season, so I don’t know why I have had issues with using winter elements on birthday cards that fall near the holidays. I was actually pleased with how these worked together. It is a winter theme, with traditional holiday colors, but is also clearly a birthday card that I would love to receive. It could, of course, also be used as just an ornament on your tree.
As always, thank you for sharing a bit of your time with me today on another creative journey.
Joyfully, Jo Ann
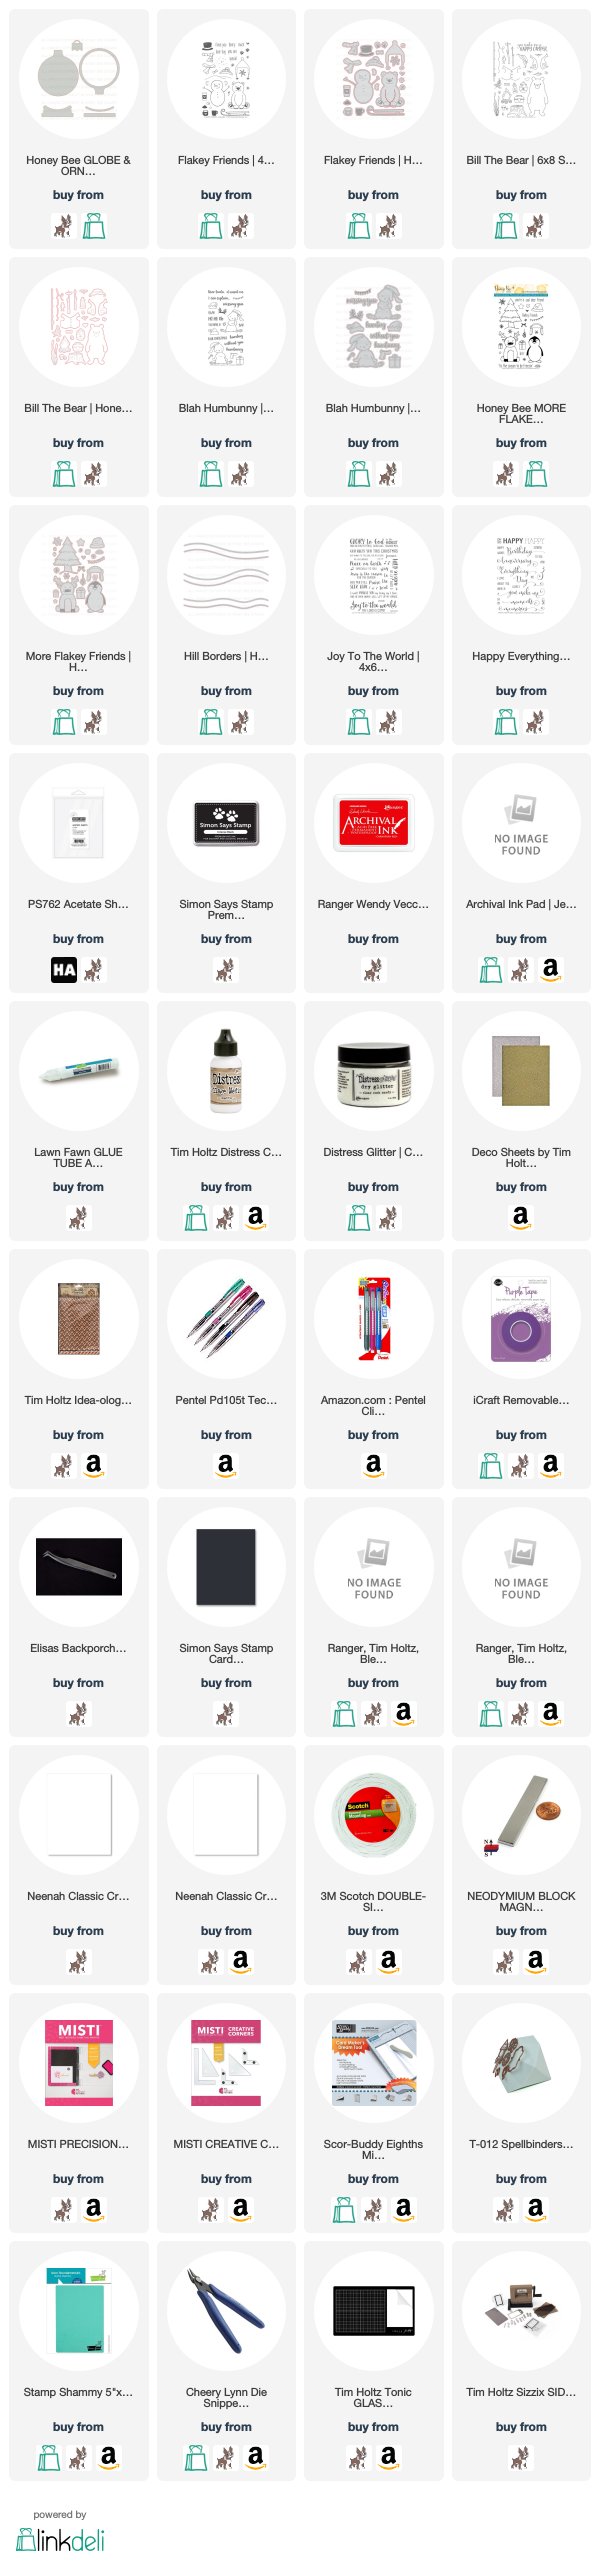
Supplies used:
The products that I used are listed below in compensated affiliate links. You can click the icon of your choice, below the product picture, to go directly to your favorite shop. There is NO additional cost to you when using these links. Thank you for your support!