Creative Sundays With Jo Ann: Tea Light Table Decoration
I know that it is still Winter, and many people are still shoveling snow and braving the bitter cold, but Spring and Summer are coming and with it comes numerous events such as Weddings, Showers, Graduations, and Family Reunions…to name a few. Of course these gatherings can be held at any time of the year, but today’s project definitely has a springtime or summer feel to it and would be perfect as a table number centerpiece. When the event is over it could also be used as a greeting or thank you card! It’s not too soon to start these projects, especially if you have many to make, so let’s get started!
____________________
(Products highlighted in teal are active links to the shop.)
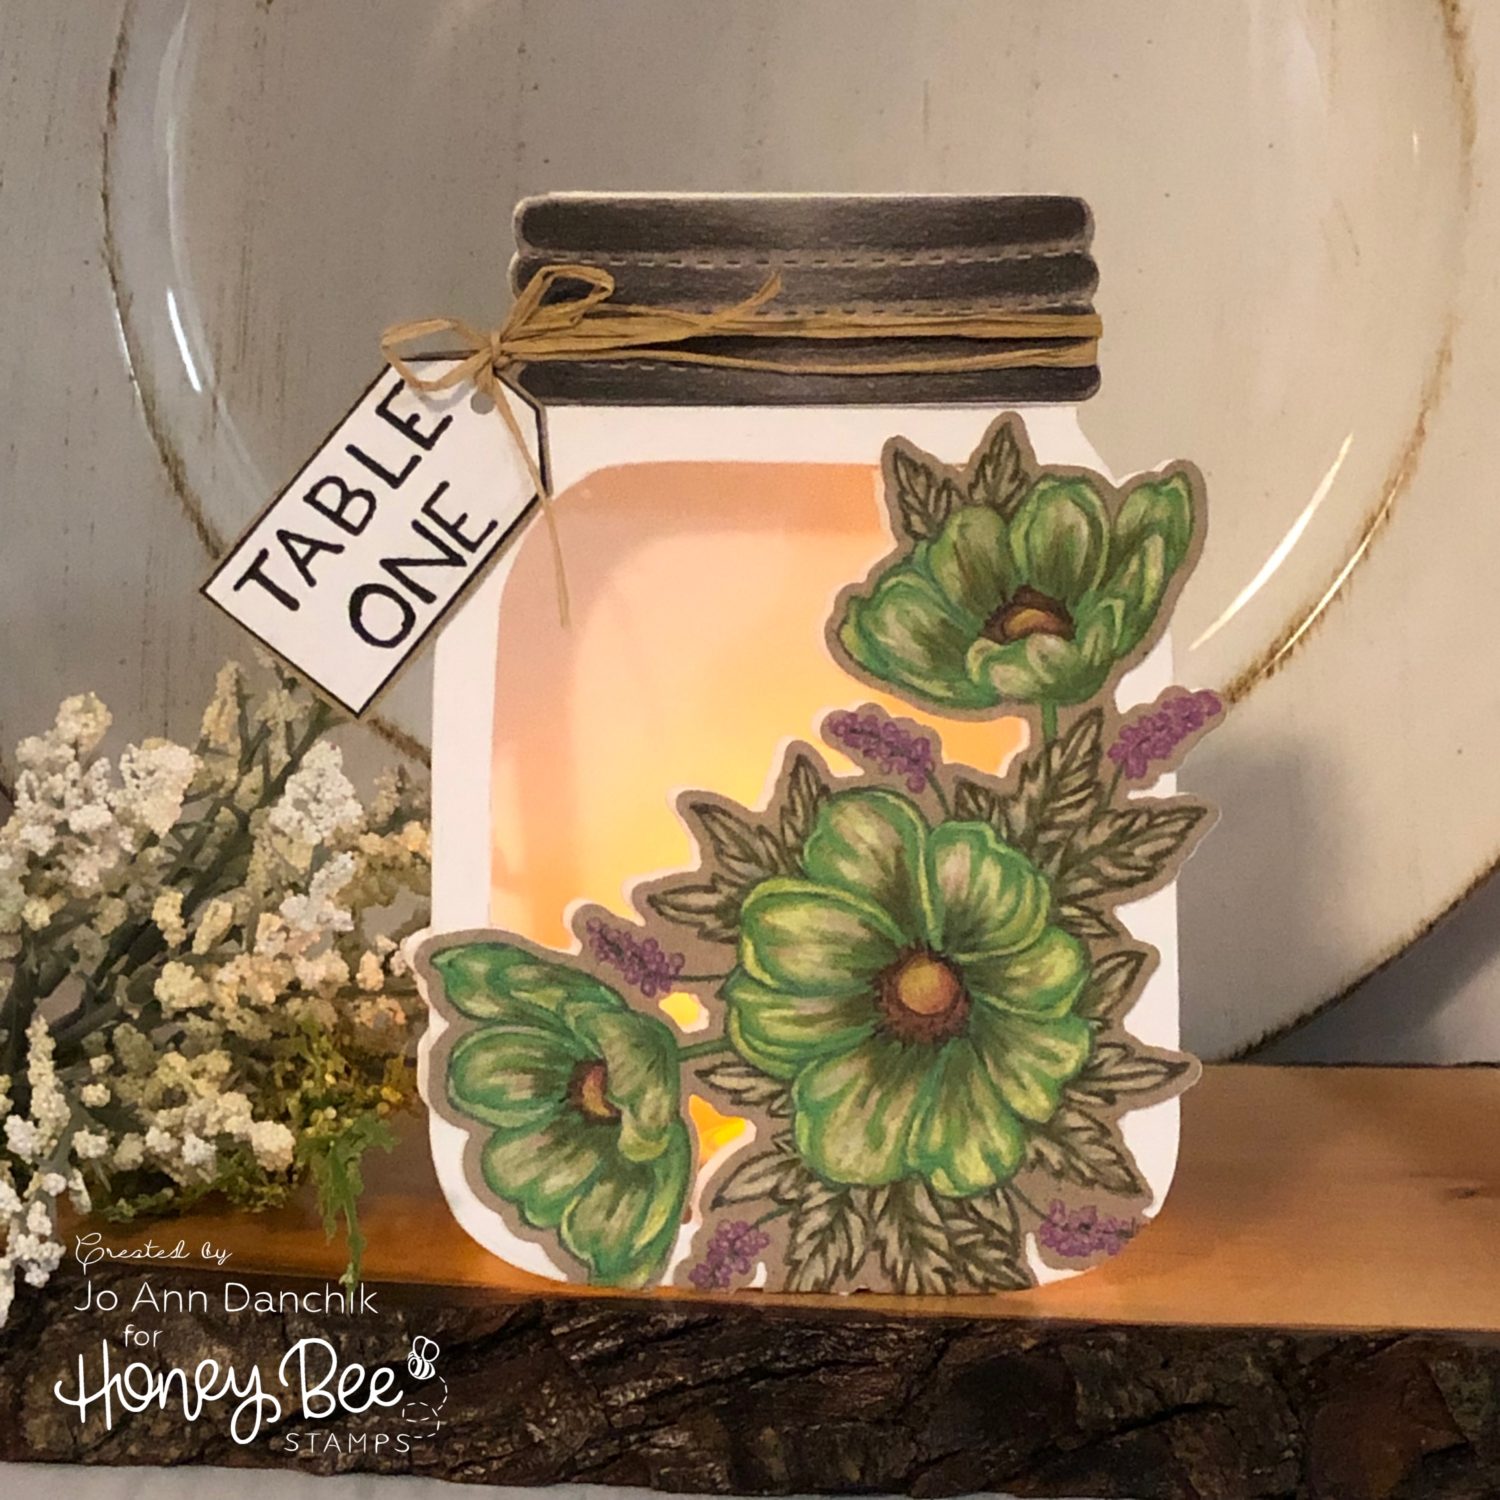
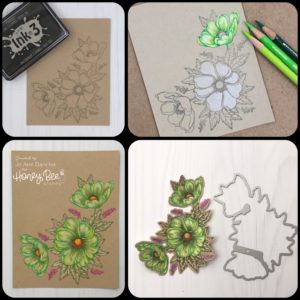
I started by stamping the floral grouping, from the Winter Anemone Stamp Set, with Ink On 3 Fade Out Ink onto Desert Storm Khaki cardstock. I know that this is a winter flower but I tend to color flowers any colors that please me. With these colors, it sure looks like spring flowers to me!! LOL 🙂
I used Prismacolor Colored Pencils to color in the image. I laid a light layer of white pencil down before adding the color. The flowers were cut out using the coordinating Winter Anemone Die Set.
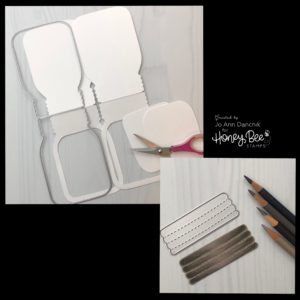
To create the card base, I cut two pieces of #110 Neenah Cardstock using the Mason Jar Card Die Set. I drew a line 1/4” inch from the outside edge and cut out the insides to create a window. I also cut a piece of Acetate for the window.
The threaded jar lid, also from the Mason Jar Die Set, was cut from another piece of Khaki cardstock and colored using various shades of grey pencils.
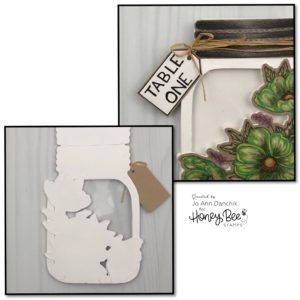
To assemble the card, I glued the acetate to the front of the card base using Tim Holtz Collage Medium. I cut off the front of the card, from the second card base, and glued it on top to cover the acetate. The flowers were glued on and the bottom trimmed so that the card would stand properly. I cut an additional floral image panel, out of white card stock, and glued it to the inside to cover the visible glue. I offset it a little for a shadow effect.
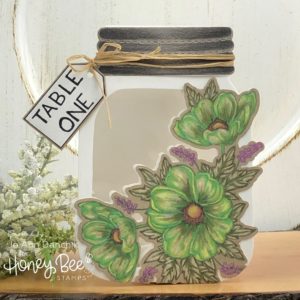
A piece of Raffia was wrapped around the jar lid and glued on. I cut a small tag, backed it with Khaki cardstock, and tied it on with the raffia. I hand lettered the table number but you can use cut out letters if you prefer. A small glue dot was placed behind the tag to secure it in place.
A battery operated tea light can be added for an evening event! It would be really cute to add different pictures of the bride and groom or honored guest to the back of each jar. If you want it to be more reflective, mirrored paper can be added to the inside.
If you wanted to use this as a greeting card, a small sentiment could be added to the tag instead of the table number. There is enough room inside to add a small handwritten note that would be hidden behind the floral piece.
As always, thank you for sharing a bit of your time with me today on another creative journey.
Joyfully, Jo Ann
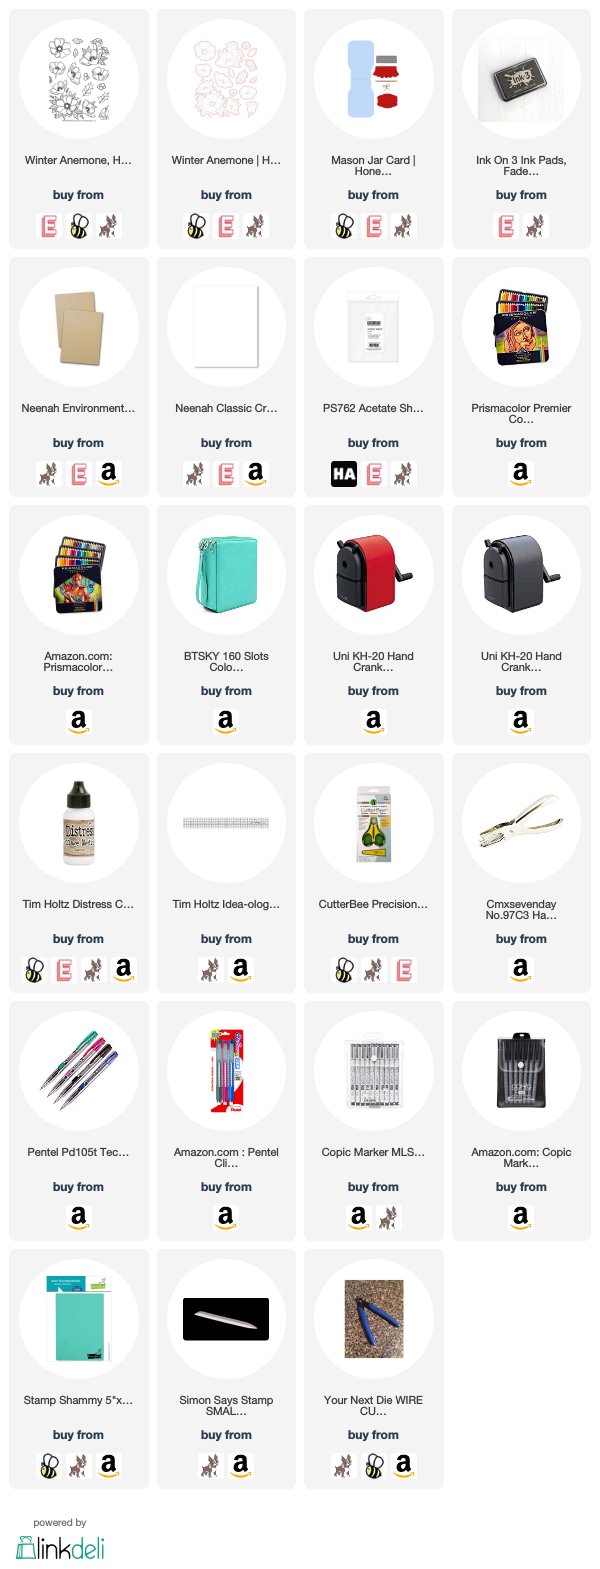
Supplies used:
The products that I used are listed below in compensated affiliate links. You can click the icon of your choice, below the product picture, to go directly to your favorite shop. There is NO additional cost to you when using these links. Thank you for your support!