Honey Bee Sneak Peek Day One: Rainbow Wishes
This is Day One of the HAPPY BEEday Release Sneak Peeks for Honey Bee Stamps. Be sure to visit the Honey Bee Stamp Blog to see what the other DT members have created.
 ____________________
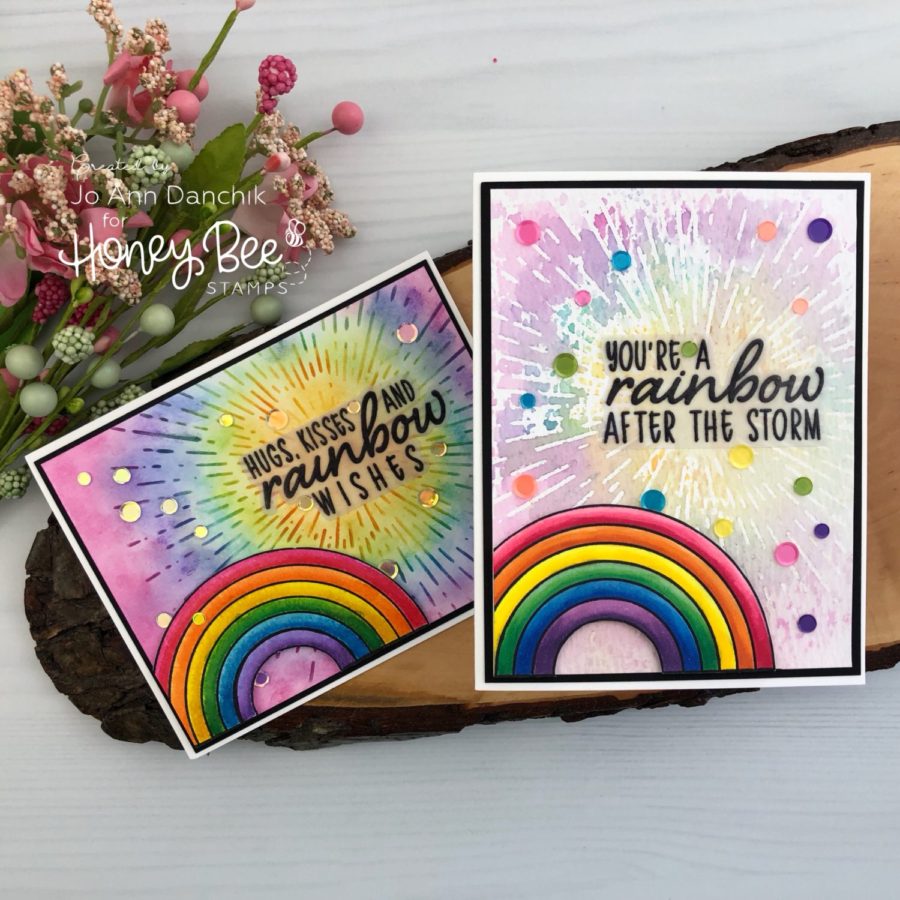
It’s spring, and with it comes April showers. In Texas it is also known as the stormy and rainy season. There are bound to be some rainbows in your future if you look for them. I am going to start off the sneak peeks with two cards that are sure to brighten anybody’s day!
____________________
(Products highlighted in teal are active links to the shop.)
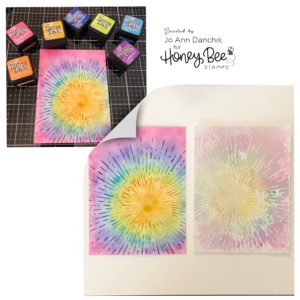
I started today’s card with the new Radiant Background Stencil taped to a piece of #80 Neenah Solar Crest cardstock. Using Tim Holtz Distress Inks, and some small Picket Fence Studios Life Changing Brushes, I worked from the center out in rainbow order of ROYGBIV. Okay, I accidentally reached for the yellow before the orange, but I can live with that! LOL (pic on left)
Spiced Marmalade
Fossilized Amber
Twisted Citron
Salty Ocean
Blue Print Sketch
Wilted Violet
Picked Raspberry
I had so much ink left on top of the stencil that I grabbed a piece of Tim Holtz watercolor paper. I liberally sprayed the top of the stencil with water, flipped it over onto the paper, and pushed it down with a paper towel. The towel absorbs the water through the slits so that it keeps the definition sharp. I let it sit for a minute or two. And that is why I made TWO cards! (top right pic)
You can see the results side by side. The regular cardstock is on the left and the watercolor is on the right. (bottom right pic)
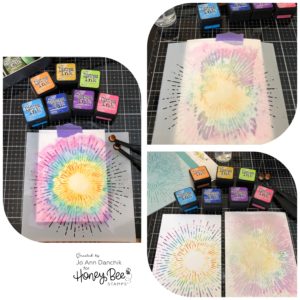
I felt that the cardstock panel needed a little more oomph so I went back and brushed on a light layer of the same colors in each area. Again, you can see the regular cardstock on the left and the watercolor panel on the right.
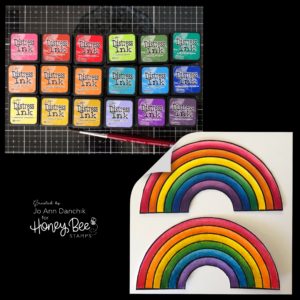
I stamped a rainbow, from the Rainbow Wishes Stamp Set, onto #80 Neenah Solar Crest cardstock, using Copic friendly Gina K Jet Black Amalgam ink. It was colored in using Copic markers. (top rainbow)
RV 23, RV25, RV29
YR14, YR16, YR18
Y04. Y96, Y08
G12, G14, G16
B14, B16, B18
V12, V15, V17
I stamped a second rainbow onto a piece of Tim Hotlz watercolor paper using Ranger Archival Black Ink. It was colored with Distress Inks and a #4 DaVinci Cosmotop Spin brush. (bottom rainbow)
Spiced Marmalade, Dried Marigold, Carved Pumpkin
Fossilized Amber, Squeezed Lemonade, Mustard Seed
Twisted Citron, Mowed Lawn, Lucky Clover
Salty Ocean, Broken China, Blueprint Sketch
Wilted Violet, Shaded Lilac, Dusty Concord
Picked Raspberry, Barn Door, Candy Apple
I fussy cut both images.
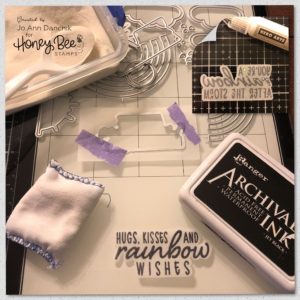
I didn’t want to cover up too much of the backgrounds so I chose to stamp both sentiments, from the Rainbow Wishes Stamp Set, onto Vellum. I used Ranger Black Archival Ink and embossed with Hero Arts Clear Embossing Powder. Archival Ink stays wet long enough to add powder, especially on vellum.. It is really important to use an anti static powder bag before stamping. To avoid warping, heat the gun well before using and don’t stay in one place too long. Both were cut using the coordinating Rainbow Wishes Die Set. Small dots of Hero Arts glue were added behind the wording.
I added Aurora Lights Confetti Mix and Surprise! Confetti Sequins to the panels. They don’t carry the Surprise mix anymore but I know that some of you still have it in your stash. I have added a comparable mix to the supply list at the end.
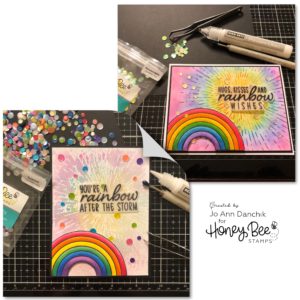
Scotch Foam tape was added behind each rainbow for added dimension. Both panels were layered onto a piece of black cardstock and added to a #110 Neenah Solar Crest folded cardstock with a Kokuyo Tape Runner. The distress ink watercolor rainbow was added to the darker panel.
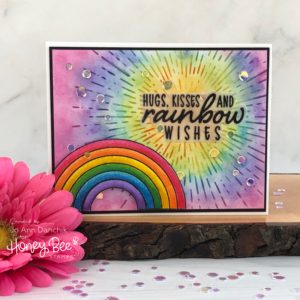
The copic colored rainbow was added to the watercolor panel.
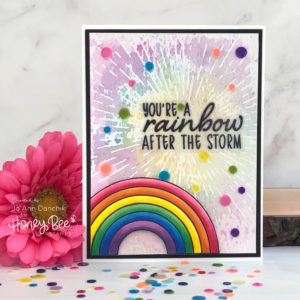
Thanks for joining me today. Be sure to check back each day for more sneak peeks of the new release. I will also be part of the two day HAPPY BEEday Blog Hop on Friday and Saturday, April 19th and 20th, where you will be able to find additional inspiration.
Joyfully,
Jo Ann
Supplies used:
The products that I used are listed below in affiliate links. You can click the icon of your choice, below the product picture, to go directly to your favorite shop. There is NO additional cost to you when using these links. Thank you for your support!

