Honey Bee Sneak Peek Day Five: Happy Birthday Hexagons
This is Day Five of the HAPPY BEEday Release Sneak Peeks for Honey Bee Stamps. Be sure to visit the Honey Bee Stamp Blog to see what the other DT members have created.
____________________
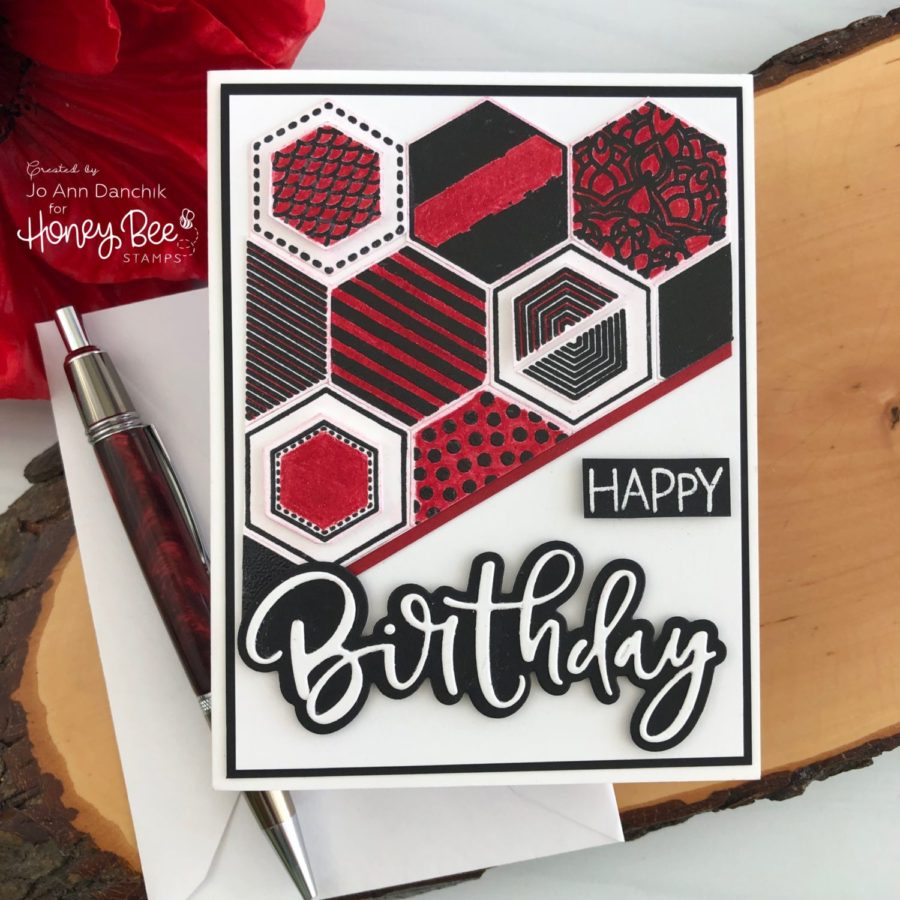
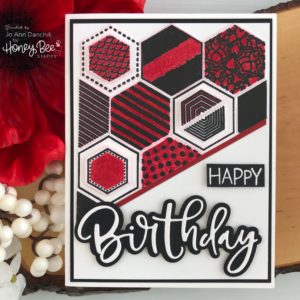
I get my inspiration from many places. When I was designing this card I was thinking of going with a black and white geometric theme. It just seemed to need something more, but I didn’t know what I wanted to do. We were watching the “One Day At A Time” remake on Netflix. Rita Moreno (the grandma) was wearing a gorgeous gown. It was black, white, and red. Voila…the card needed red to dress it up! If you haven’t had a chance to see this show I encourage you to try it out. I am either laughing or crying…or both…at each episode!
____________________
I started by stamping all of the different Hexagon images, from the Hexagon Patterns Stamp Set. I used VersaFine Clair Nocturne pigment ink and #80 Neenah cardstock and heat embossed using Hero Arts Clear Embossing Powder. I cut them out using the coordinating Hexagon Patterns Die Set.
I tried laying them out in different configurations and layering them. That is when I started thinking that it needed something more!
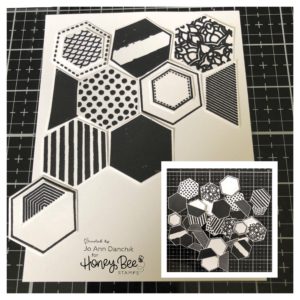
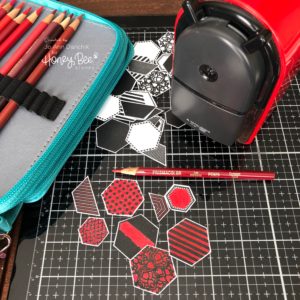
I had the bright idea to use red, but now I had a problem. I couldn’t use watercolor because I had the wrong paper and it would pill. I couldn’t use Copic markers because the alcohol would dissolve the embossing powder and ruin my marker tips. I didn’t want to stamp and cut more shapes, so that left one option…colored pencils! I used a Crimson Lake PC925 Prismacolor colored pencil and colored in the shapes. I kept the pencil sharp so that I could easily get into the small spaces.
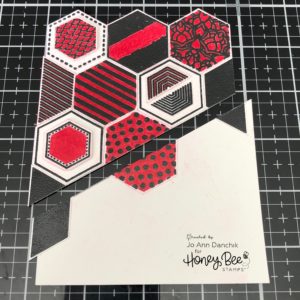
I glued the pieces down to a thin piece of cardstock using a Hero Arts Glue Pen. Some of the small pieces were propped up with Scotch Foam Tape. I trimmed around the top with a pair of scissors and used a Tim Holtz guillotine trimmer to cut diagonally across the bottom and to even up the sides. A thin scrap of red cardstock was glued along the bottom edge.
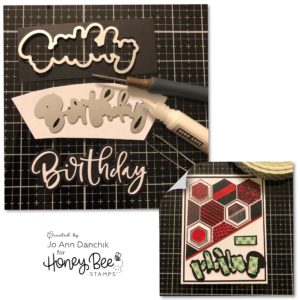
The sentiment is from the new Happy Birthday Stamp Set. You know the drill, use an anti static powder bag on the dark cardstock, stamp with Versamark Ink, and heat emboss with Hero Arts Embossing Powder.
The script Birthday sentiment is from the coordinating Happy Birthday Die Set. The Tim Holtz Pick is so helpful for removing the small pieces from the die, and tweezers are my go to when trying to glue them down! I used the Hero Arts glue pen to add tiny dots to the back of the thin letters. It works like a charm!
The panel was layered onto a piece of black cardstock and then onto a #110 Neenah Solar Crest folded cardstock base, using a Kokuyo Tape Runner.
The sentiments had Scotch Foam Tape added to the back for added dimension. Yep, I’m still an overachiever with the foam tape!
The pop of red adds an elegance to the card. I think that it would work beautifully for either a masculine or feminine birthday.
Be sure to check back tomorrow on the Honey Bee Blog for the first day of the blog hop. I will be part of the second day of the HAPPY BEEday Blog Hop, on Saturday.
Thanks for joining me today!
Joyfully,
Jo Ann
Supplies used:
The products that I used are listed below in affiliate links. You can click the icon of your choice, below the product picture, to go directly to your favorite shop. There is NO additional cost to you when using these links. Thank you for your support!

