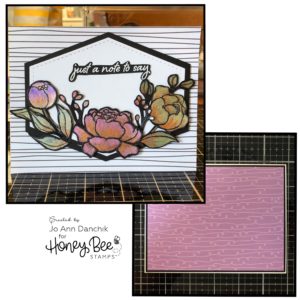
Creative Sundays With Jo Ann: Just A Note To Say
Hello my crafty friends! Sometimes when I sit down to create I really don’t have anything in mind. There are so many products with this new release that I still haven’t had a chance to play with. Like you, sometimes I look at a product with no idea how it fits into my creative needs. So, with that in mind, I challenged myself to pull aside a few of the new products and come up with something. I will share with you some of the steps that I took to get to the final card.
____________________
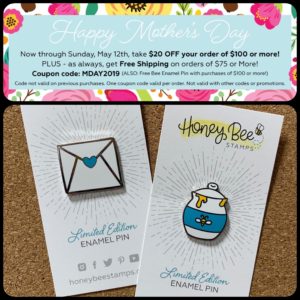
Also…Honey Bee is celebrating Mother’s Day Weekend with a sale. Now is a great time to shop the new release and to stock up on supplies! Also, if you are part of the enamel pin craze you won’t want to miss these two new enamel pins.
____________________
(Products highlighted in teal are active links to the shop.)
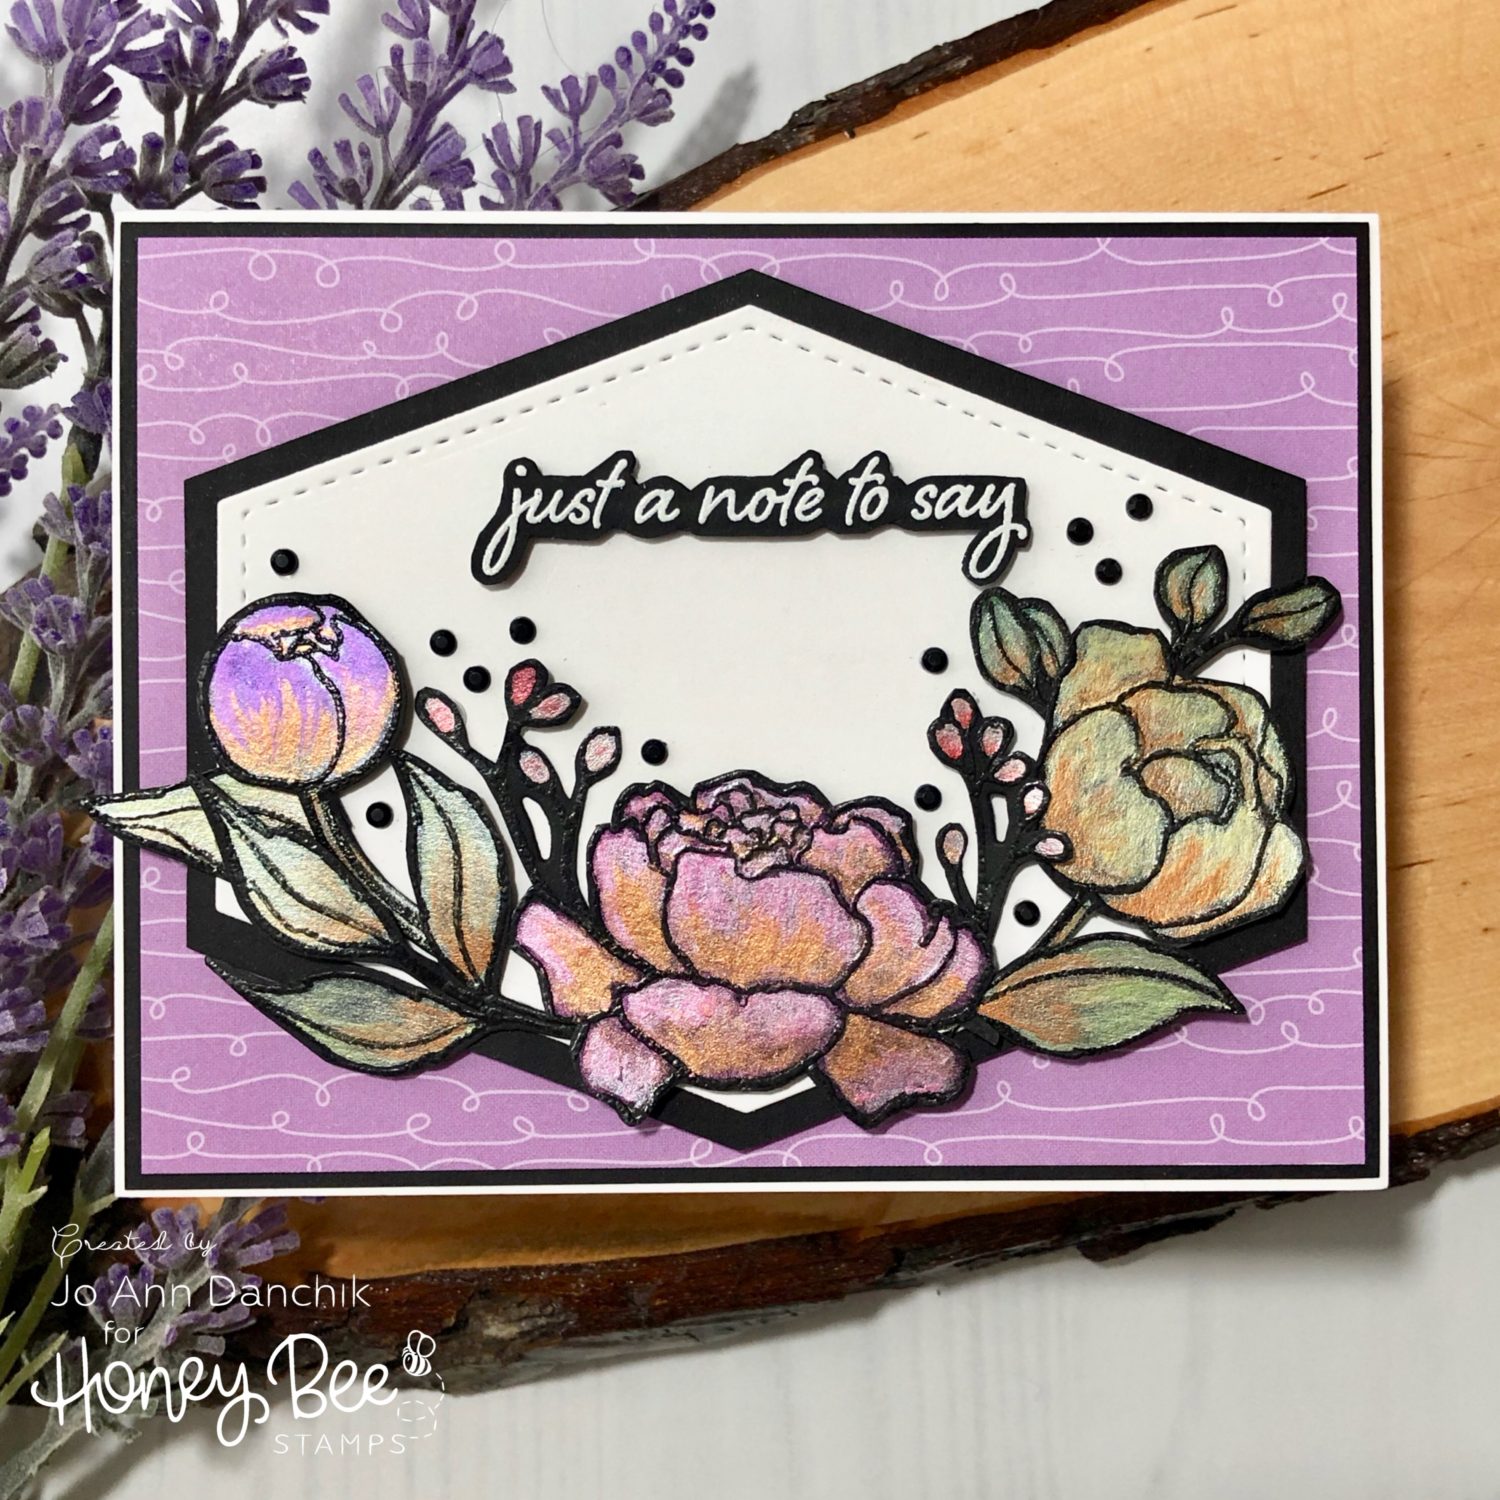
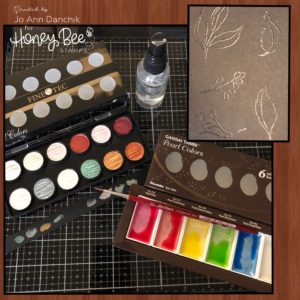
I love to paint flowers so I started with the Spring Peony Stamp Set. I also have several sets of pearlescent watercolor sets that I haven’t used in over a year. I pulled aside two of them and wet them down with a mister.
Pearl colors usually show up best on dark paper. Black watercolor paper is hard to come by but the images are small so I thought that I could use some Hero Arts black cardstock without too much risk of it warping or pilling.
I treated the cardstock with an anti static pouch, stamped with VersaFine Clair Nocturne Ink, and heat embossed with Hero Arts Clear Embossing Powder. The raised lines will help to keep the watercolors contained. The picture looks grey but it really is very black.
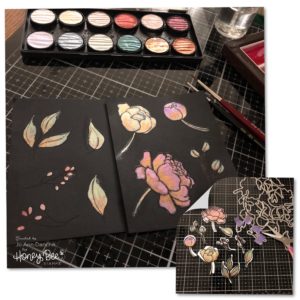
I painted using a #2 DaVinci Cosmotop Spin paintbrush and a #000 Winsor & Newton Series 7 Sable. The #000 is tiny but it holds a lot of water and paint and is wonderful for getting into the small spaces. There is a limited number of colors to use with these sets. I added dark gold to each image to add a little more shading,.
I cut each image using the coordinating Spring Peony Die Set. I also cut a second set, using #80 Neenah Solar Cardstock, to use as a shadow. I went back and cut the watercolored set, close to the embossed line, with a pair of scissors. My original thought was to use a dark background and I thought that the white outline would help the images to stand out. I didn’t end up using them. I have them stored with the set and I will stamp them at a later date.
One of the main elements that I wanted to use was the new Double Stitched Polygon Die Set. I cut a white piece and a larger black piece and glued them together. You can see that I tried a layout with the flowers in the bottom left. I really liked it.
I wanted the black outline to be thinner so I cut it down with my paper trimmer. Scotch Foam Tape was added to the back for dimension. Yep, still an over achiever when I tape! LOL
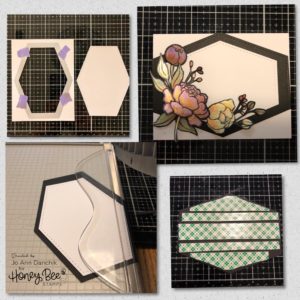
I glued the floral images to the polygon using Hero Arts Liquid Glue and Scotch Foam Tape. The sentiment is from the Rainbow Wishes Stamp Set. It is stamped with Versamark Ink and heat embossed with Hero Arts White Embossing Powder. I fussy cut it and temporarily taped it down.
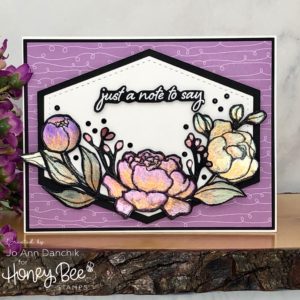
I had planned to simply glue the panel to a plain white cardbase and then remembered that Honey Bee has gorgeous new 6” x 6” pattern paper pads. I really liked the black horizontal stripes from, The Bee’s Knees Pad, but ultimately settled on the purple pattern from the Over The Rainbow Pad. I added a piece of black cardstock behind it with a Kokuyo Tape Runner. It was taped to a #110 Neenah Solar cardstock cardbase.
The sentiment was trimmed a little closer and glued down. It is a perfect sentiment, allowing you to add a thank you, a word of encouragement, or even turn it into a Mother’s Day or Birthday card with an additional sentiment on the inside.
I love all the new embellishments that we now have in the shop as well. I struggle with knowing where to place them so I don’t use them as often as I would like to. I grabbed a pair of tweezers, the new Black Gem Stickers, and threw caution to the wind. I really like how they dressed up the card! They have a sticky back so you don’t even have to add glue.
I used a black Gel Pen to tidy up some of the black embossed lines where needed.
I love where the card ended up. I can now go back and create a few more similar cards, using the different layouts and backgrounds.
As always, thank you for sharing a bit of your time with me today on another creative journey.
Joyfully,
Jo Ann
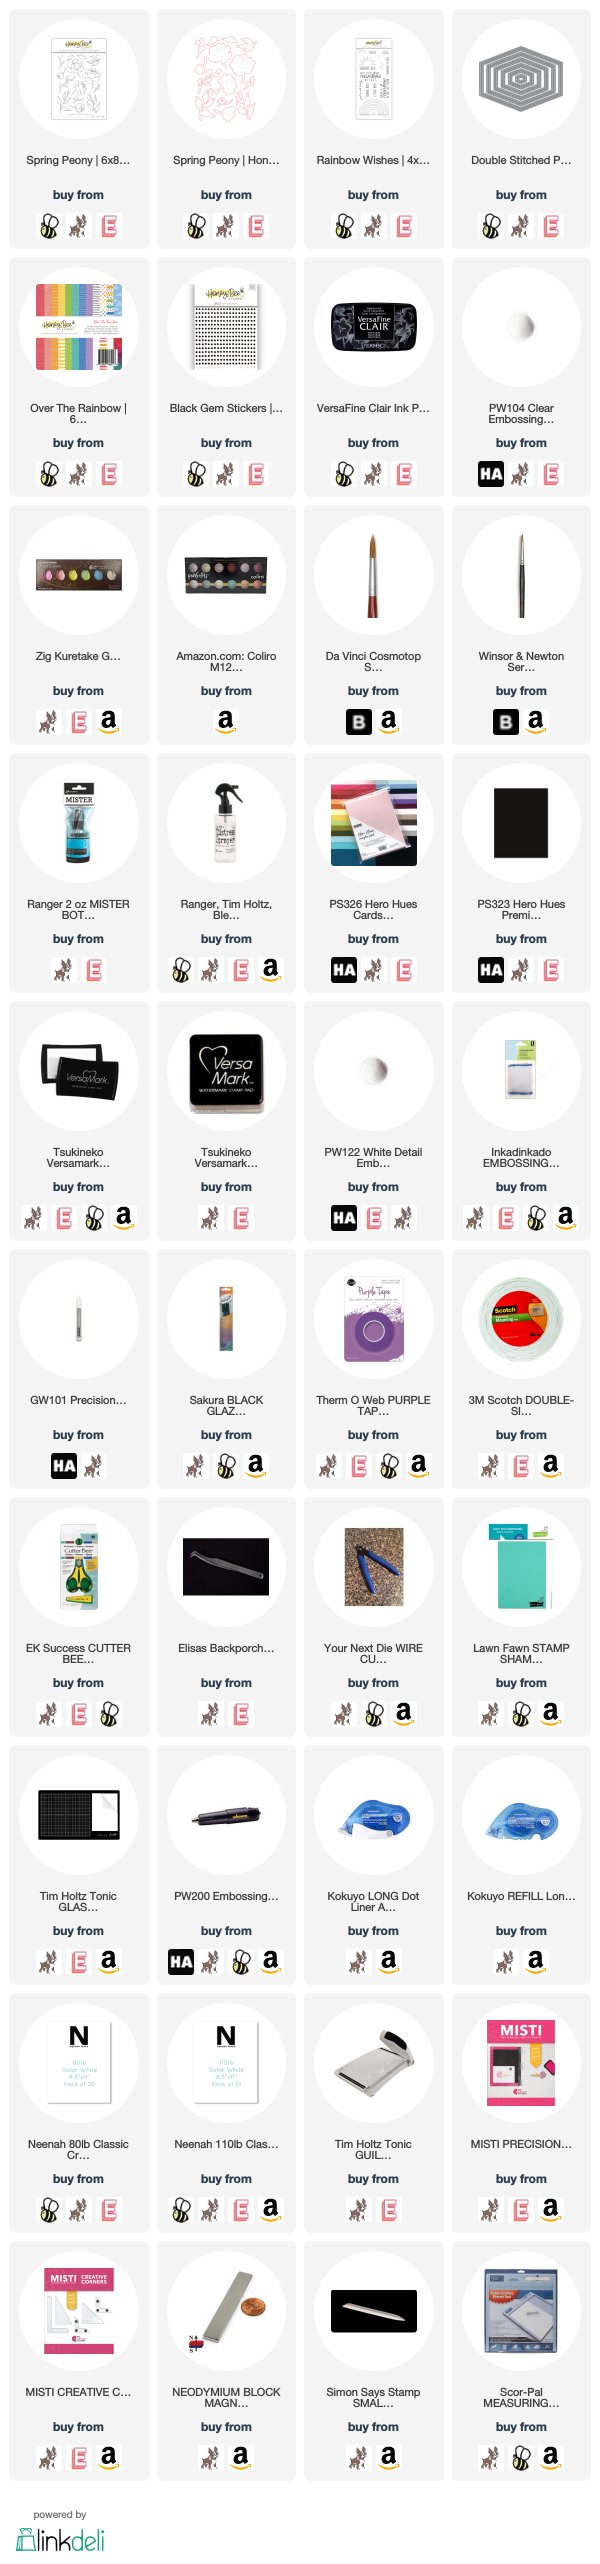
Supplies used:
The products that I used are listed below in compensated affiliate links. You can click the icon of your choice, below the product picture, to go directly to your favorite shop. There is NO additional cost to you when using these links. Thank you for your support!