Creative Sundays With Jo Ann: Bee Strong!
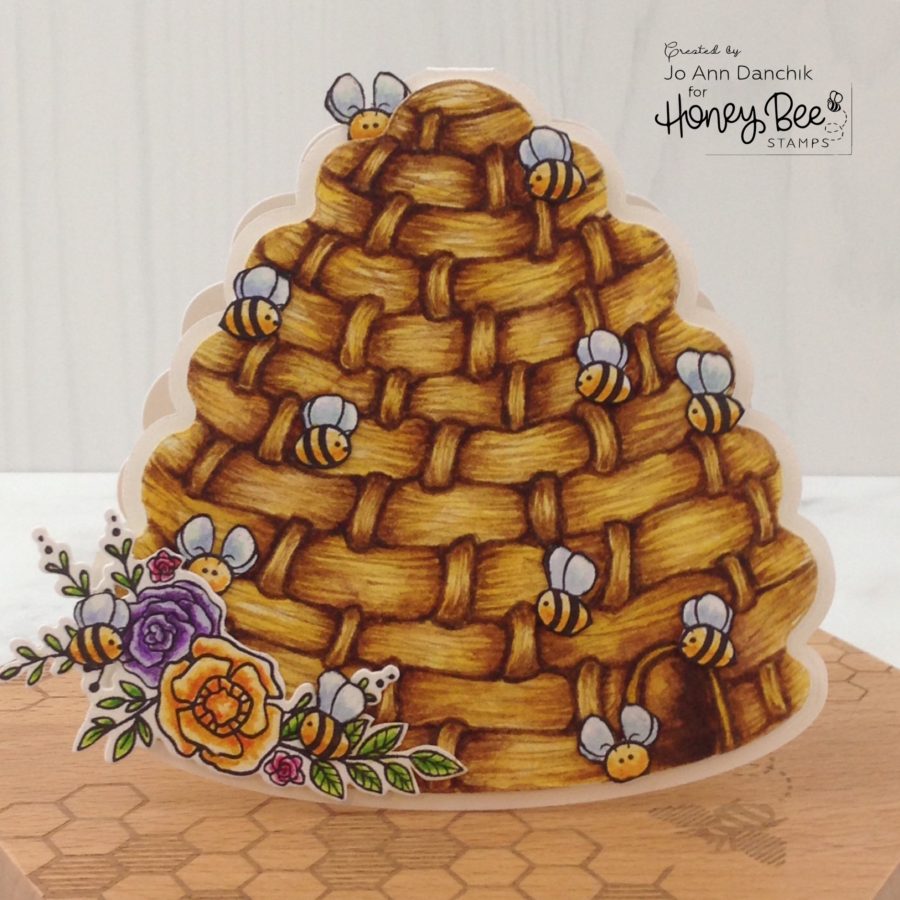
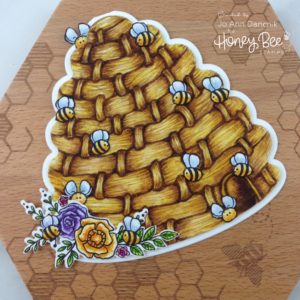
I love the old “skeps,” or domed straw baskets, that beekeepers wove by hand to house their bee colonies. Fun fact, bridal couples in Holland, in Medieval times, were given a “skep” to parade around the village as a symbol of starting a new home. They were also given a swarm of bees as part of their wedding gift.
____________________
I know that today’s card may look hard, but stick with me. It is actually less work than coloring and shading a lot of flowers or critters, and it really doesn’t take much longer. When you are finished you will have an original piece of art that you can share with someone who may be in need of a little encouragement. You could also cut the card apart and use it in an art journal!
I started with the Bee Hive Card Insert Die cut from Tim Holtz Watercolor cardstock. I lightly traced the curves in with a pencil using one of the stencils from the Set of 4 Hive Stencil and Mask.
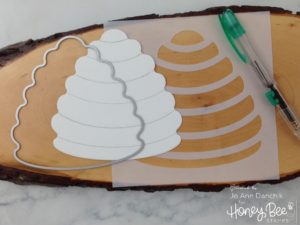
From there it was simple enough to draw more horizontal lines in between and to add random vertical lines for the coil “stitches.” Don’t forget to add a small door at the bottom.
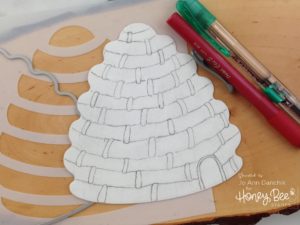
I used four colors of Tim Holtz Distress Inks to color it in. It is all a matter of adding LAYERS of shading. I colored the entire piece with Scattered Straw and added some light shading with Fossilized Amber. You are just laying down a base of color and don’t have to be too particular. (see top left pic below)
Next, I added some darker shading along the top and bottoms of each coil, and along the sides of the stitches, using Vintage Photo. (see top right pic below)
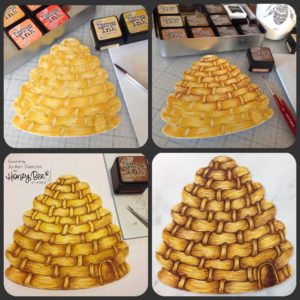
Using more Vintage Photo, and a smaller brush, I added random, light feathery lines to give the illusion of straw. (see lower left pic above)
To finish, I added touches of Ground Espresso in the corners and edges to deepen the shadows. (see lower right pic above) Like I said…you are simply adding layers of color and shading. It’s much easier than you think.
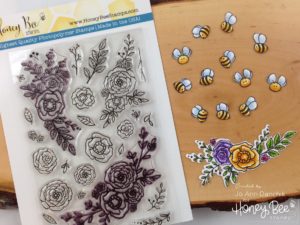
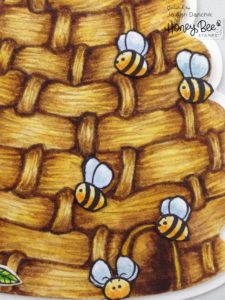
Next, I stamped a floral piece from the Country Blooms stamp set, with Ranger Black Archival Ink, on Tim Holtz Watercolor cardstock. I used the coordinating Die to cut it out. The bees are the tiny Honey Bees from the “Free Bee of the Month.” One is included with every order. If you spend $75 Honey Bee will also include the coordinating Die. They are so cute…and they’re free! Everything was watercolored using various Distress Inks.
I cut a card base out of White cardstock using the card base die from the Bee Hive Die set. I initially added Vintage photo to the edges but didn’t use it. I preferred the clean white background so I switched it out.
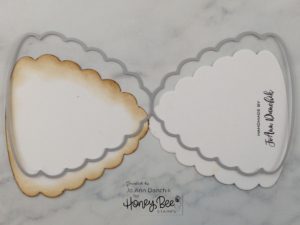
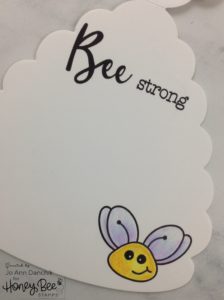
I didn’t want to detract from the front of the card so I opted to put the sentiment on the inside using the Bee-You-Tiful Sentiments stamp set.
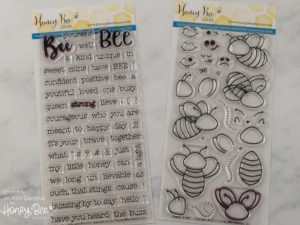
I added a bee on the bottom from the Build-A-Bee stamp set and colored it in using Prisma Color Pencils.
To assemble the card I added the floral piece and the bees to the front with Ranger’s Multi Matte Medium.
The panel was attached to the folded card base with Scotch Foam Tape, for some added dimension.
Thanks for joining me today on this creative journey. You can follow my blog at jadanchik.com and my Instagram account at jadanchik.
Joyfully, Jo Ann
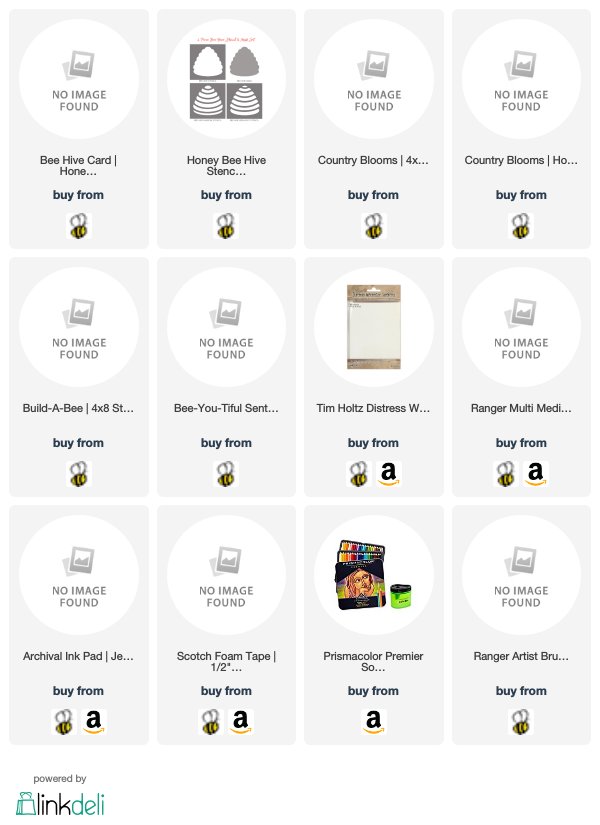
Supplies used:
The products used below are affiliate links. When using these links there is NO additional cost to you. Thank you for your support!

