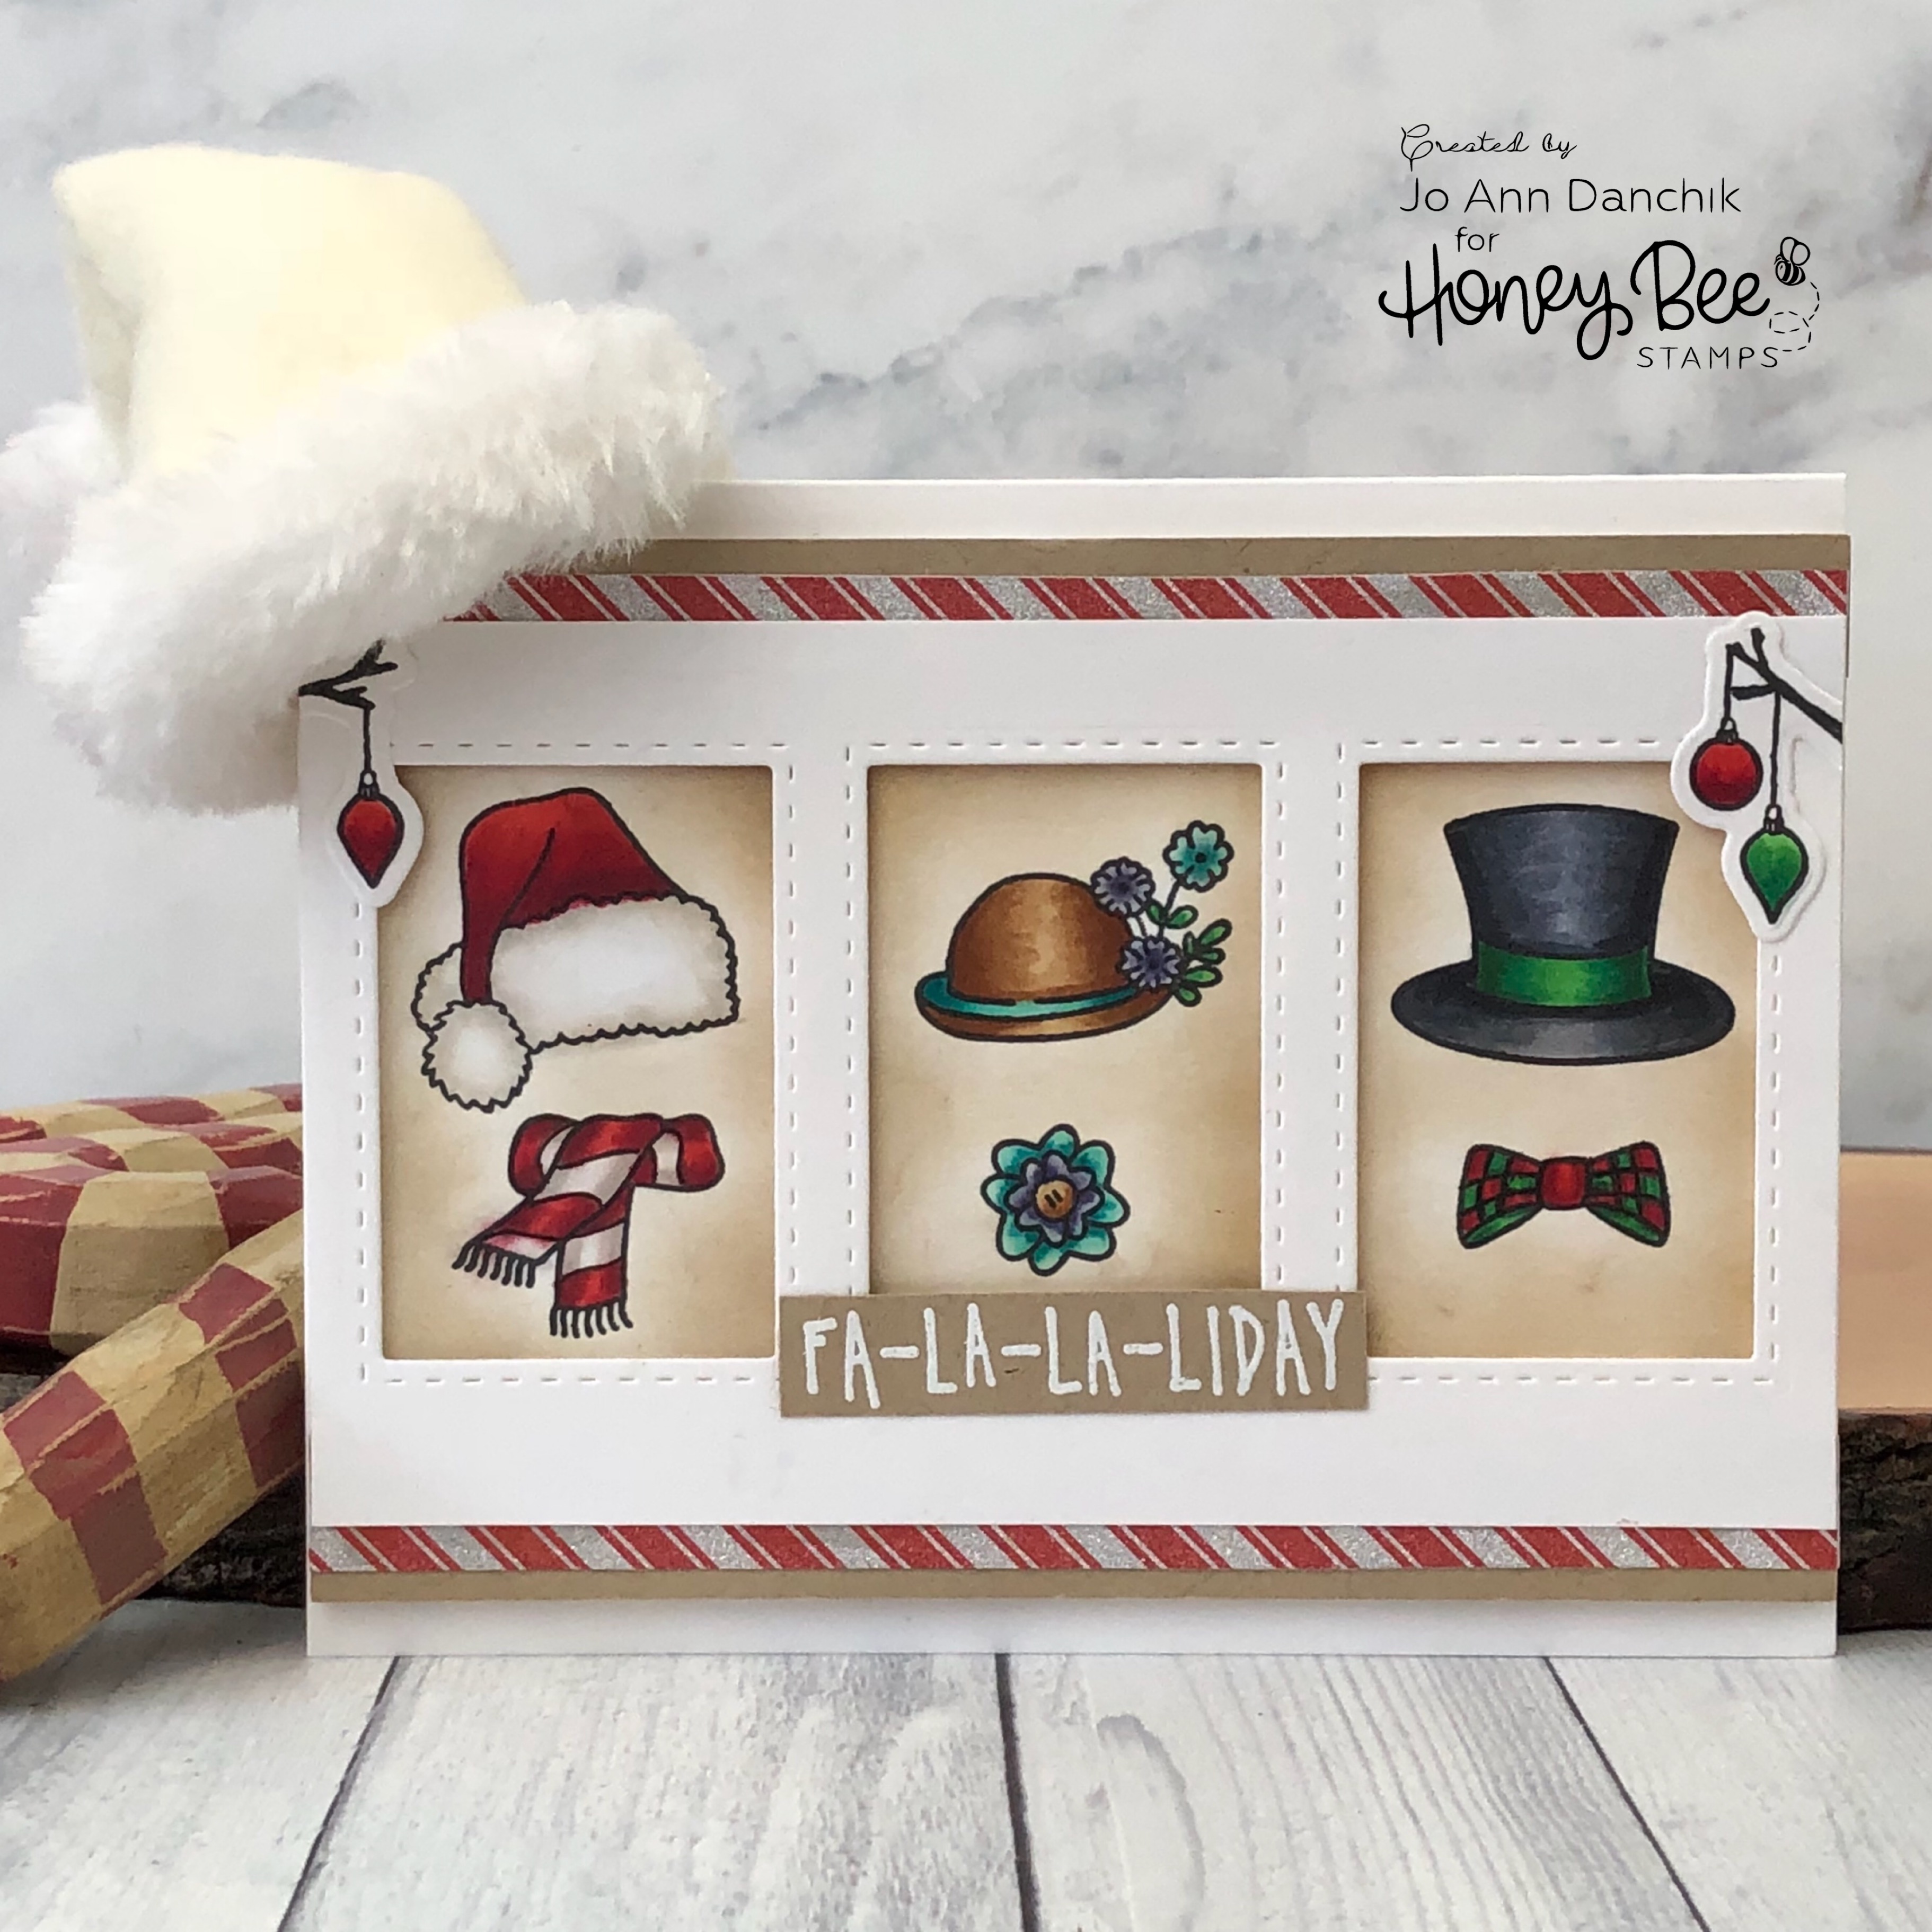
Bee Inspired New Release Week: Fa-La-La-Liday Hat Trio
The Honey Bee Stamps Design Team has an exciting week of projects to share with you featuring the new DEERLY LOVED Release. You can find all the new stamp sets, dies, stencils, and sequins HERE.
____________________
(All the products used are listed below in compensated affiliate links. Thank you for your support!)
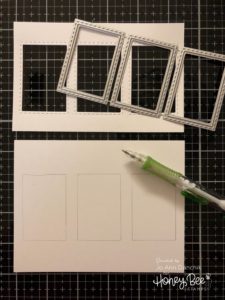
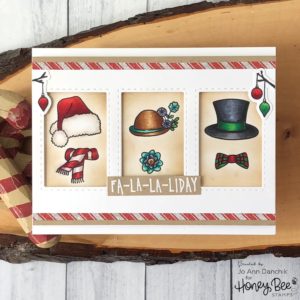
Today I am featuring three products from the new release. I started out using the Rectangle Windows Die. I cut the windows out of a 5.5” x 3.25” piece of #80 Neenah cardstock. You can cut the dies apart, and use them separately, but I chose to leave them attached. I laid the cutout windows on top of another piece of cardstock and lightly traced the openings.
I stamped the images, from the Snow Buddies Stamp Set, using Copic friendly Gina K Designs Amalgam Ink.
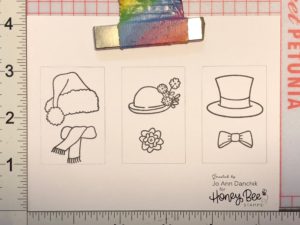
I know there are those of you who love to know the colors…so I wrote them down!
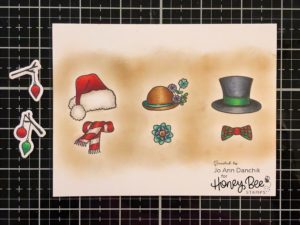
Santa’s Hat and Scarf: R24, R27, R29, R39 WOO, W1, W2, O
Ladies Hat and Flower: E31, E34, E35, E49, BG11, BG32, BG34, BG49 V22, V25, V28, BV20
Top Hat and Tie: C2, C4, C6, C8, C10 G14, G16, G19, G29 R24, R27, R29, R39
The lightbulbs were the same reds and greens and cut with the coordinating Snow Buddies Die Set.
I erased the pencil lines and added a light bit of shading with a finger dauber and Vintage Photo Distress Ink.
The sentiment is from the Fa La La Stamp Set. It was stamped onto Desert Storm Khaki cardstock, using Versamark Ink, and heat embossed with Hero Arts White Detail Embossing Powder.
To finish the card I added strips of Tim Holtz Christmas Deco Sheets and Desert Storm Khaki cardstock to the top and bottom edges. Scotch Foam Tape was added to the back of the cutout panel and to the part of the sentiment that hangs over the opening. This was then added to the colored panel.
The light bulbs were added to the front using a Gina K Designs glue pen and the panel was attached to a #110 Neenah cardstock card base, using a Kokuyo Tape Runner.

Be sure to check back each day this week for more inspiration with the new release.
As always, thank you for sharing a bit of your time with me today on another creative journey.
Joyfully, Jo Ann
Supplies used: The products that I used are listed below in compensated affiliate links. You can click the icon of your choice, below the product picture, to go directly to your favorite shop. There is NO additional cost to you when using these links. Thank you for your support!