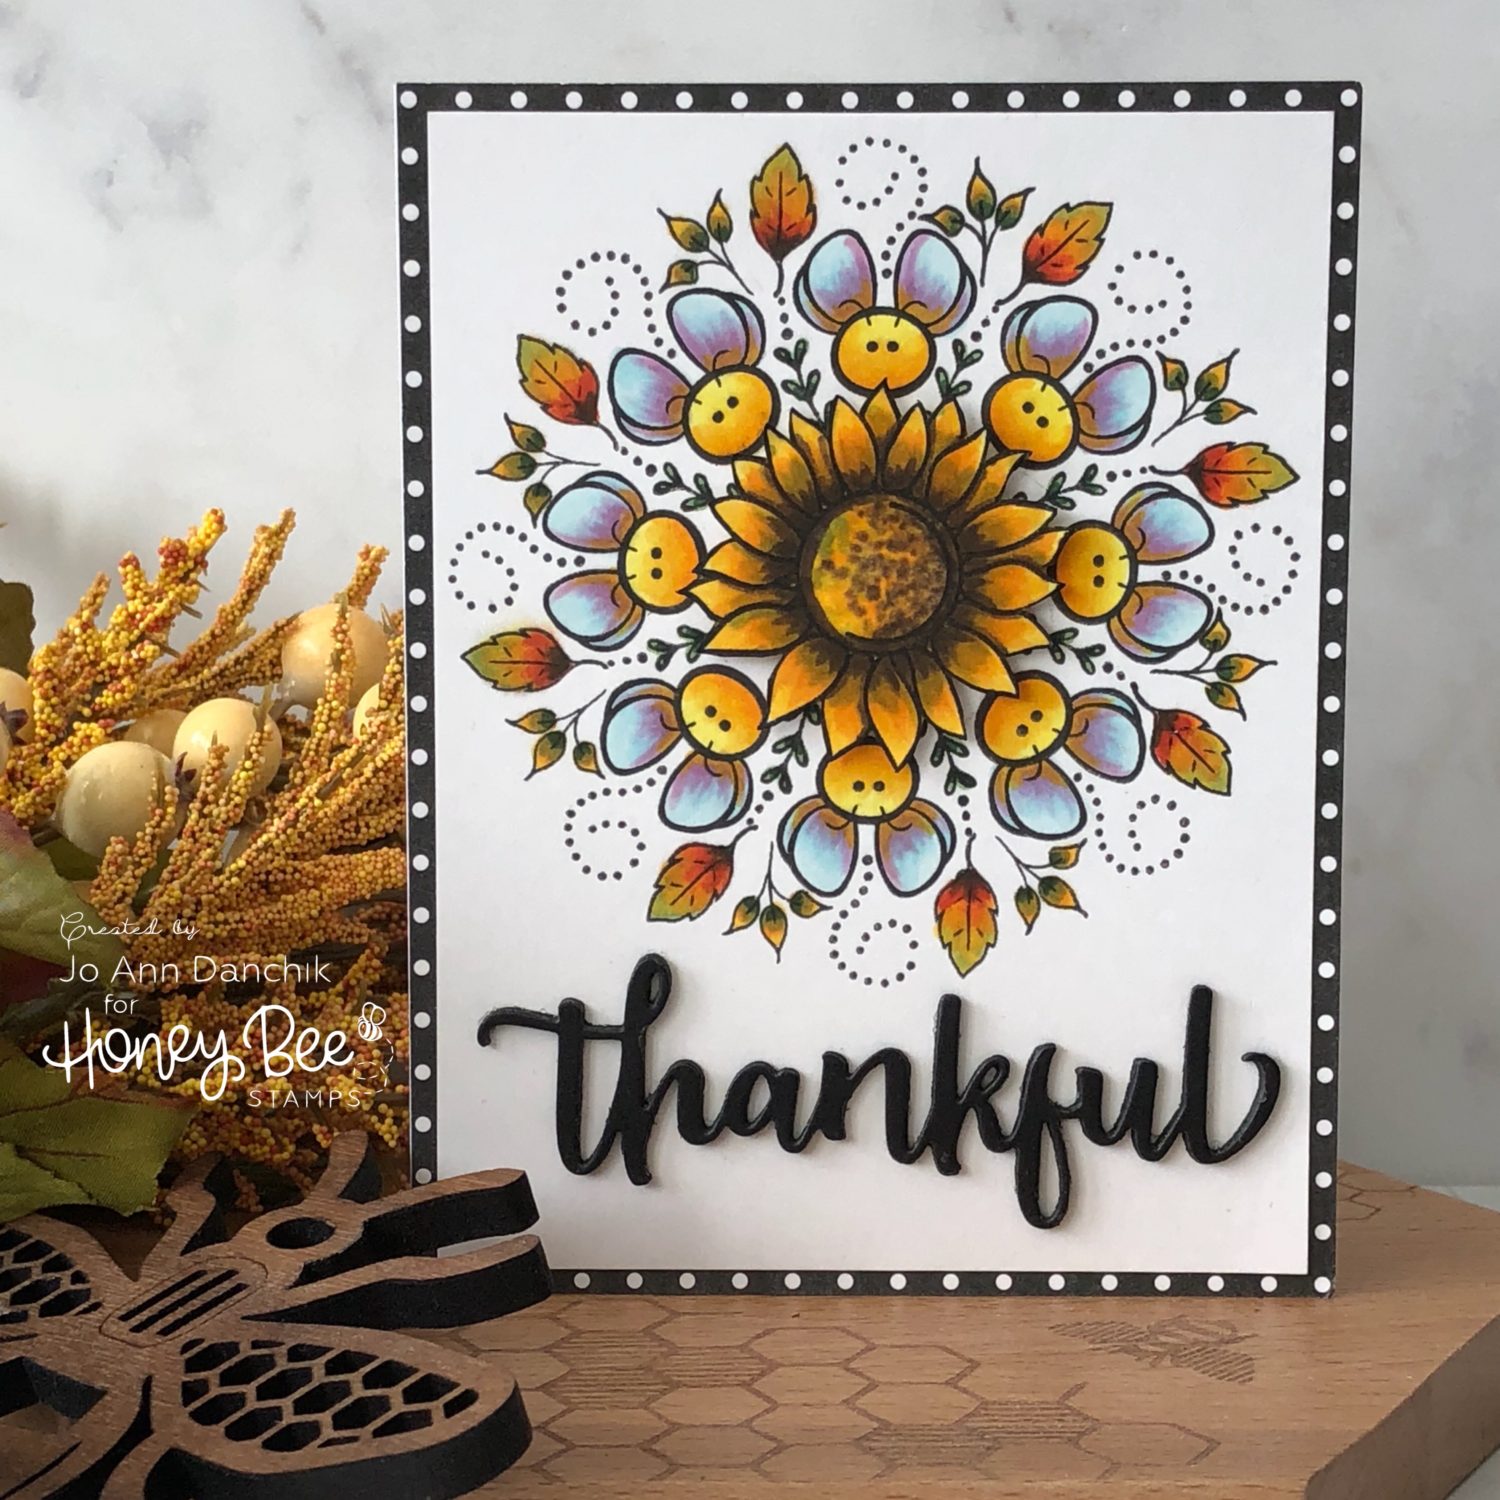
Creative Sundays With Jo Ann: Bee Thankful
Bee Thankful. Did you see what I did there with the title? This fall wreath has happy bee faces! Okay…moving on. Sunflowers are known as the “happy” flowers. The young flowers face east at dawn to greet the sun. They follow the sun as it heads towards the west and slowly turn back to the east during the night to start all over. I love them and keep a fresh vase of them on my kitchen counter all summer! As we move into the fall months you frequently find them mixed in among the fall wreaths and bouquets. I am always in need of thank you cards. I love that this card will work right through the end of November.
____________________
(Products highlighted in teal are active links to the shop.)
There are many ways that this card can be made. You can lightly pencil in concentric circles and evenly stamp small images around them. You can use your math skills and figure out how to space everything perfectly…and it will be lovely.
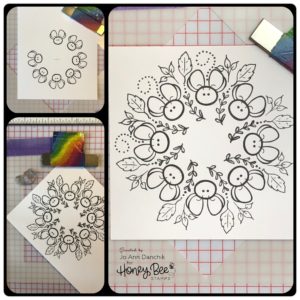
I have no patience for that method and have found the wreath builder stencil, by Gina K. Designs, to be a game changer. Now you can gather up all the small images that you have scattered throughout all your stamp sets and build unique and fanciful wreaths quickly…and without having to use math! I cut my #80 Neenah cardstock to 5.25” x 4” and placed the top into the 4” stencil. A stamping tool is essential for this. I used my MISTI. To find the center at the top of the panel place the ruler from the top point to the bottom point of the stencil and mark it. Turn the panel 90 degrees and repeat. This is your center. There are plenty of videos on Youtube showing you how to use this stencil if you have questions.

My first layer is the sweet bee face from the Busy Bee Stamp Set. I used Copic friendly Simon Says Stamp Intense Black ink. To create the circle, leave the stamp in place and rotate the paper to the next opening. Continue to rotate and stamp the image until you have eight images.
The second layer is a small foliage stem, from the Country Wreath Stamp Set, set below the bees. For the third layer I was able to stamp the two leaves, also from the Country Wreath Stamp Set, at the same time. This set is meant for building wreaths and has many wonderful small images to choose from. For the final layer I used the dotted swirl from the Happy Fall Y’All Stamp Set.
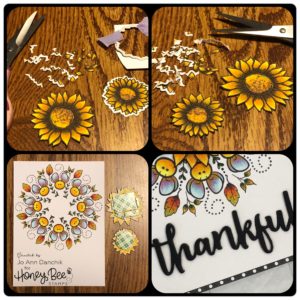
I stamped the two sunflowers from the Happy Fall Y’All Stamp Set and colored them with Copic Markers. They were cut with the coordinating Happy Fall Y’All Die Set. After playing around with them I decided that they were a tad too big so I cut off the outer layers using my EK Success Cutter Bee Scissors.
Sunflower:
Y15, Y19, Y38, G24, V99
The wreath images were colored using Copics as well.
Bees Faces:
Y02, Y15, Y19, Y38
Wings:
B0000, B00, V01, V12
Foliage Stem:
G24, G28
Autumn Leaves:
Y15, Y38, R08, G21, G28
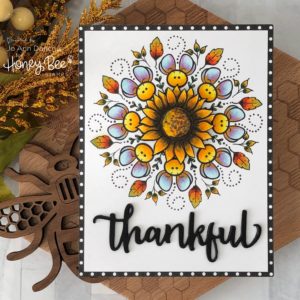
I added Scotch Foam Tape to the back of the Sunflowers for added dimension.
For the sentiment, I cut four sets of the word Thankful from black cardstock using the Thankful Die Set. They were stacked and glued together using a Lawn Fawn Glue Tube.
The panel was taped to a piece of MFT Black and White Dots paper using a Kokuyo Tape Runner. It left a perfect row of dots along each edge. The panel was then glued to a #110 Neenah Solar Crest Cardstock cardbase. I had intended to add the smaller sunflower to the center of the larger one but added it to the inside of the card instead.
When you get invited to share a meal or the Thanksgiving feast with family and friends, this handmade card and a flower bouquet or bottle of wine is a perfect thank you.
As always, thank you for sharing a bit of your time with me today on another creative journey.
Joyfully, Jo Ann
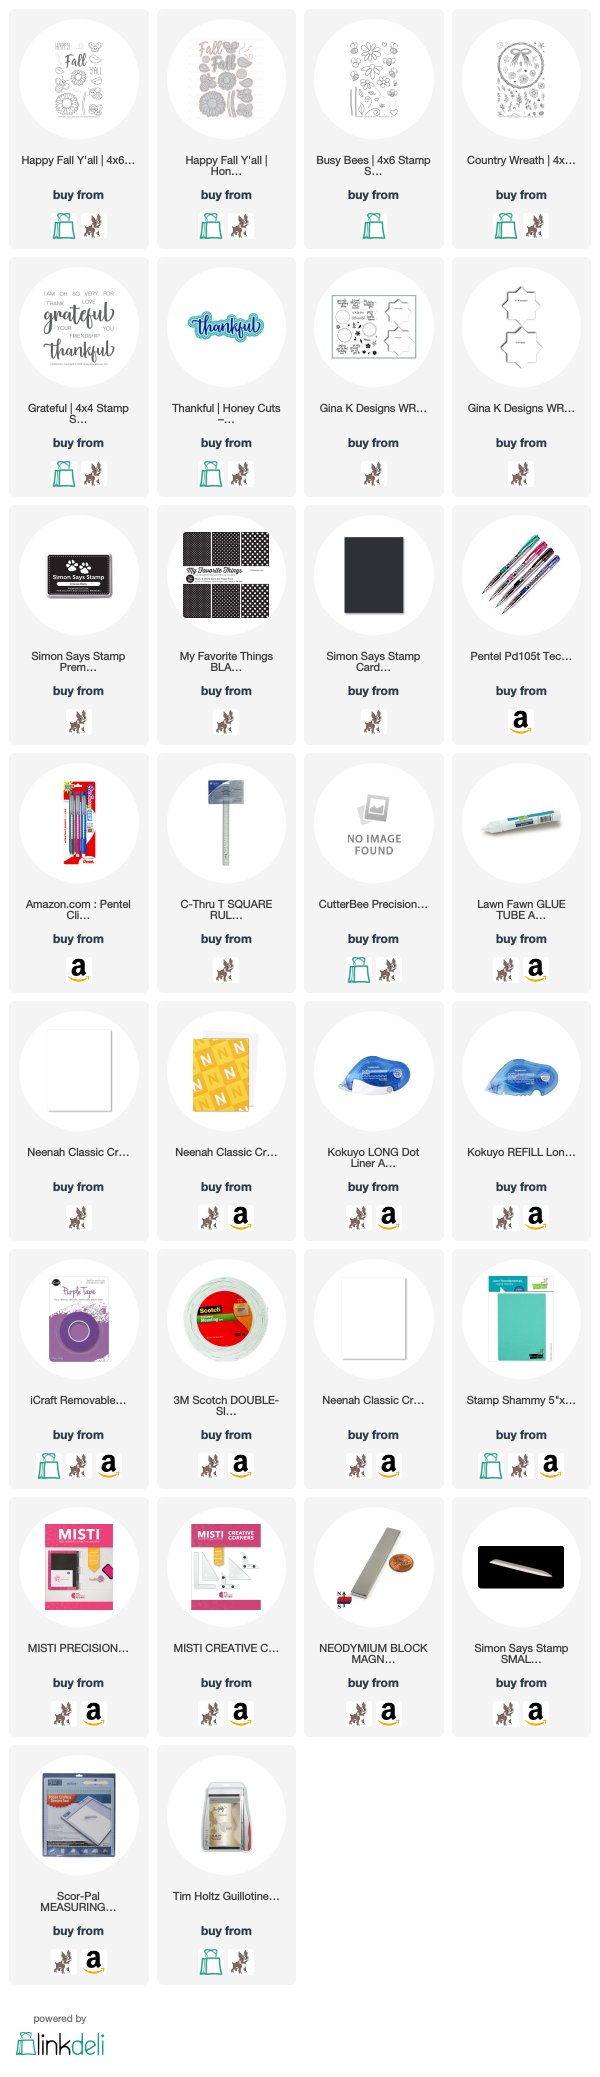
Supplies used:
The products that I used are listed below in compensated affiliate links. You can click the icon of your choice, below the product picture, to go directly to your favorite shop. There is NO additional cost to you when using these links. Thank you for your support!