Creative Sundays With Jo Ann: Cupcake Love
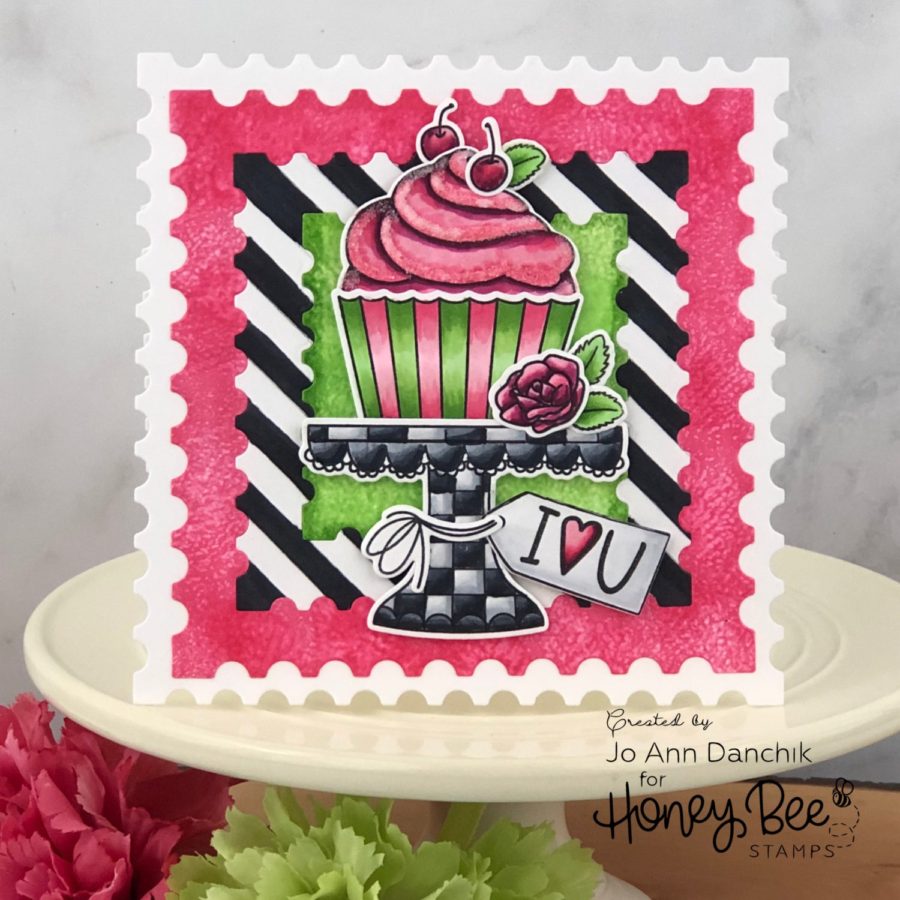
I have loved using all of the new products in this latest Honey Bee release. I haven’t had a chance to work with the Piece of Cake Stamp Set and the Postage Stamp Die Set yet so I thought that I would use them today. I really love jadeite cake stands and have a collection of them, but several other Design Team members have used them and I really wanted to come up with something different. For my inspiration, I am channeling the black and white checkerboard cake pedestal plates from MacKenzie-Childs. I love everything in their shop. I can’t afford it…but I love it! LOL 🙂
____________________
(Products highlighted in teal are active links to the shop.)
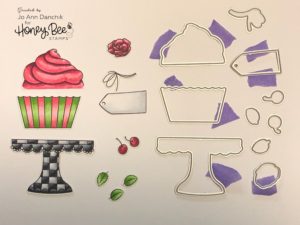
I started by stamping several images, from the Piece of Cake Stamp Set, using Copic friendly Gina K Amalgam Black Ink on #110 Neenah Solar Crest cardstock.
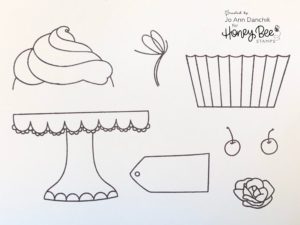
The images were colored with Copic Markers and cut out using the coordinating Piece Of Cake Die Set. I still love the low tack Purple Tape for holding the dies in place. It is coming out in a thinner version which will work in a tape dispenser that you will love.
Cake Pedestal: C1, 3, 5, 7, 9
Cupcake Wraper: YG 11, 13, 17, RV10, 11, 14, 19, 69
Tag: C0, 1, 2
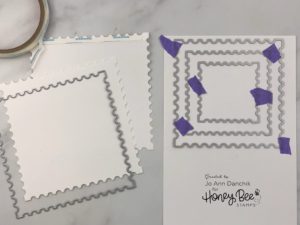
I used the new Postage Stamp Die Set to make a shaped card. I cut two of the largest die. The back piece was scored 1/4” from the top and 1/4” Scor-Tape was added along the scored fold. When the two pieces are put together it will form a 5” X 5” square card.
I die cut three more sizes from cardstock.
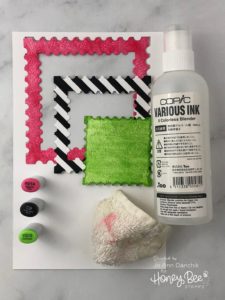
Rather than search for matching cardstock I found it just as easy to cut the panels from white cardstock and color them with the copic markers that I had already used. I used a small nubby washcloth and Colorless Blending Solution to blend the pink and green panels and to add some texture. The black striped panel was drawn on using a ruler and a C9 Copic marker. All the pieces were glued down to the card base. They fit like a jigsaw puzzle.
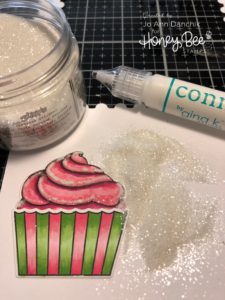
I added a little sparkle to the cupcake icing by running a line of Gina K Connect glue along the edges and then sprinkling Distress Clear Rock Candy Glitter on top.
The pieces were glued together and Scotch Foam Tape was added to the back for added dimension.
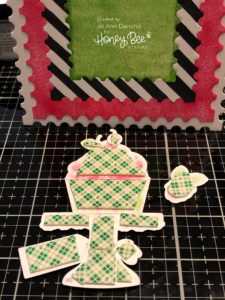
This card went together in under an hour and was so much fun to make. By piecing the background together it cut down on some of the bulky layers and will go through the mail easily. I have included a link for square envelopes below for your convenience.
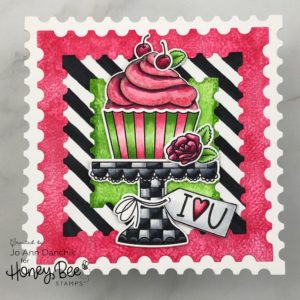
As always, thank you for sharing a bit of your time with me today on another creative journey!
Joyfully, Jo Ann
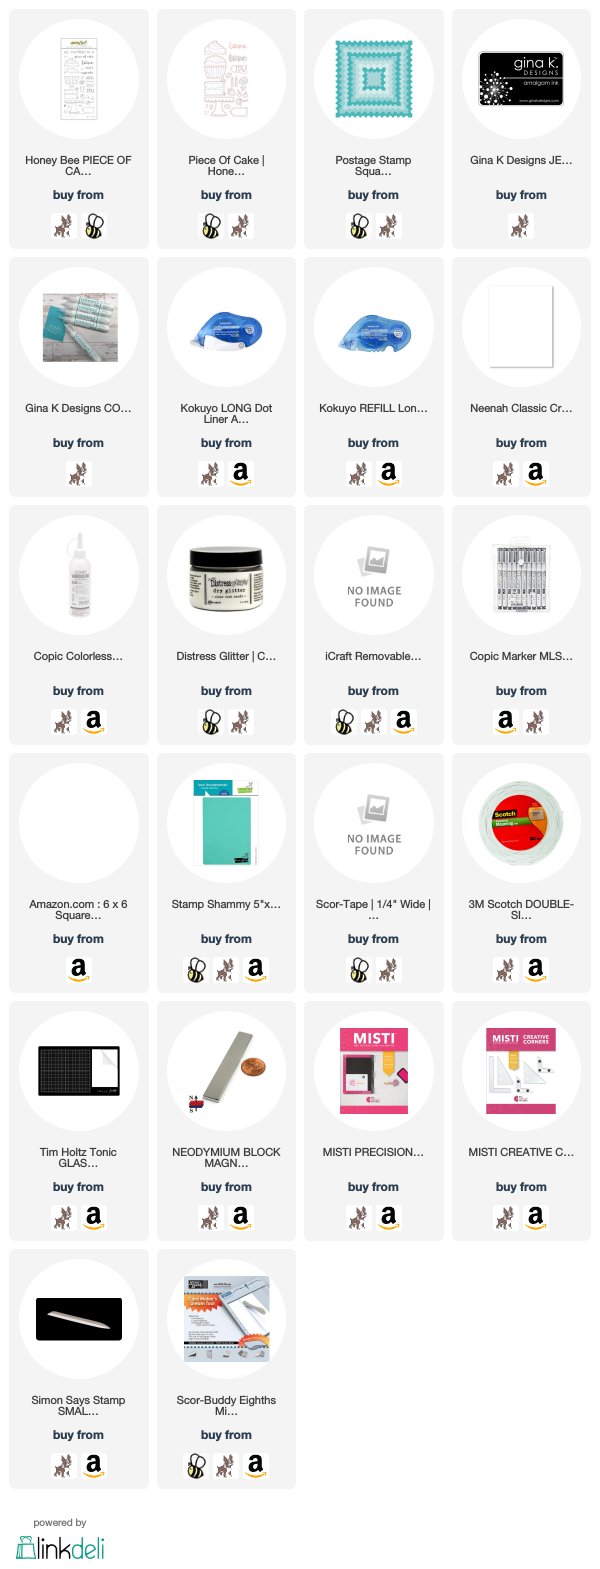
Supplies used:
The products that I used are listed below in compensated affiliate links. You can click the icon of your choice, below the product picture, to go directly to your favorite shop. There is NO additional cost to you when using these links. Thank you for your support!

