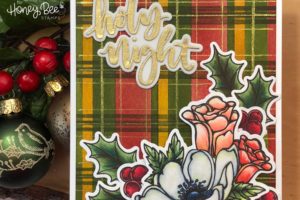
Creative Sundays With Jo Ann: Dashing Through The Snow
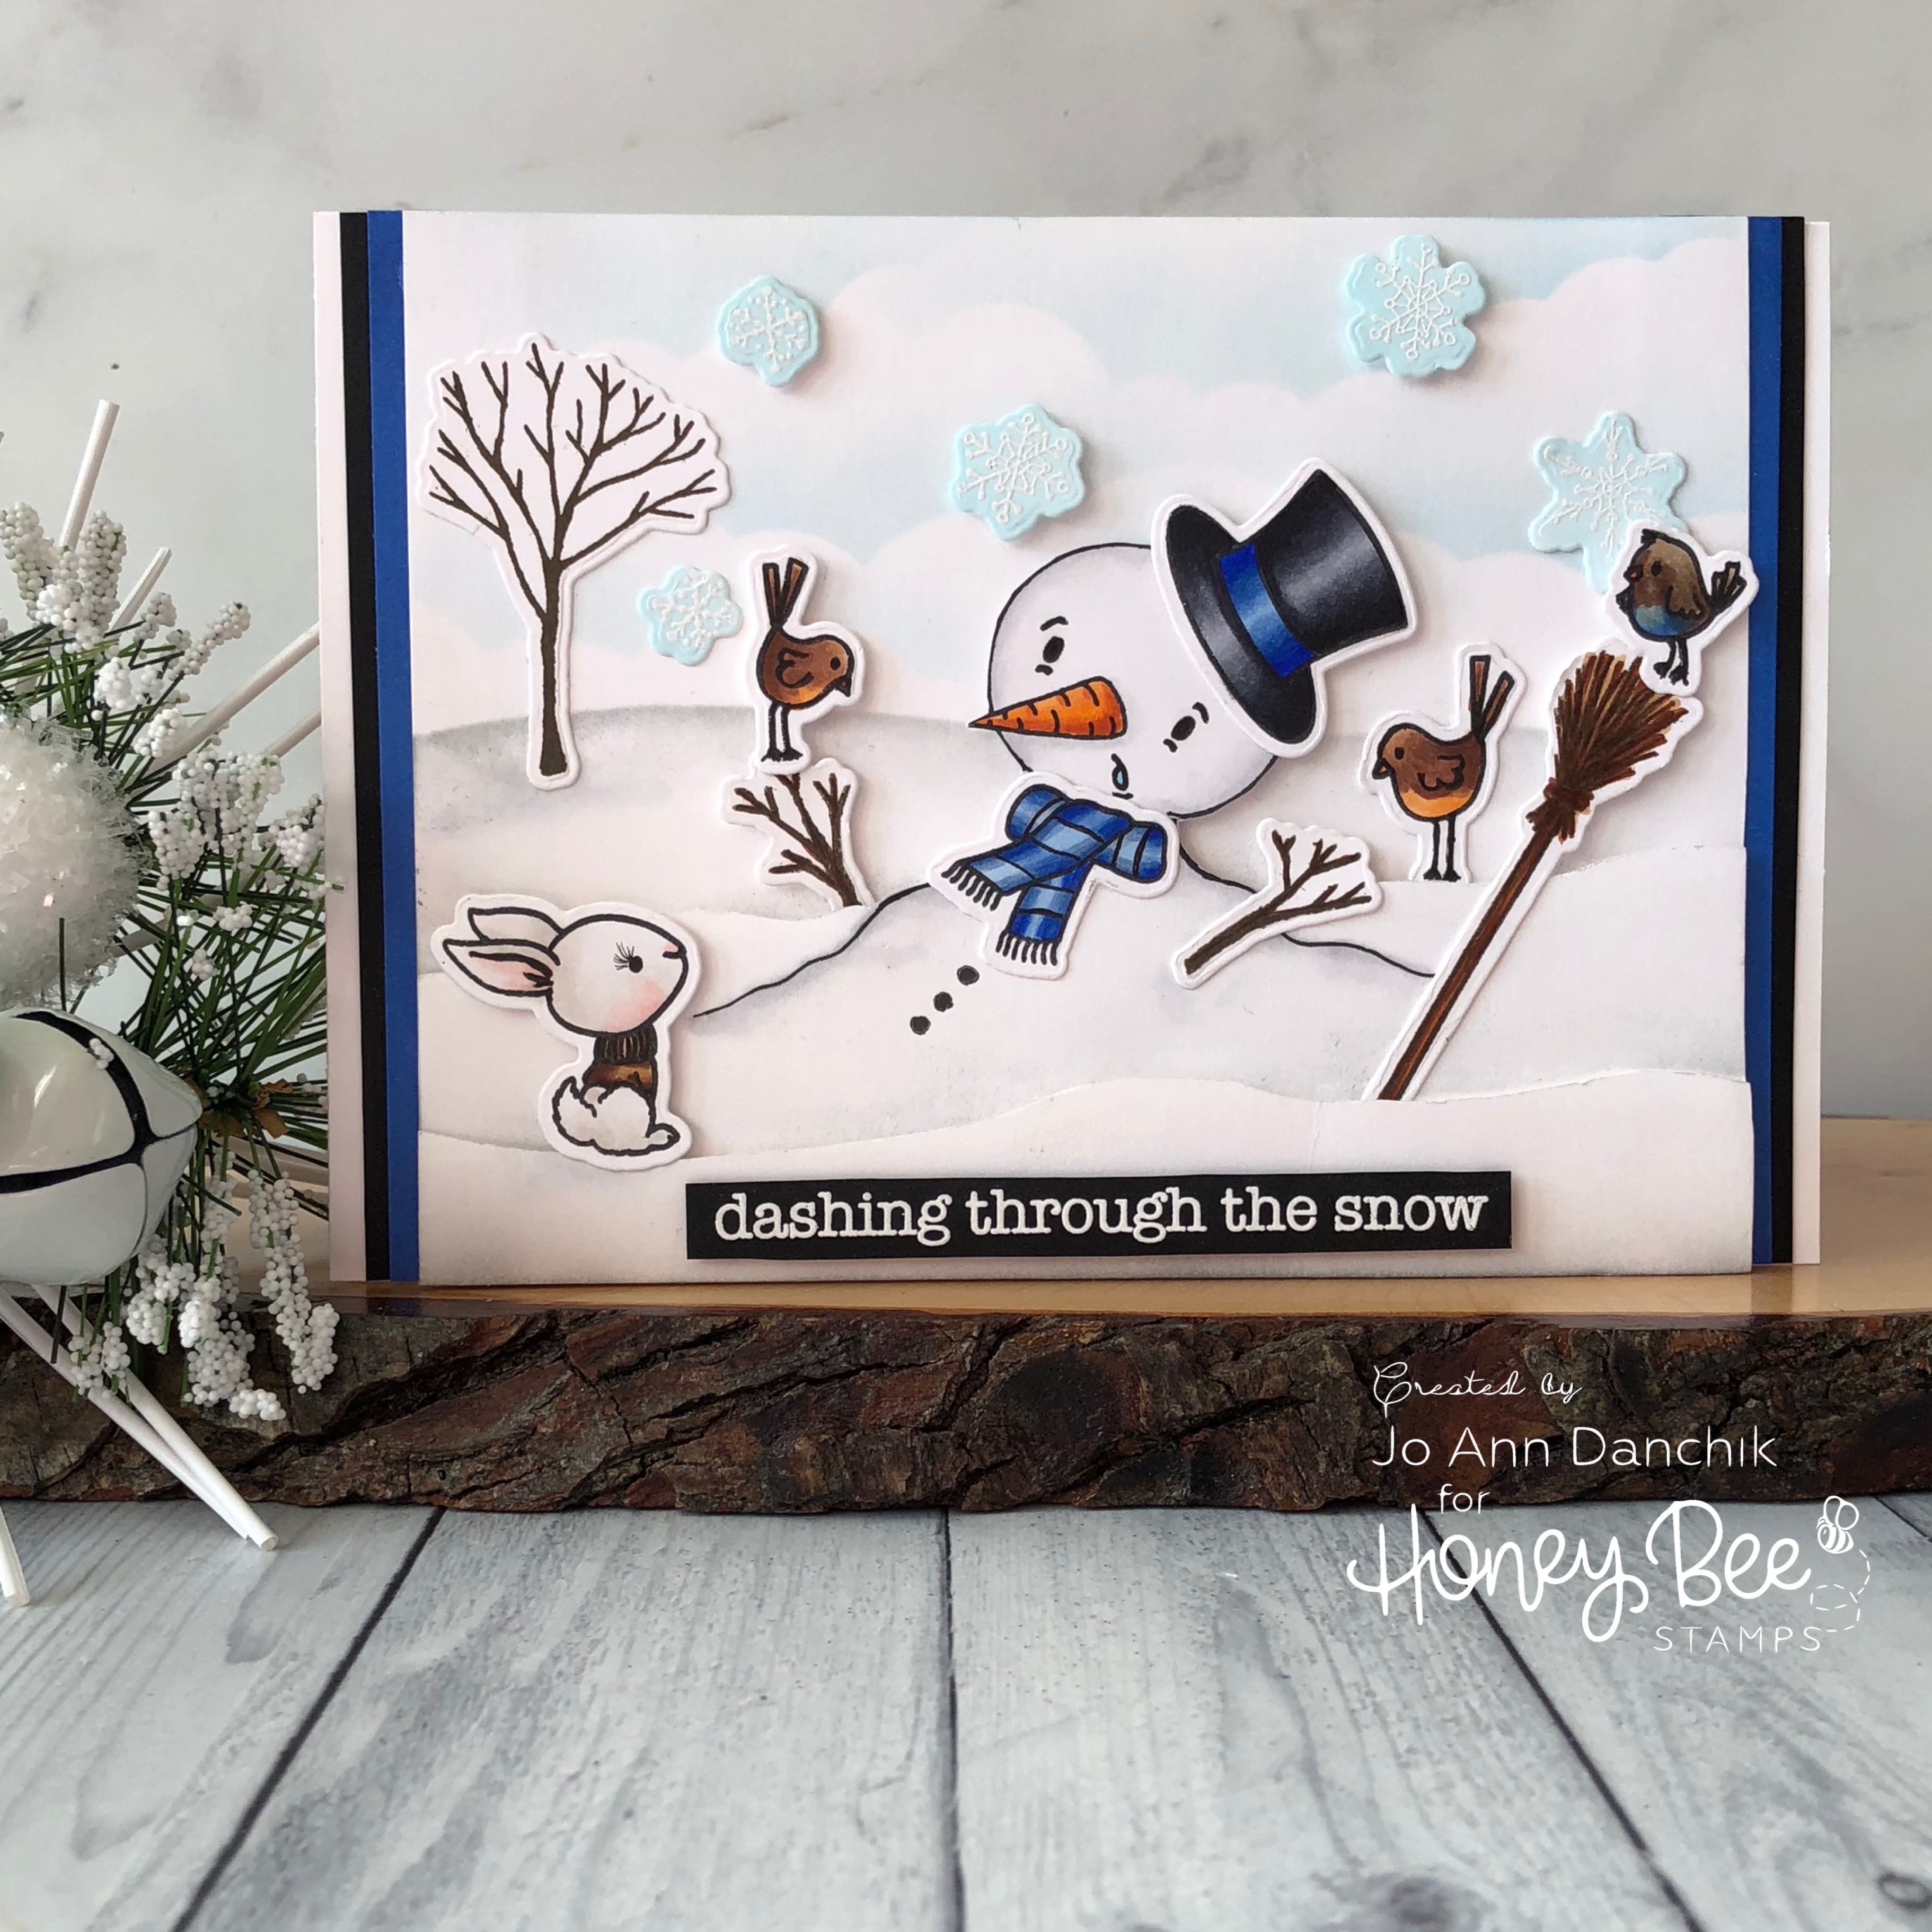
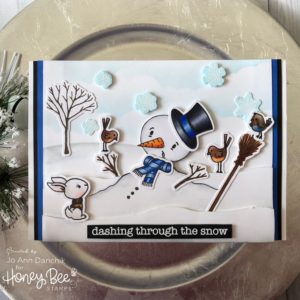
I love the snow people from the Snow Buddies Stamp Set. When I look at them I can’t help myself from humming “Do You Want To Build A Snowman?” Now that song is stuck in your head too…you are welcome! LOL
The little fella who has the look of worry on his face plays to my mischievous nature and I just had to MELT HIM. Some of you are screaming…but why? You know that somebody was bound to do it sooner or later! Bwahahaha!!!
________________________________
(Products highlighted in teal are active links to the shop.)
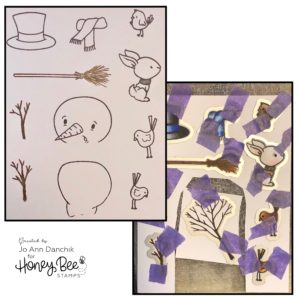
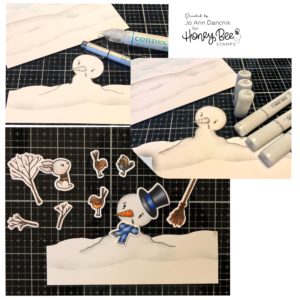
I stamped the images onto #80 Neenah cardstock using copic friendly Gina K Designs Amalgam Ink. The broom and stick arms were stamped with Wendy Vecchi Potting Soil Archival Ink. They were colored using Copic Markers and cut with the coordinating Snow Buddies Die Set.
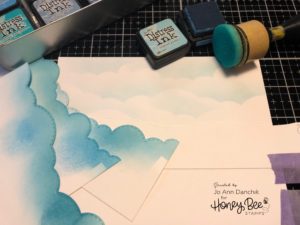
I needed a little more space to create the scene so I cut a 4.5” x 6.5” panel. The clouds were blended in with Tumbled Glass Distress Ink, using the border stencils that I have used many times. They were made by cutting heavy cardstock with the Cloud Border Die Set.
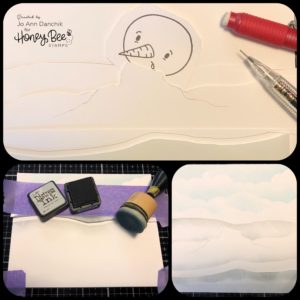
I used the stencils from the Winter Wonder Background Stencil Set to make several snowbanks from cardstock. I laid the head down and drew the melted body in.
I used three different height strips of cardstock to form the snowbanks. Shading was added using Weathered Wood Distress Ink.
The head was attached to the middle snowbank and I went back over the body lines with a Copic 0.3 black Multiliner. Shading was added to the snowman using Copic markers. I used the N series because it seemed to match the Weathered Wood ink well. The eyes were reinforced with a Black Gelly Roll Pen and the coal buttons were stamped. The scarf covers where the head is attached.
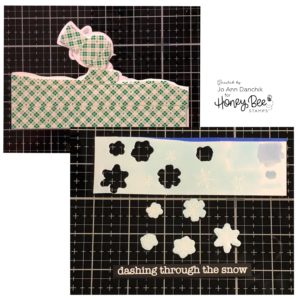
As I was building the scene I felt that it needed something more so I colored a strip of cardstock with a Copic B0000. I made sure that the paper was dry and stamped some snowflakes from the Snow Buddies Stamp Set. I used Versamark Ink and Hero Arts White Detail Embossing Powder. They were cut using the coordinating Snow Buddies Die Set.
The sentiment is from the Jingle All The Way Stamp Set. It was stamped with Versamark and embossed with the Hero Arts White Powder as well.
A tree was added in the background using the Potting Soil Archival Ink, the Silent Night Stamp Set, and the coordinating Silent Night Die Set. The middle panel had Scotch Foam Tape added to the back to give it dimension.
To create a matching border I colored a strip of cardstock using a Copic B26 marker. The panel was added to the strip and to a strip of black cardstock. The completed panel was added to a 5” x 7” #110 Neenah Cardstock card base, using a Kokuyo Tape Runner.
I hope that this brought a smile to your face. Not to worry…winter is just starting and there is more snow on the way! I am off to watch the classic “Frosty The Snowman” and drink some hot cocoa.
As always, thank you for sharing a bit of your time with me today on another creative journey.
Joyfully, Jo Ann
Supplies used:
The products that I used are listed below in compensated affiliate links. You can click the icon of your choice, below the product picture, to go directly to your favorite shop. There is NO additional cost to you when using these links. Thank you for your support!