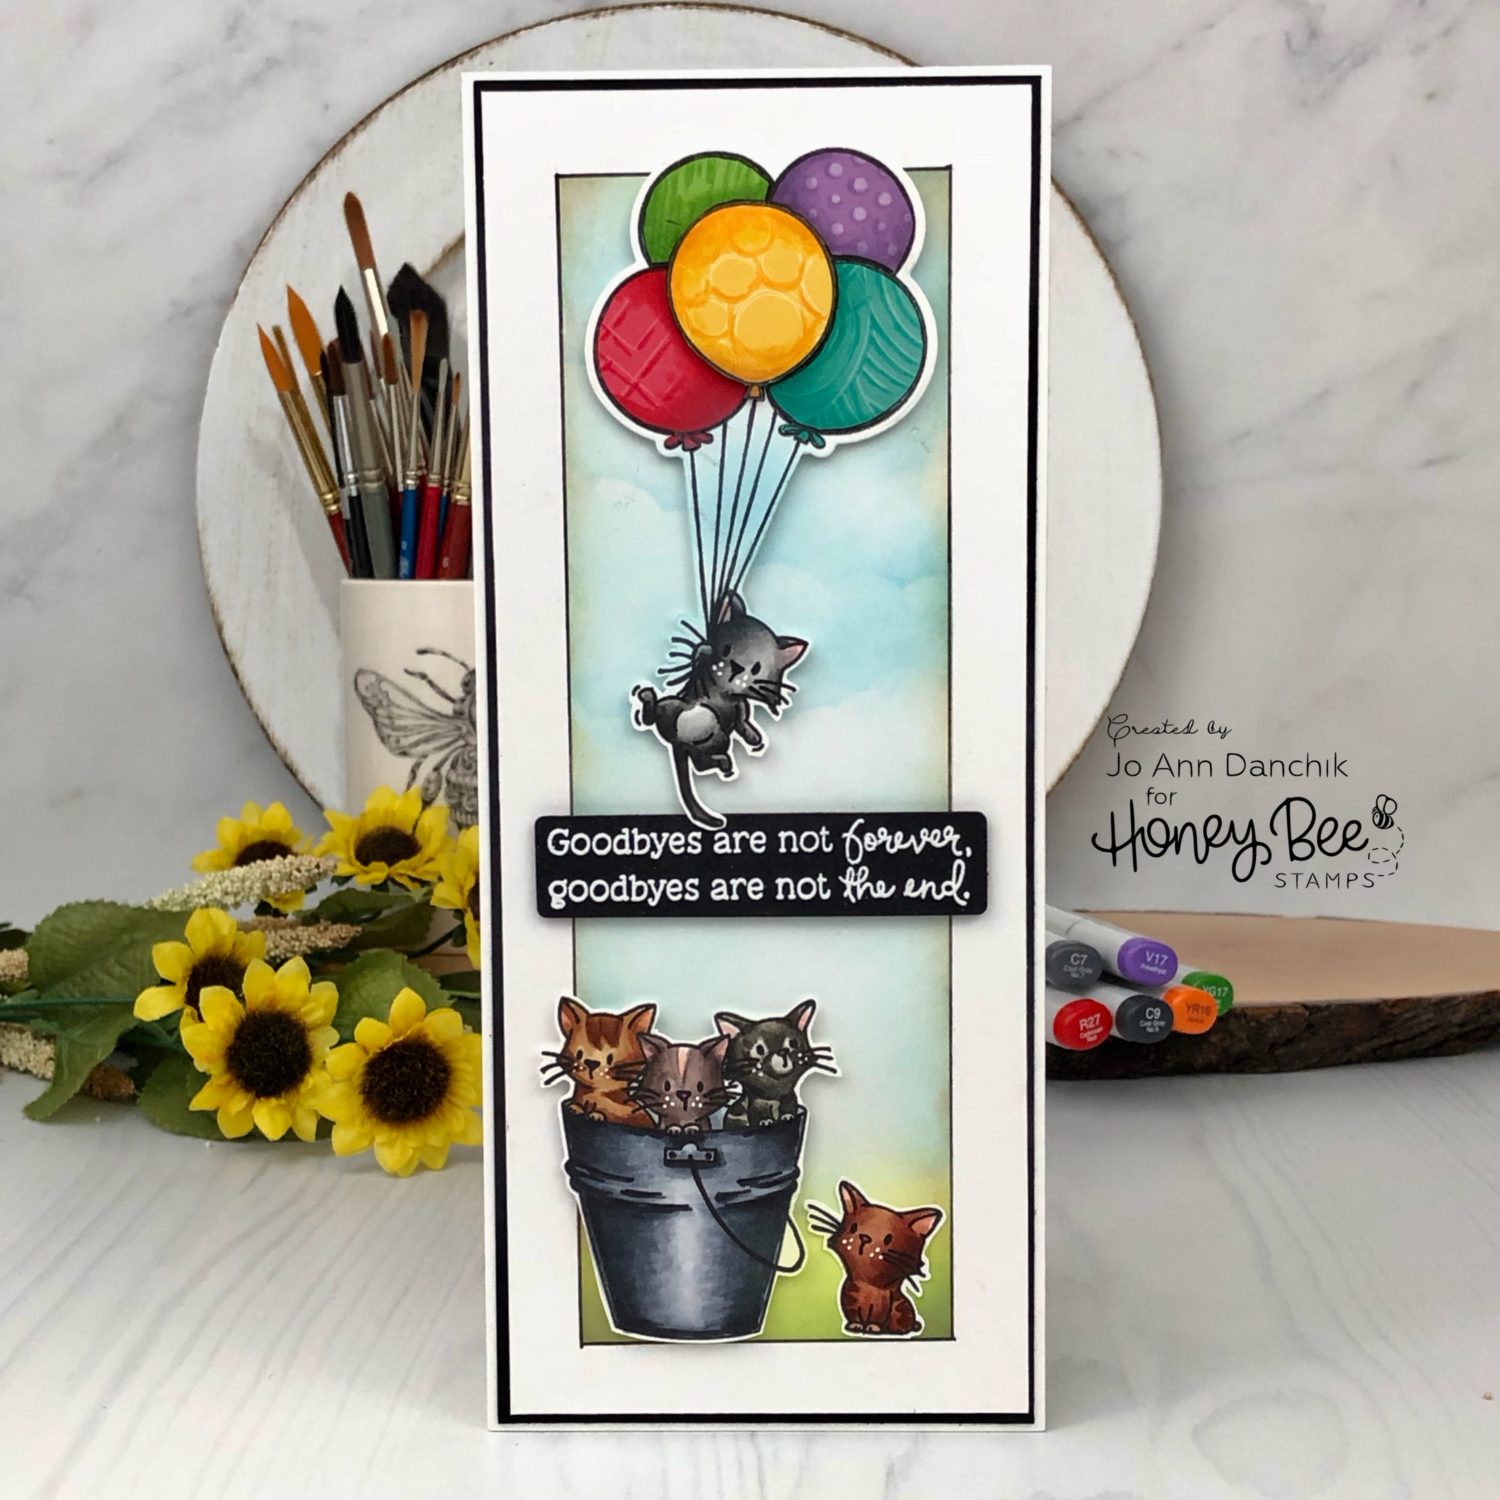
Creative Sundays With Jo Ann: Goodbyes Are Not Forever
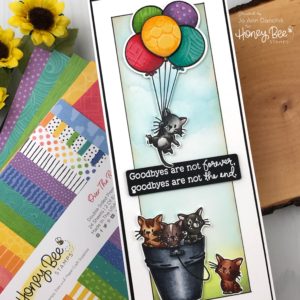
Hello my creative friends! This card was originally scheduled to post last Sunday. The site was down, due to technical difficulties, so I will be sharing this card, and a bit of news, with you here today…on Saturday! Today will be my last day as a Design Team member for Honey Bee Stamps. I have loved being able to share Sunday mornings with you and being a part of the new releases. As my card says…goodbyes are not forever. You will still be able to find me creating here on my blog, instagram, and here and there. So grab a cuppa and let’s get started on today’s project!
____________________
(Products highlighted in teal are active links to the shop.)
Today’s card centers around the adorable Oh My Whiskers Stamp Set. I stamped the images, onto #80 Neenah Solar Crest, using copic friendly Gina K Black Amalgam Ink.
For all my copic friends, I have included the colors that I used.
Kitten with Balloon: T0, T1, T3, T5, T7
Left Kitten: E31, E34, E37, E39, E18, R10
Middle Kitten: E70, E71, E74, E79, E0000, R20
Right Kitten: W00, W1, W3, W5, W7, W9
Single Kitten: E13, E15, E17, E18, E19
Bucket: C00 C1, C3, C5, C7, C9
The images were cut using the coordinating Oh My Whiskers Die Set.
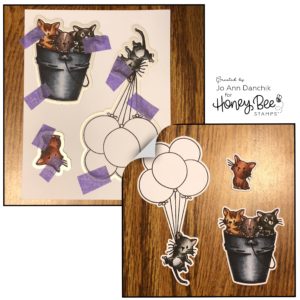
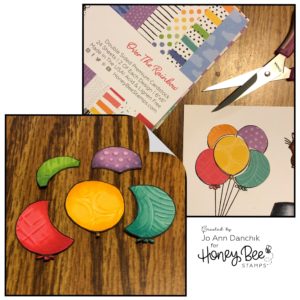
I chose the Over The Rainbow 6 x 6 Paper Pad to piece the balloon pieces. They were stamped and fussy cut. You will see that I went back and replaced the orange balloon with a green piece.
To give the patterns more dimension, I added shading with copic markers. Little shadows were added around the patterns to help them pop.
Teal Balloon: BG11, BG13
Red Balloon: R24, R27
Yellow Balloon: Y17, Y19
Purple Balloon: V22, V25
Green Balloon: YG23, YG25
I needed a larger card base to make everything fit. I started with #110 Neenah Solar Crest, cut to 9” x 7 3/4”, and folded in half lengthwise. This will fit in a business size envelope. I have listed some fun colored business envelopes below.
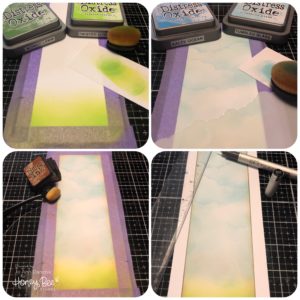
A #80 Neenah panel was cut to 8 3/4” x 3 1/2”. I taped off a 1/2” border on all sides with low tack purple tape. Grass was added to the bottom section using Twisted Citron and Mowed Lawn Distress Oxides and Picket Fence Life Changing Blender Brushes. The sky and clouds were created with Tumbled Glass and Salty Ocean Distress Oxides and an Outdoor Scene Builder Stencil.
For a vintage look, and to define the borders, I added the smallest amount of Vintage Photo Distress Ink along the edges.
After removing the tape, I used a 0.3 Copic Multiliner to outline the panel.
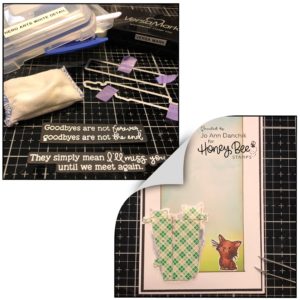
The sentiment is from the Missing You Stamp Set. It was stamped on Hero Arts black cardstock with Versamark Ink and heat embossed with Hero Arts White Embossing Powder. Be sure to use an anti static powder before embossing on dark cardstock. The sentiments were cut using the coordinating Missing You Die Set.
All the kittens eyes and whiskers were gone over with a black Gelly Roll Pen and given freckles with a white Gelly Roll Pen.
The single kitten was glued to the panel. All the other images and the sentiment were given added dimension using Scotch Foam Tape.
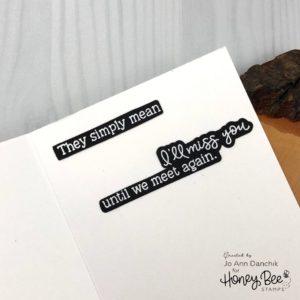
The inside of the card is much narrower than an A2 card. To accommodate the sentiment I cut it apart and glued it down.
This card was so much fun to make and would be appropriate for so many occasions. It would work beautifully when a beloved pet has crossed over the rainbow bridge. It would also work well for a co-worker who is leaving or a friend who is moving away.
As the inside of the card says…”until we meet again!”
As always, thank you for sharing a bit of your time with me today on another creative journey. You can also find me on Instagram at jadanchik.
Joyfully,
Jo Ann
Supplies used:
The products that I used are listed below in compensated affiliate links. You can click the icon of your choice, below the product picture, to go directly to your favorite shop. There is NO additional cost to you when using these links. Thank you for your support!