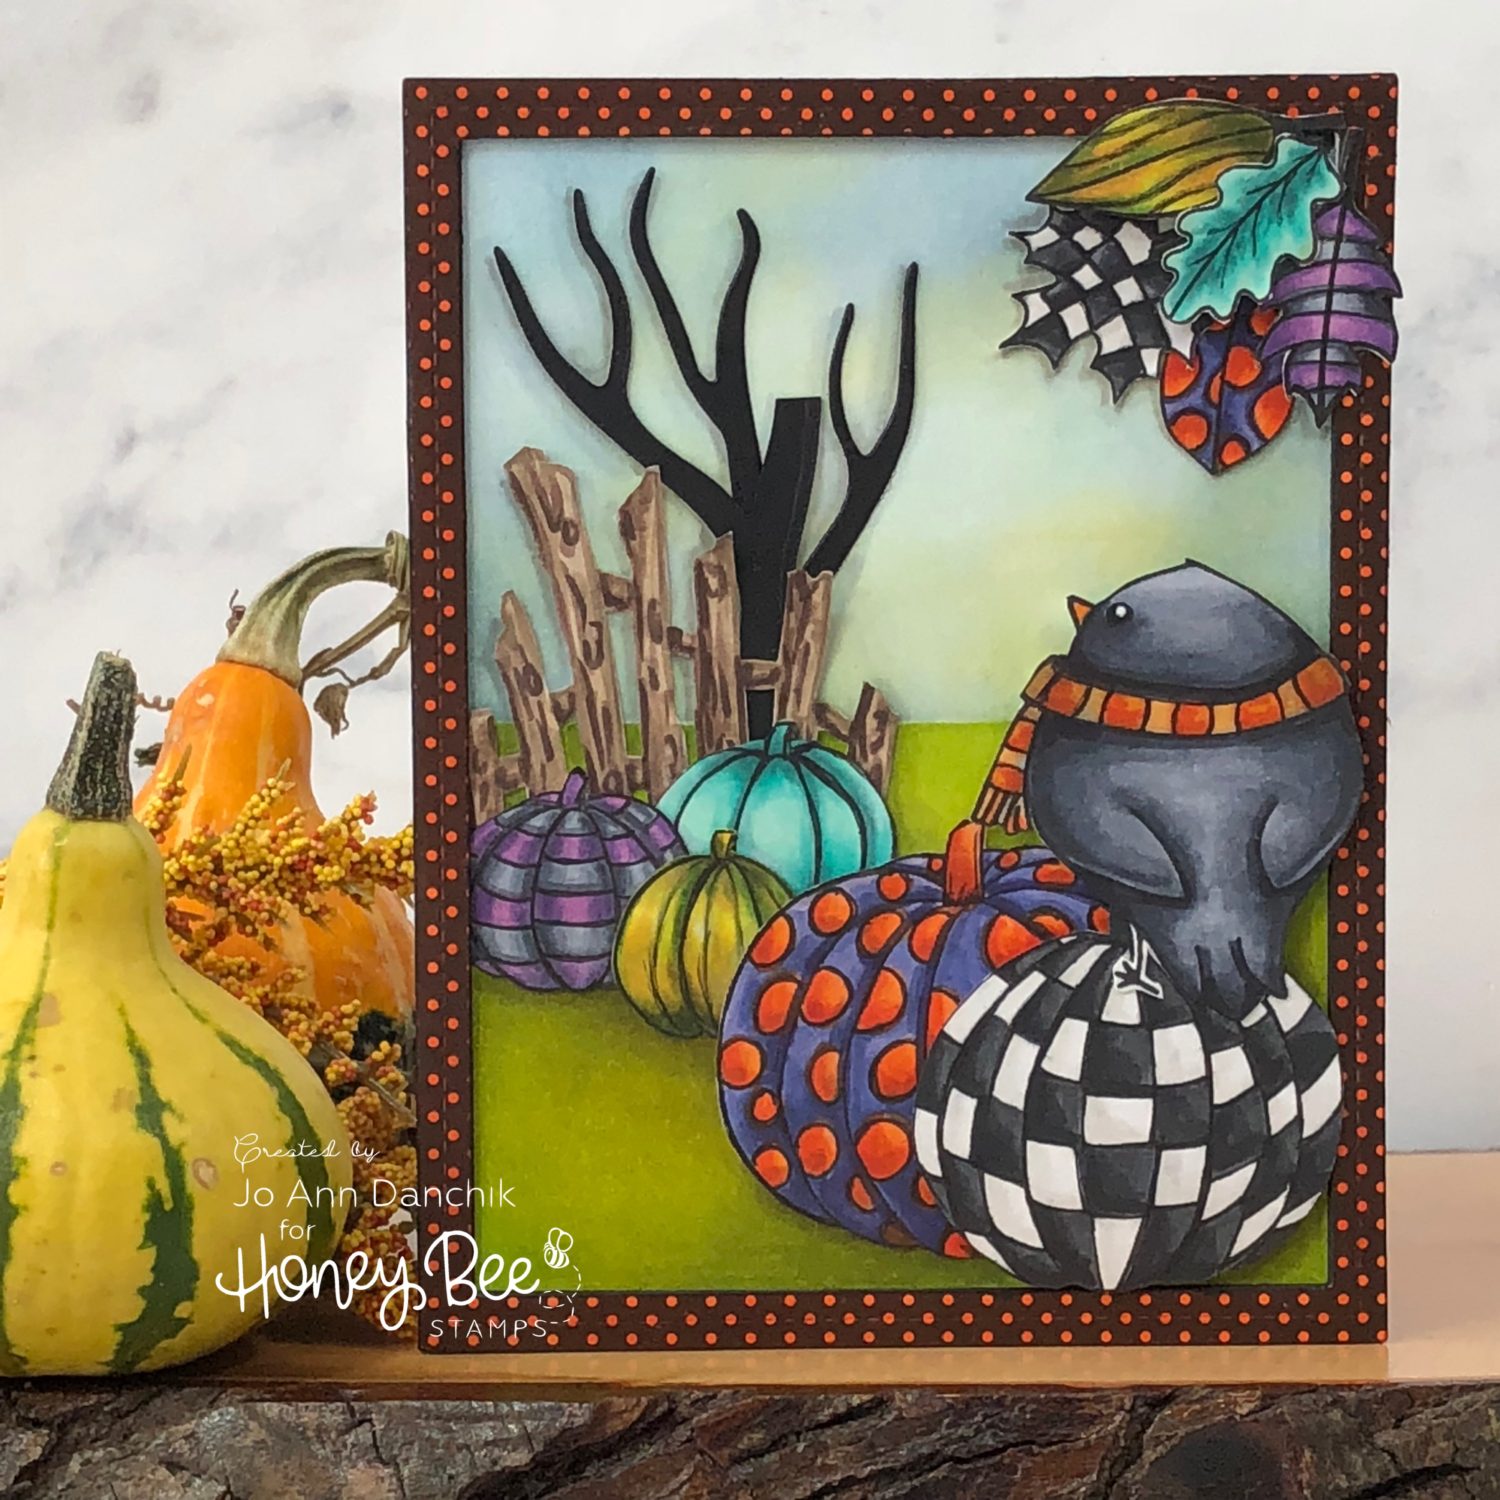
Creative Sundays With Jo Ann: Harlequin Fall Whimsy
Fall in Texas is very different from the falls that I grew up with in the north. Our trees are still green and all the flower pots are still overflowing with color here. It is still hot and the cooler temps that are needed to change the leaves to vibrant colors are nowhere to be seen. In another month or two the temps will drop and we will have a short version of fall. Sometimes it seems that we skip fall and go straight to our version of winter.
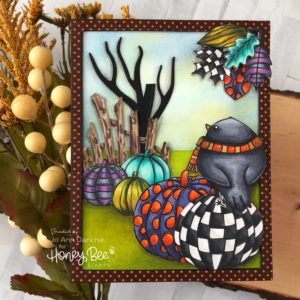
I decided to create my own version of fall…harlequin style! The definition of Harlequin is: adjective; multicolored, kaleidoscopic, checkered, psychedelic, varicolored, etc. Today’s leaves and pumpkins most assuredly fit that description! This card was fun to make and really didn’t take much longer than a regular card. It is, however, a little longer to explain so grab a beverage and let’s chat.
____________________
(Products highlighted in teal are active links to the shop.)
All images and sentiments were stamped with Copic friendly Simon Says Stamp Intense Black ink on #80 Neenah Solar Crest cardstock. They were colored using various Copic markers. There are coordinating dies, but I altered many of the images so I fussy cut them using EK Success Scissors. Low tack Purple Tape was used for masking, die cutting, and ink blending the background.
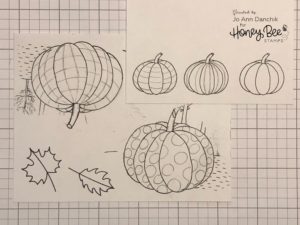
I found a large pumpkin in the Hey, Pumpkin Stamp Set. I only wanted the pumpkin so I masked off the girl’s legs and selectively inked the stamp. You will see other bits of the images around the edges but it doesn’t matter since you will be fussy cutting the image. I drew in the missing parts of the pumpkin with a pencil and a .2 Copic Multiliner. I use the more expensive marker that can be refilled, but there is a less expensive option listed below as well.
I found a smaller pumpkin in the Acorn Sisters Stamp Set and stamped several of them. I also found some good size leaves in the Bushel and A Peck Stamp Set. The bird, in the Season’s Tweetings Stamp Set, was a little bigger than I would have preferred but let’s be honest, the scene is not realistic and the larger bird adds to the whimsical feel of the card.

I drew patterns on the pumpkins with a pencil. I also drew the same patterns and coordinating colors on half of the leaves.
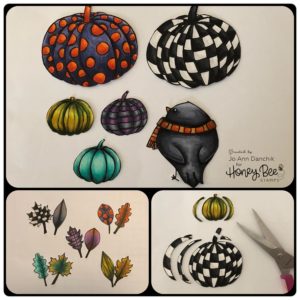
I have included the colors that I used for those of you who ask for them. After coloring the images, I outlined the patterns with the .2 Copic Multiliner.
Checkered Pumpkin:
N6, N8, N10 – WOO, WO, O Colorless Blender
Polk Dot Pumpkin:
YR02, YR04, YR07, YR09, YR27 – BV11, BV13, BV17, BV08
Black and Purple Stripe Pumpkin:
V12, V15, V17 – C2, C4, C6, C8
Yellow and Green Pumpkin:
Y04, Y13, Y15, YR12 – YG61, YG67, YG97
Blue Pumpkin:
BG10, BG11, BG13, BG18
Bird:
C2, C4, C6, C8, C10
Scarf:
YR 12, YR16, YR18
Eyes:
Black Gelly Roll and White Gelly Roll Pens
After playing around with the pumpkins I decided that I would like more sizes, so I gave two of the pumpkins a trim.
I also decided that the scene needed something more so I drew a rickety fence, colored it in, and fussy cut it. I did not want to fuss with an exacto knife to get the inside pieces so I just cut up through one side of the bottom horizontal slats. It is so much easier and when you glue the fence down, you can’t tell.
Fence:
E40, E42, E44, E47, E49
I also cut a branch, out of a scrap of Simon Says Stamp Black cardstock, using the Branch and Leaves Die Set. I cut off various branches and glued them back on where I wanted them.

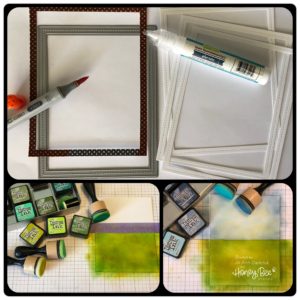
To create a frame, I cut a piece of the smallest dots paper from a My Favorite Things Black and White Dots paper pad, using the largest Lawn Fawn Stitched Rectangle Frames Die. I colored over the frame with a YR07 Copic marker to make the dots orange. I cut three more frames and glued them together using Lawn Fawn glue.
For the background, I taped off a piece of #80 Neenah cardstock and blended on Twisted Citron, Crushed Olive, and Mowed Lawn Distress Inks, using a Blending Tool. The sky was blended with Tumbled Glass and Stormy Sky Distress Inks.
I laid the frame on top of the background and started gluing the images down. Three of the leaves were on top of the frame and Scotch Foam Tape was added to support them.
The frame was glued down and the bird and last pumpkin were also given dimension with Scotch Foam Tape. Cast shadows were added along the bottoms of the pumpkins and the leaves with CO, C1, C2, and C4 markers. The panel was added to a #110 Neenah Solar Crest cardbase, using a tape runner. Additional leaves were added to the back of the card, along with my signature stamp.
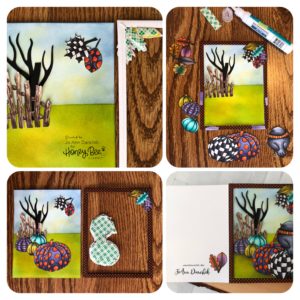
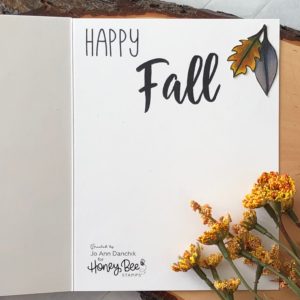
I added some more leaves to the inside and a sentiment from the Happy Fall Y’all Stamp Set.
I love the whimsical look of this card! While I have someone special in mind who would love and treasure this card…I admit that I will have a hard time letting it go! I know that it looks like a lot of steps but it truly went together fast and you won’t have to stop and take pictures, like I did, if you choose to make a version of it! LOL
As always, thank you for sharing a bit of your time with me today on another creative journey.
Joyfully, Jo Ann
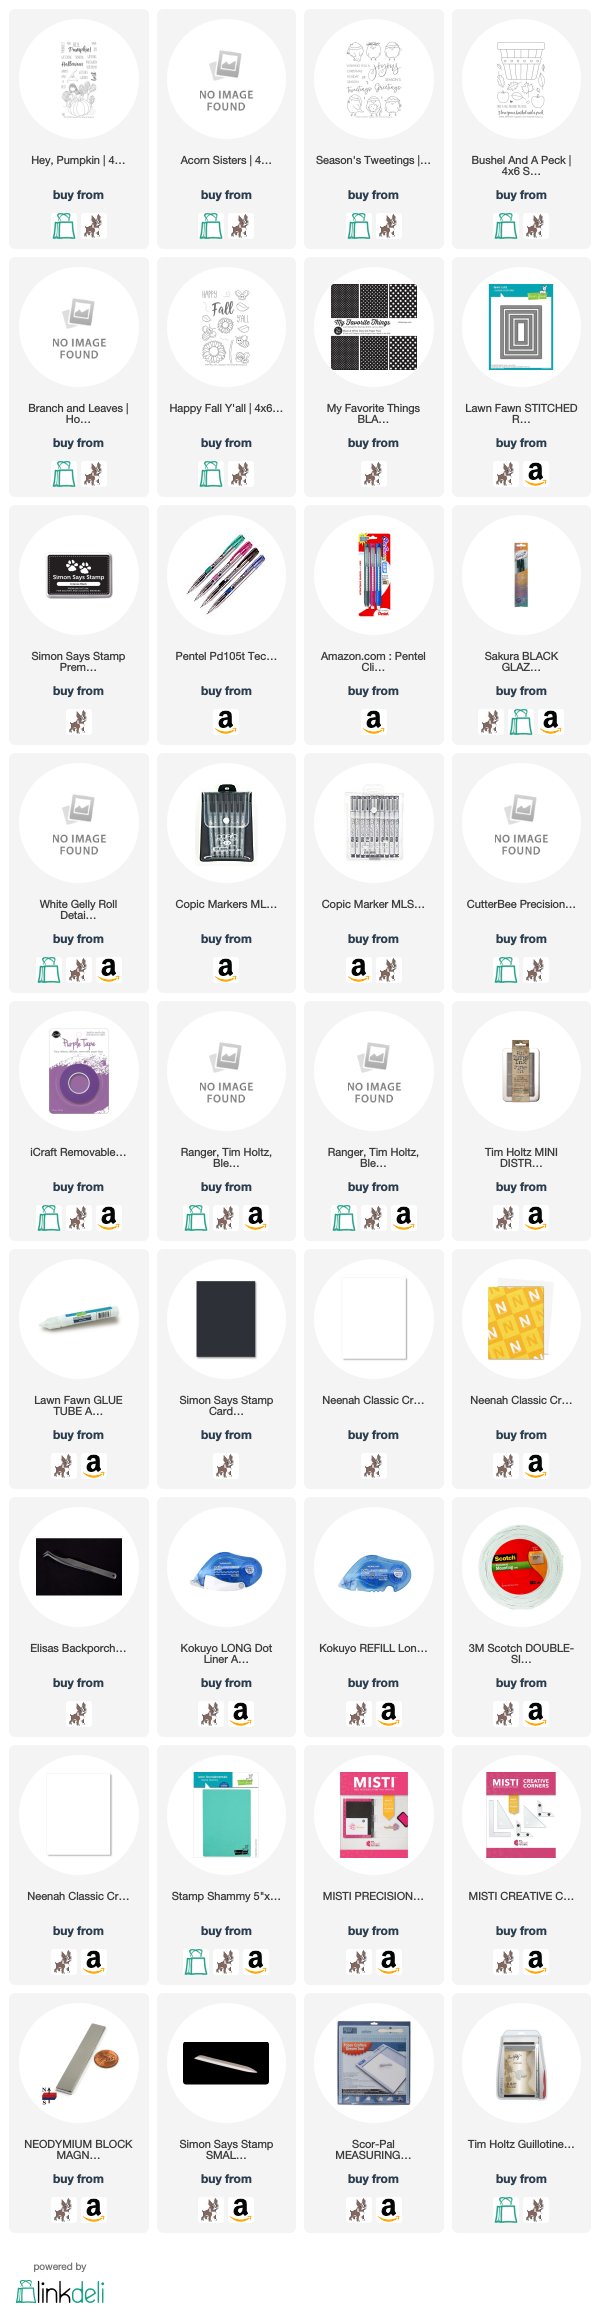
Supplies used:
The products that I used are listed below in compensated affiliate links. You can click the icon of your choice, below the product picture, to go directly to your favorite shop. There is NO additional cost to you when using these links. Thank you for your support!