Creative Sundays With Jo Ann: Peace On Earth
There is a new release HERE at Honey Bee Stamps. There have been lots of sneak peeks both here and on social media. The Design Team has been hard at work and will officially be sharing their projects with you throughout this coming week, so be sure to visit the Honey Bee blog every day for lots of inspiration. I will have full tutorials and product info for my projects here, on my blog.
______________________________
(Products highlighted in teal are active links to the shop.)
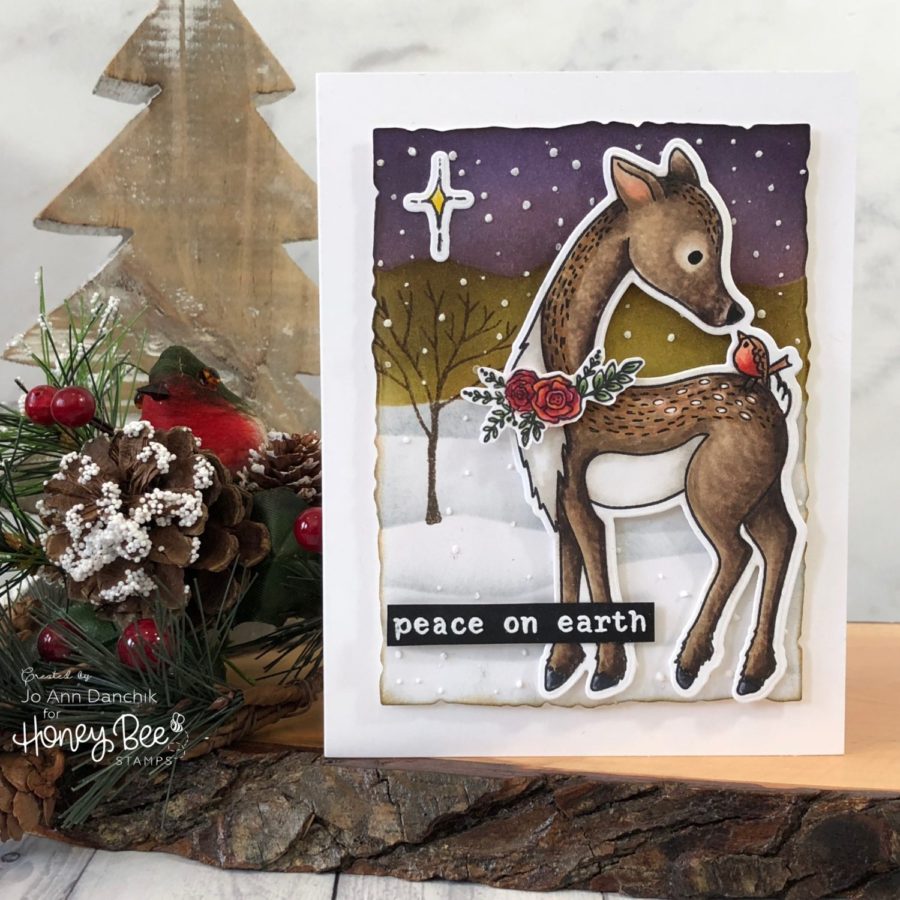
Today’s card features four new products and starts with the adorable deer from the Silent Night Stamp Set. It was stamped onto #80 Neenah Cardstock with copic friendly Gina K Designs Amalgam Black Ink, and colored with Copic Markers.
Deer: E40, E42, E47, E49, E95 and W00, W0, W1, W2
I used a nubby rag and Copic Colorless Blender Solution to add texture. Wet the rag and hold for a couple of seconds in each area. Dry with a heat gun to set.
As you can see, a lot of the color bled outside of the lines. I fixed it by drying the image throughly and pushing the color back into the image with a Colorless Marker. I touched up some areas with a White Gel Pen. If you are fussy cutting the image, you can simply cut up close to the edge.
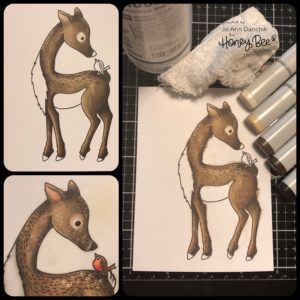
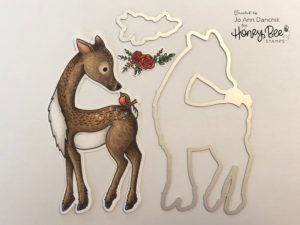
The Deer’s eyes and spots were darkened with a Black Gel Pen. The tail was changed to white and white spots were added with the White Gel Pen. The floral spray was stamped and colored and both pieces were cut out with the coordinating Silent Night Die Set. I reinforced most of the lines using a Copic Multiliner.
For the background panel I cut a piece of #80 Neenah cardstock using the new 2nd largest Deckle Edge A2 Die Set.
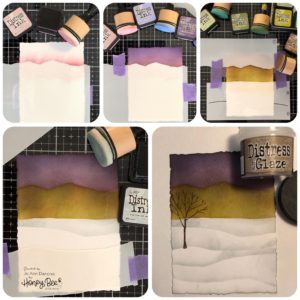
The Winter Wonder Background Stencil Set was used to create the background. It has 6 stencils that can be used as both stencils and masks. Snip the ends apart to release the multiple edges. You can flip the pieces over to double the number of edges available.
Hint:
I numbered each piece from each set with a Sharpie. This allows me to match up the edges easily if I want to mask over a section that I have already colored. You will understand what I am talking about when you get yours and start seeing the endless possibilities.
You can easily see the colors that I used to create the sky, hills, and snow so I won’t bother to repeat it here. I was going to use a light blue for the snow drifts and switched to Weathered Wood. I love the light shadows that it casts. I found that it worked best if I started on the stencil and lightly flicked onto the paper.
The tree was stamped using Wendy Vecchi’s Potting Soil Archival Ink. I added a thin layer of Micro Distress Glaze to the panel to seal it. I wanted to add some snow to the background but sometimes the Distress Inks reactivate with pastes and the color bleeds through.
There are two stencils that can be used for stars or snow in the Winter Wonder Background Stencil Set. I added Ranger Opaque Texture Paste over the stencil, removed the stencil, and covered the paste with Hero Arts Satin Pearl Embossing Powder. I let it sit for a couple of minutes and then heat it with a heat gun. It will bubble and swell but that’s okay. Be sure to clean your stencil and palette knife quickly, before the paste dries on them.
Hint:
I formed a piece of plastic wrap on the inside, over the paste. This keeps the air inside the jar from hardening the paste. The lid will screw on right over it.
The star was stamped, die cut, and glued on with a Gina K glue pen. The sentiment is from the Rejoice Stamp Set and was stamped onto black cardstock, using Versamark Ink, and heat embossed with Hero Arts Fine White Detail Embossing Powder.
Hint:
Be sure to use a powder tool before stamping. White flecks show up easily on dark cardstock.
The floral spray was glued to the deer’s neck and the back of the deer was loaded up with plenty of Scotch Foam Tape for added dimension. A small bit of Vintage Photo Distress Ink was blended around the edges of the panel.
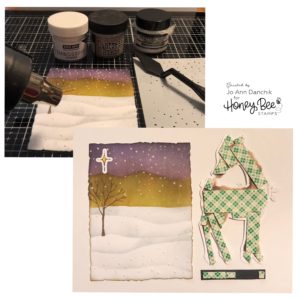
To finish the card, I added more foam tape to the back of the panel and attached it to a #110 Neenah Cardstock card base using a Kokuyo Tape Runner.
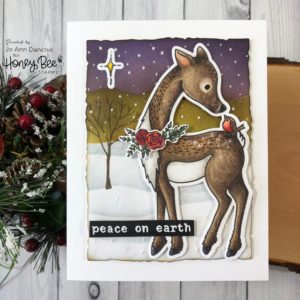
This deer is quite possibly one of my favorite images in this release and the stencils are brilliant for building scenes! I can’t wait to see what you all come up with!
As always, thank you for sharing a bit of your time with me today on another creative journey. Be sure to check back each day this week for more inspiration with the new release.
Joyfully, Jo Ann
Supplies used:
The products that I used are listed below in compensated affiliate links. You can click the icon of your choice, below the product picture, to go directly to your favorite shop. There is NO additional cost to you when using these links. Thank you for your support!

