Creative Sundays With Jo Ann: Poinsettia Gift Bag
The Design Team is back to our normal blogging schedules after our Bee Inspired Week. I hope that we have given you lots of ideas to help you start your holiday cards, tags, and gift bags. You can find all the new stamp sets, dies, stencils, and sequins HERE.
____________________
(Products highlighted in teal are active links to the shop.)
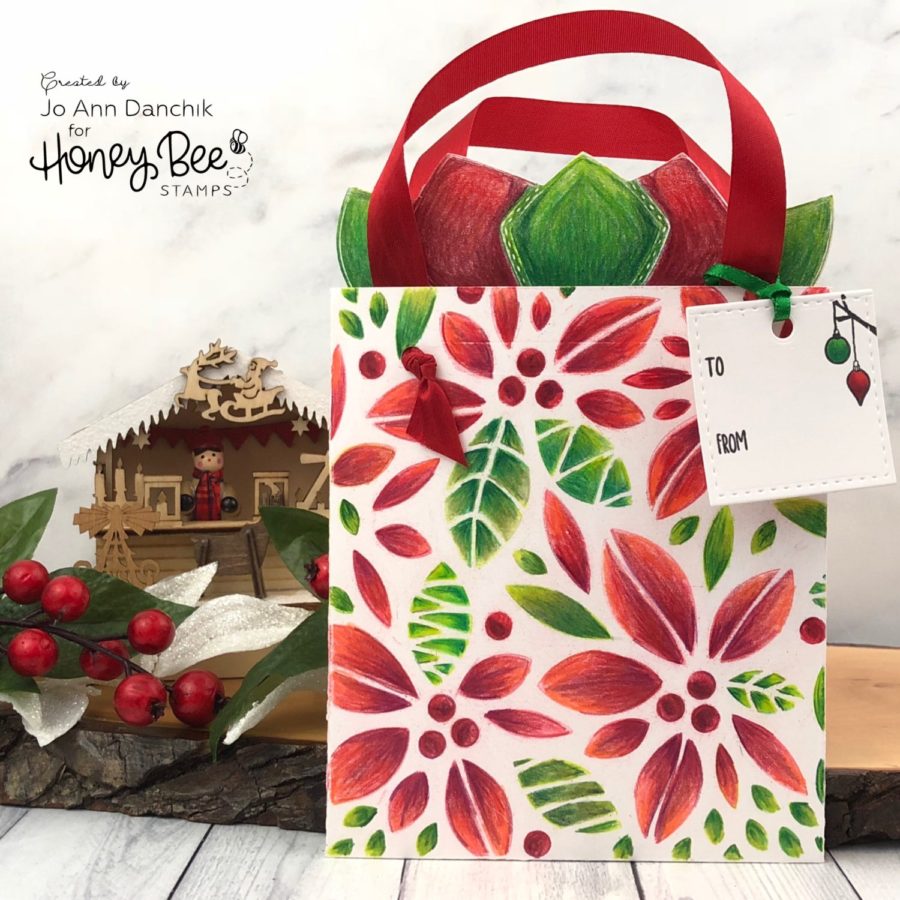
I have one more new release product that I wanted to be able to share with you. I used the tags, from the Gift Card Bag Die Set, this past week, but I also wanted to use the gift bag itself. Honey Bee is well known for their shape cards and this gift bag is no exception. This was actually the first project that I made when I received the new products! LOL
I know that I will be using this gift bag often for gift certificates, gift cards, and even small items such as jewelry, a scarf, a tie, etc. A simple stamp, or even just colored cardstock, will make this a set that you will be reaching for often. I don’t know about y’all but I have more pads of patterned paper than I will ever be able to use in my lifetime. Now I have a use for them…no more hoarding!
____________________
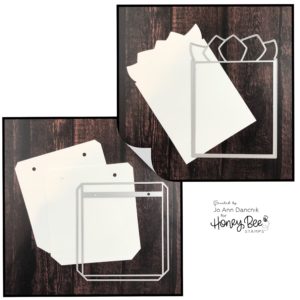
To start, cut two gift bags and one tissue insert. I used #110 Neenah Cardstock.
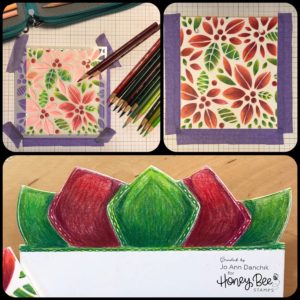
I wanted to try out the new Poinsettia Background Stencil so I taped the sides of the front card panel along the fold edges. In hindsight this is not necessary. Any coloring that goes over the edge will be hidden in the seams.
I taped the stencil down and used Prismacolor Colored Pencils. By leaving the stencil in place I didn’t have to worry about coloring outside the lines. I also colored the tissue paper insert with colored pencils. If you do go outside the lines I have found a sand eraser to work well.
Hint:
At some point you will not be able to add any more color when the wax fills the paper pores so start with a light touch and build up the color. It is important to keep your pencils sharp! I have linked the sharpener that I use. It allows you to set two different length tips and is one of the best that I have found to date.
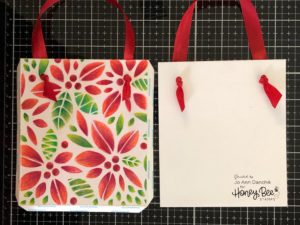
I added ribbon to the holes. I know that most bags hide the knot inside but I wanted the insert to move freely and I actually liked the knots on the outside.
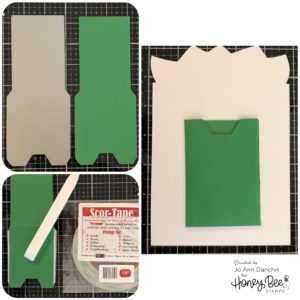
Use a bone folder to sharpen the fold lines and add 1/4” Scor Tape along the fold edge. I found it easiest to attach the bottom to the back and then press the sides down.
I used the Gift Card Pocket Die to create a card holder. Cut two pieces and reinforce the fold lines with a bone folder. I added 1/8” Scor Tape along the two sides and closed up the card. It was attached to the back of the insert using Gina K Designs Connect Glue.
I added one of the gift tags that I made this week using the To: and From: from the Angel Policy Stamp Set and the lightbulbs from the Snow Buddies Stamp Set. You can find it HERE.
How easy is this? This bag will be perfect for birthdays, graduations, baby showers, holidays, weddings, etc. And how cute would this be as a birth announcement! Oh…the options are endless.
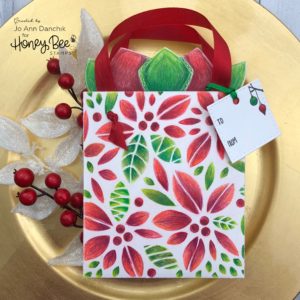
As always, thank you for sharing a bit of your time with me today on another creative journey.
Joyfully, Jo Ann
Supplies used:
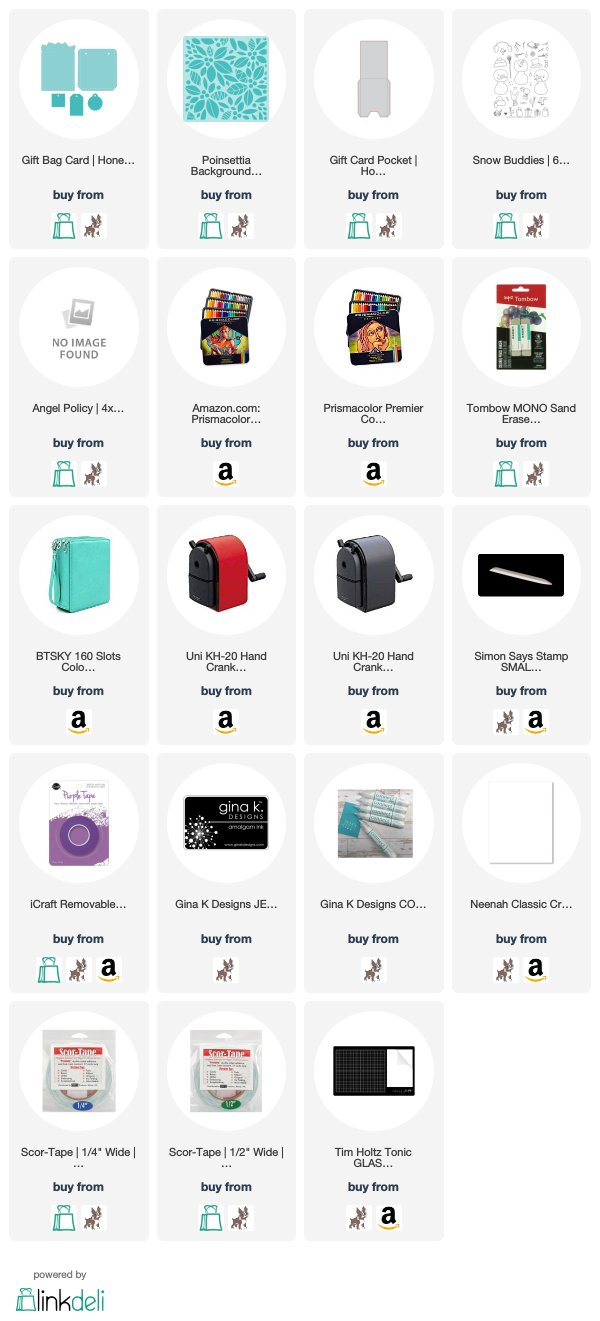
The products that I used are listed below in compensated affiliate links. You can click the icon of your choice, below the product picture, to go directly to your favorite shop. There is NO additional cost to you when using these links. Thank you for your support!

