Creative Sundays With Jo Ann: Scalloped Heart Valentine
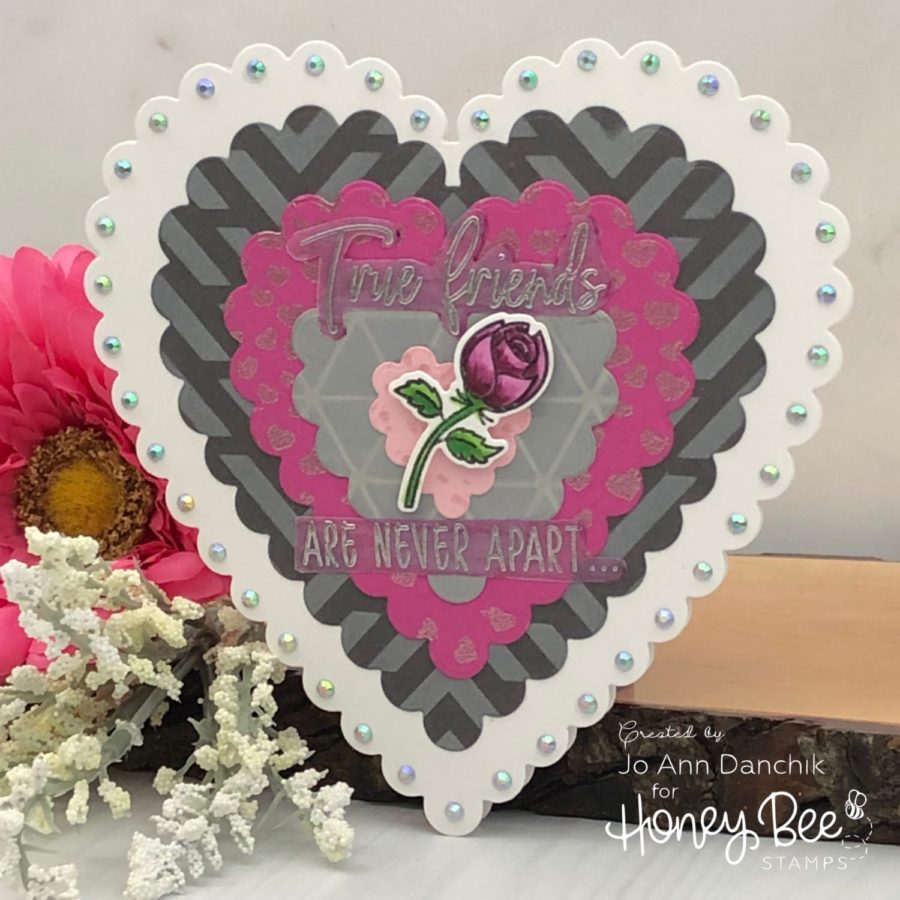
I am always looking for something fast and easy to make when it comes to Valentine’s Day cards. Today’s heart shaped card fits that definition. If you make it with patterned paper it will come together even faster! Let’s get started.
(Products highlighted in teal are active links to the shop.)
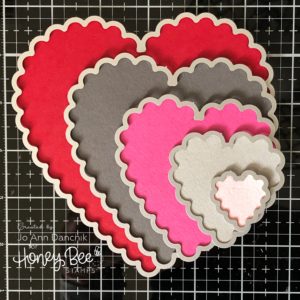
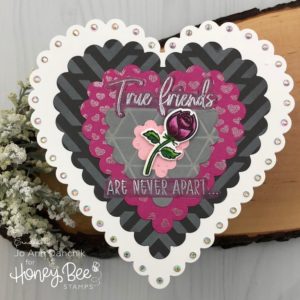
I started by cutting out various sizes of Simon Says Stamp colored cardstock using the Scalloped Heart Die Set. I used Schoolhouse Red, Slate Gray, Doll Pink, Smoke Gray, and Cotton Candy. It was my initial intent to stack them offset, as you can see below, but I went back to centering them in the end product.
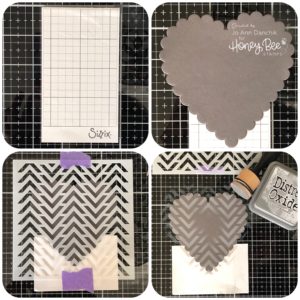
After playing around with the layout I decided that I wanted some patterns on the hearts. I used a trick that Tim Holtz has shared in his videos. One of his new products, Sizzix Sticky Grid Sheets, has a multitude of uses. Because of it’s easily removed double sticky nature it is perfect for securing paper to a surface. Not having to use tape along the edges allowed me to get full coverage with a stencil. If you get ink or paint on the tape it will lose it’s stickiness so I slipped a piece of scrap paper underneath to cover the exposed pieces.
I taped the Chevron Arrows Background Stencil in place and inked over it with Hickory Smoke Distress Oxide using an ink blending tool. The sticky sheets can be used multiple times.
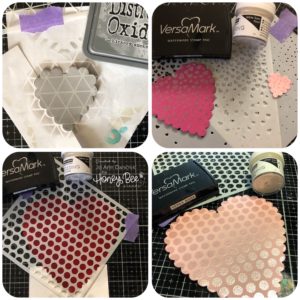
I used multiple stencils on the other hearts: Geometric Background Stencil, Winter Wonder Background Stencil Set, Fall Showers Stencil Set, and Polka Dot Background Stencil Set. On the light gray cardstock I again used Hickory Smoke Distress Oxide. On the others I used a Versamark Ink Pad and Hero Arts Satin Pearl Embossing Powder.
I tried the large School House Red heart for the card base and it just didn’t work for me so I cut another heart from Cotton Candy cardstock. It was okay, but it still wasn’t the look that I was going for. I left the pics in so that you can see that sometimes we all have to play around a bit before we get the final product that we want. What doesn’t work for me might work well for you.
I finally settled on a plain white background. I cut a second large heart out of #110 Neenah to make the back of the shaped card. It was scored 1/4” from the top and Scor Tape was added above the fold. Each heart was adhered with a Kokuyo Tape Runner.
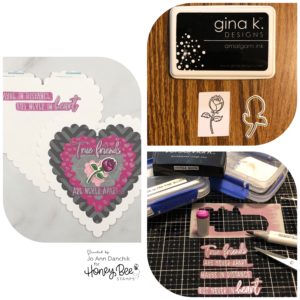
I stamped the rose, from the Mae The Mouse Stamp Set, using Copic friendly Gina K Amalgam Ink. It was colored with RV63, 66, 69 and YG13, 17 and G16 and cut, using the coordinating Mae The Mouse Die Set. It was adhered with Scotch Foam Tape for added dimension.
The sentiment is from the Friendship Stamp Set and was stamped on a heavy weight piece of Vellum. Be sure to prep the area first with an anti static powder pouch. I used Versamark Ink and Simon Says Stamp Detailed Silver Embossing Powder. Be sure to preheat your heat gun before embossing to prevent the vellum from warping. To help the sentiment stand out against the background I colored on the back with an RV66 copic marker.
I cut the sentiment apart using Cutter Bee Scissors. To adhere it to the sentiment I covered the entire back of each piece with Gina K Connect glue. Because it is evenly covered, you don’t see the glue. The rest of the sentiment is glued to the inside of the card.
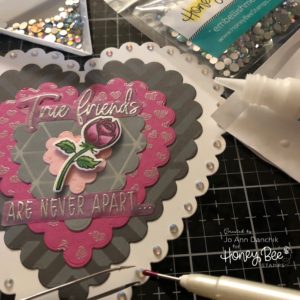
I still felt like it needed something so I glued Rhinestones along the edge. You can find several sizes here and here. A jewel picker and tweezers make it much easier.
Although I reworked several elements of this card, it really was fast and easy. Search through your stencil stash to see what you can add for backgrounds or use pattern paper. You can also just leave each layer plain. Do whatever works for you.
As always, thank you for sharing a bit of your time with me today on another creative journey.
Joyfully, Jo Ann
Supplies used:
The products that I used are listed below in compensated affiliate links. You can click the icon of your choice, below the product picture, to go directly to your favorite shop. There is NO additional cost to you when using these links. Thank you for your support!

