Creative Sundays With Jo Ann: Sending You My Love
As I sat here working on my last Valentine’s Card I was remembering back to my childhood. Do you remember buying the inexpensive boxes of Valentines, sitting at the kitchen table, carefully signing your name, and addressing each envelope? The cards had cheesy sentiments and corny puns and you labored over who would get which one. We decorated shoe boxes in class and on the big day we went from desk to desk slipping a card into each classmate’s box. I couldn’t wait to get home and read each card that I had received. I have made quite a few Valentine cards this season but have laughingly joked that no one in my family is likely to receive one as they have seen them all on social media and I don’t have time to make more. LOL
____________________
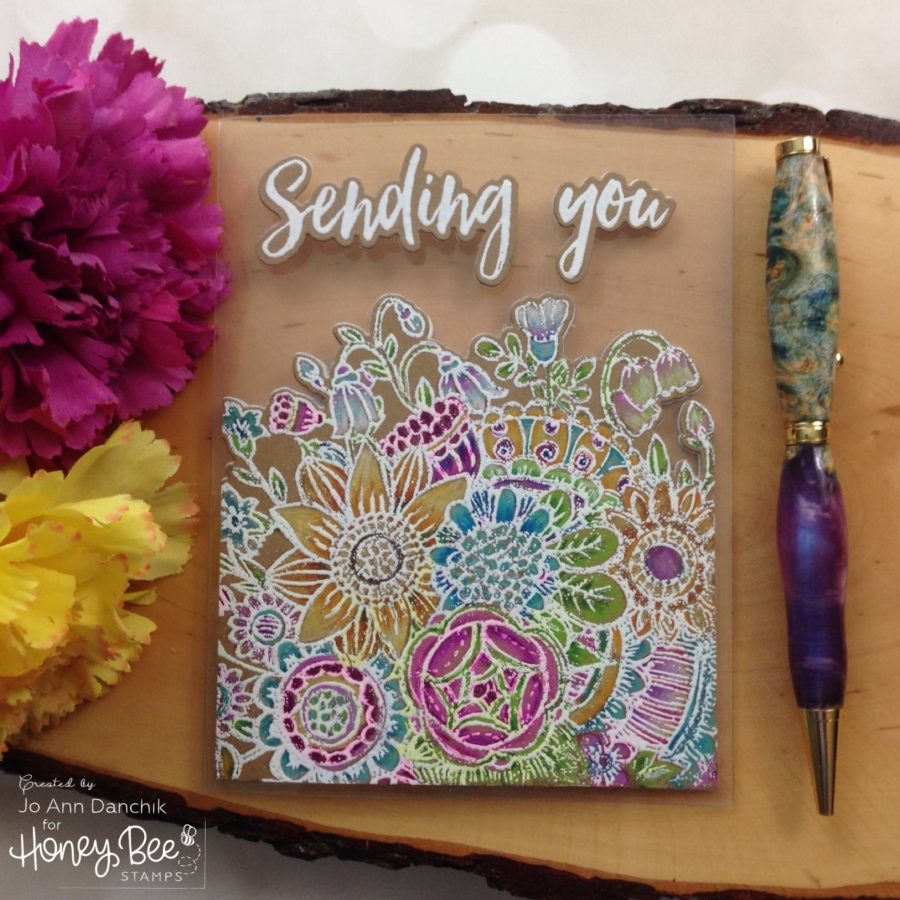
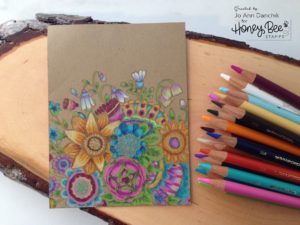
I love to use colored pencils on Kraft cardstock. I have found that if you heat emboss first you tend to stain the white embossing powder. I have seen other artists color first and then go back and heat emboss so I thought that I would give it a try.
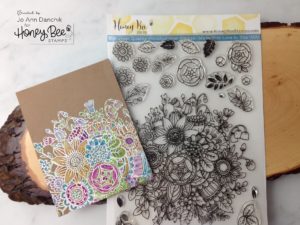
A stamping tool such as the Mist is essential for this technique. I stamped the Zen Bouquet stamp onto a 5.25” x 4” piece of cardstock using VersaMark ink. It leaves a watermark so it is easy to see the lines.
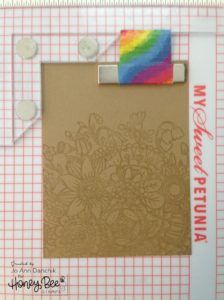
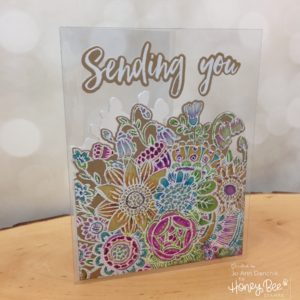
I colored the image using Prismacolor Pencils.
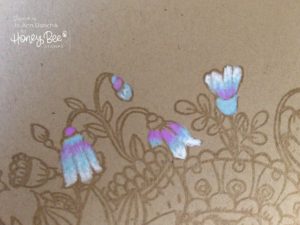
Because the picture has so much detail this method seemed to work really well. I was thrilled with the results and the rich depth of colors that I was able to achieve with the pencils.
I put the cardstock back into the Misti, re-stamped it with the VersaMark ink, and added white embossing powder to the image.
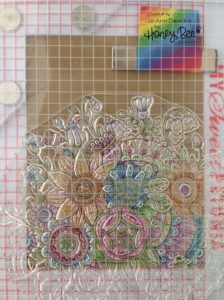
I had some concerns about heating the waxy pencils so I made sure that my heat gun was hot before using it and removed the heat as soon as the powder melted. While I liked the overall results I noticed two things. First, the colors were no longer as vibrant. I believe that the wax in the pencils melted and mixed from the heat and then melted into the paper. Second, some of the darker colors tinted the white embossing powder when they melted. I carefully added a little more color to try to get the rich colors back.
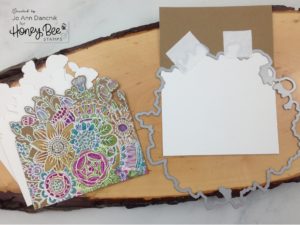
I cut the image using the coordinating Die set. This is important…leave the top of the kraft cardstock taped to the die! I needed three identical cuts so I cut three pieces of white cardstock to the same size of 5.25” x 4”. If you line the top Kraft corners up with the top white corners you will be able to get identical cuts.
I stamped the sentiment from the Sending You Sentiments stamp set onto a scrap piece of Kraft cardstock, using VersaMark ink, and heat embossed it with white powder. I cut it out with the coordinating Die set. I also cut an additional piece from white cardstock. I stamped the rest of the sentiment, from the same set, onto one of the cut out pieces, using Memento Rich Cocoa ink.
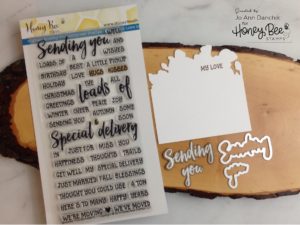
Using a piece of Acetate cardstock as a card base, I taped the Kraft cardstock piece and sentiment to the front panel. To hide the glue I lined up an identical piece and glued it to the inside front of the card. I closed the card, added glue to a third piece, lined it up with the front, and glued it down. I added the last piece, with the sentiment, to the inside back.
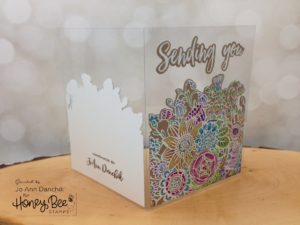
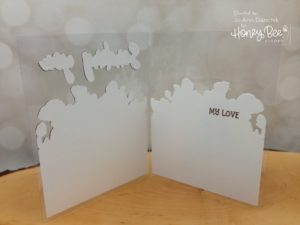
You now have a see through card with a place to write a sentiment on the inside, a place to stamp your signature on the back, and all the glue is hidden. The four pieces of cardstock give the acetate added stability.
Thanks for joining me today on another creative journey.
Joyfully, Jo Ann

