Creative Sundays With Jo Ann: Suncatcher Bouquet
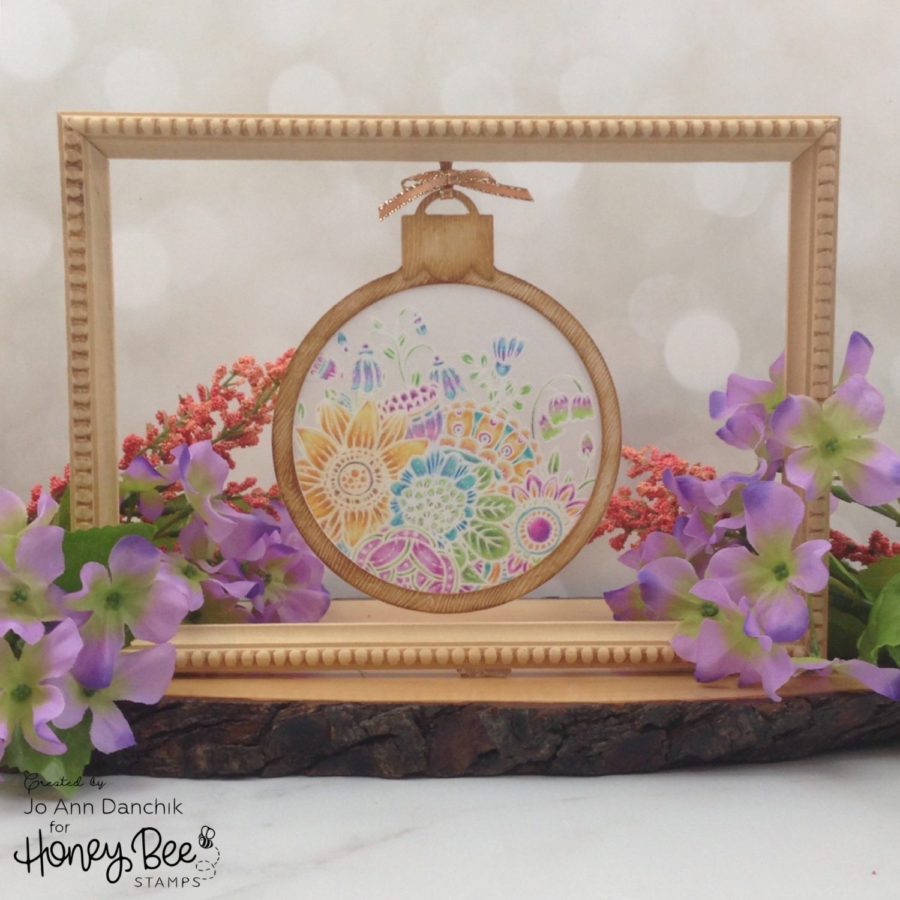
I am so very ready for spring to arrive! I daydream of sunny summer days where the sun streams through the window and lights up the room. Here in Texas we have already planted our vegetable gardens and are preparing to plant our annuals in anticipation of the promised warm days to come. I plan to put this cheerful Suncatcher in my studio to catch the rays as I await the gardens being in full bloom again.
____________________
(Compensated affiliate links are used with NO cost to you. Products highlighted in teal are active links. All the supplies used are also linked to multiple shops at the end of the post. Thank you for your support!)
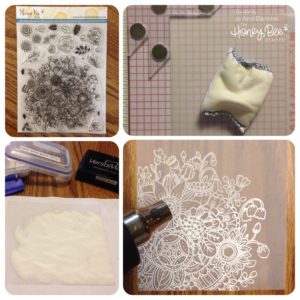
I started off today’s project with the Zen Bouquet Stamp Set. I prepared some heavy #40 Vellum with an Embossing Magic Powder Tool. Vellum tends to pick up lots of stray powder so it is important to prepare it properly. I used the Misti and Versamark Ink to stamp the image and added Hero Arts White Detail Embossing Powder. Be sure to preheat your gun before embossing to minimize warping.
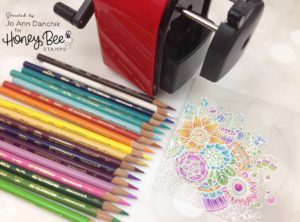
Using Prismacolor Colored Pencils, I colored the image on the backside of the vellum. I carefully added shadows and more detail to the front. They are a very good price right now so I have listed them below for your convenience. It is important to have very sharp pencils, especially working in such small spaces on the front. I use a Mitsubishi Uni Pencil Sharpener. It gives you two length choices for a very sharp point.
I put that aside and started on the Suncatcher frame. I cut a front and back outer frame using the Globe/Ornament Shaker Card Die Set and Tim Holtz’s Woodgrain Cardstock. I also cut two more outer pieces from #100 Neenah Cardstock. Using the inside die I cut the colored vellum piece and a piece of clear acetate. The ornament toppers were also die cut using the woodgrain paper. Antique Linen and Vintage Photo Distress Inks were used to add color to the woodgrain pieces. Sponge Daubers are the perfect size for these small, thin pieces. I added Distress Microglaze on top to seal the Distress Ink.
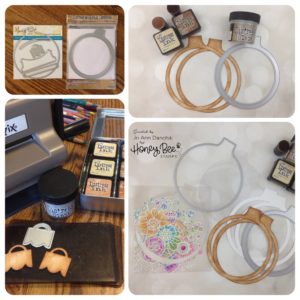
I assembled the pieces using Ranger Multi Matte Medium. The layers are as follows: woodgrain ring, plain ring, vellum, acetate, plain ring, and woodgrain ring. The ornaments toppers were glued front and back.
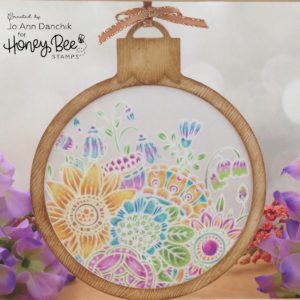
I have included a pic of the back. I tried to keep it neat, even though it doesn’t have the detail of the front, in case it flips around.
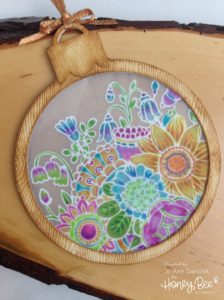
There are so many opportunities to use this Globe/Ornament Shaker Card Die Set. It isn’t just limited to the Holidays. Let your imagination carry you away!
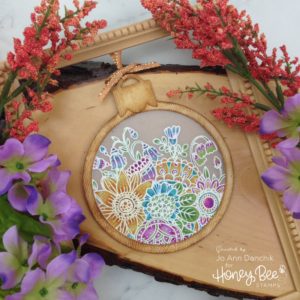
Thanks for joining me today on this creative journey.
Joyfully, Jo Ann
Supplies used:
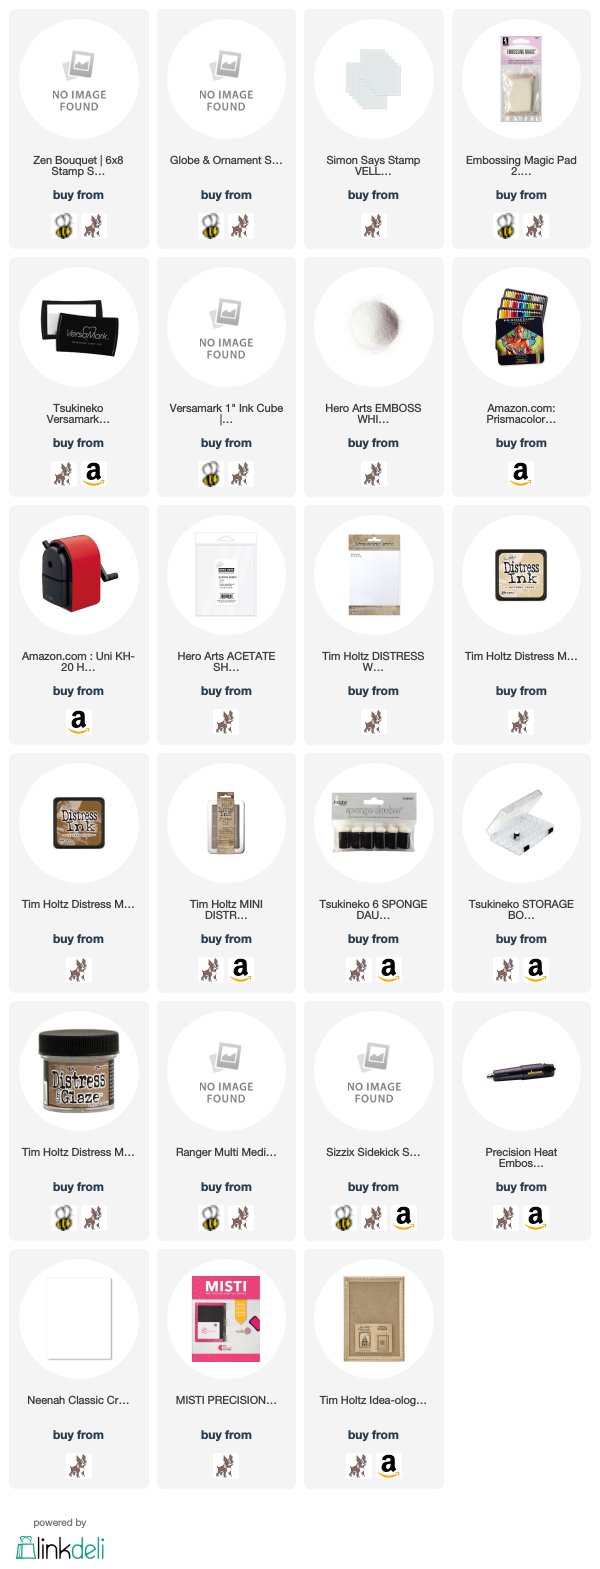
The products that I used are listed below in compensated affiliate links. You can click the icon of your choice, below the product picture, to go directly to your favorite shop. There is NO additional cost to you when using these links. Thank you for your support!

