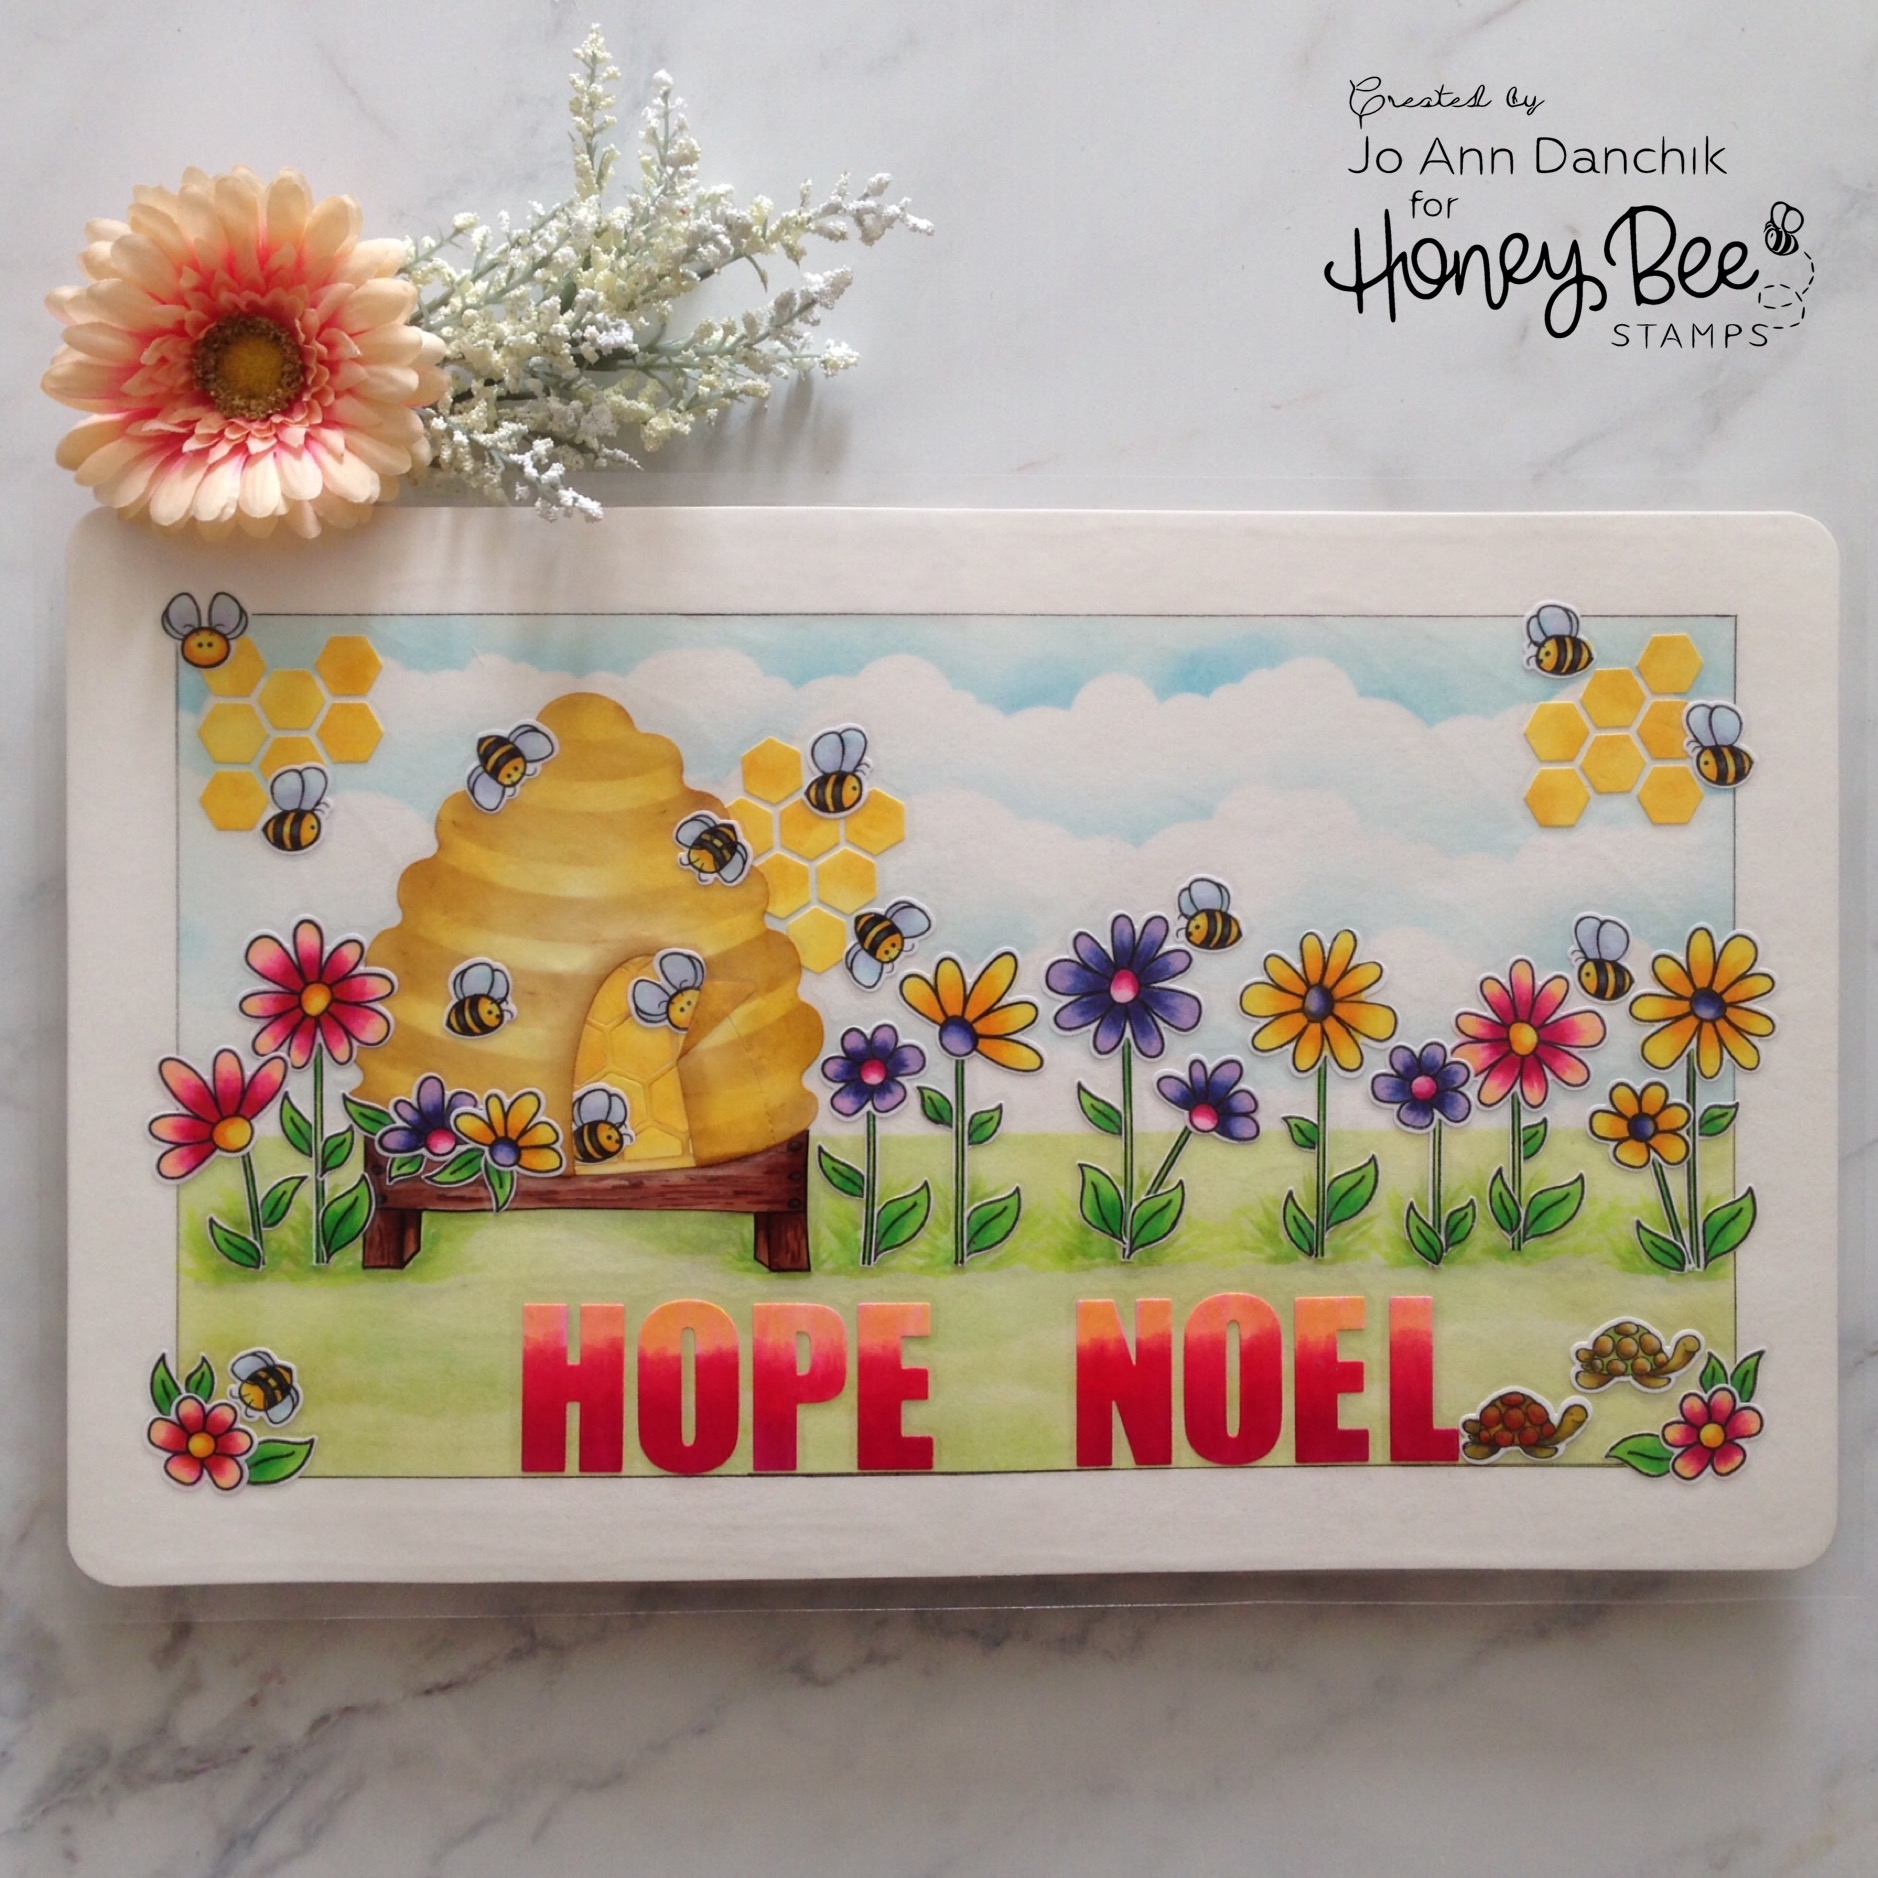
Creative Sundays With Jo Ann: Whimsical Garden Placemat
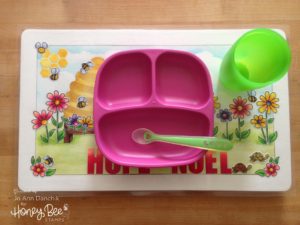
We are a family who uses placemats, with matching cloth napkins, at mealtime. We stopped using paper napkins over 30 years ago because we found them to be so wasteful. We each have our own colored napkin ring so that we only have to wash the napkins when they are truly soiled. Having said that, a plastic placemat is much more practical for small children who have not mastered the finer art of feeding themselves. Children tend to spill…a lot. It is difficult to find a child’s placemat that does not involve a Disney Character. As creative people, don’t we frequently find ourselves saying, “How hard can it be to make this?” LOL. I have a laminator so I thought that I would give it a try. They are surprisingly easy to make, can be made for any holiday or occasion, and are easy to customize. I have made several and plan to create many more.
____________________
(Compensated affiliate links are used with NO cost to you. Products highlighted in teal are active links. All the supplies used are also linked to multiple shops at the end of the post. Thank you for your support!)
I first looked for laminating material and based my placemat size on what was available. I will share more on that later. I needed a base on which to build the scene. I found a pack of (8) 14” x 22” thin white poster board at Michael’s. I liked these because there were no stickers on each sheet. I cut a sheet down to 11.5” x 17.5”.
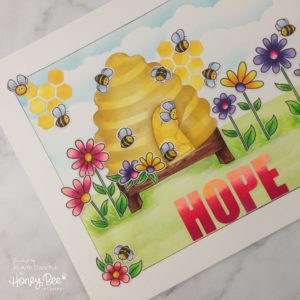
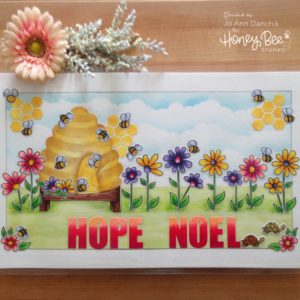
I started by cutting a beehive out of #80 cardstock, using the Bee Hive Card Die. I used the Honey Bee Hive Stencil and Mask Set, Distress Inks, and an Ink Blending Tool to add shading to the hive. I then cut an opening in the hive with the door from Bee Hive Card Die. Be sure to add some shading to the back of the doors.
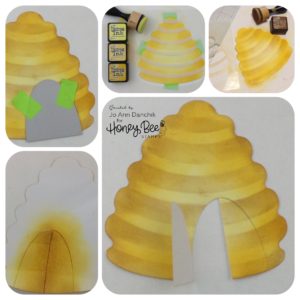
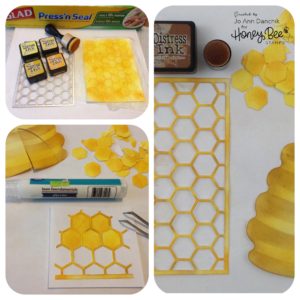
I used the Top Plate in the Stacking Hexagon 4 pc Cover Plate Die Set. You can buy them separately or in the set. I colored them using Distress Inks. It is much faster and easier to color it if you keep it intact using some Press N Seal across the back. I cut out a small section of the grid and glued it to a small piece of paper. This will be the inside of the hive.
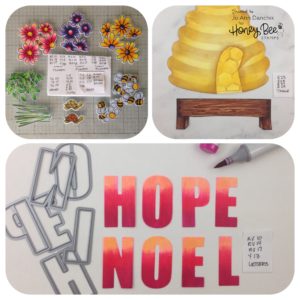
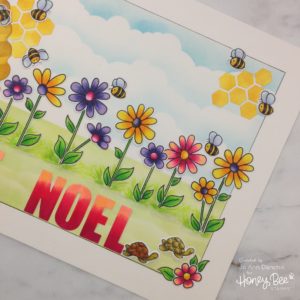
I really had NO idea how many bees, turtles, flowers, leaves, or stems I would need. I used the Busy Bee Stamp and Coordinating Die Set. I found the turtle in the Swimming By Stamp and Coordinating Die Set. I stamped a plethora of each and colored them using copic markers. The Tim Holtz Sizzix Sidekick is perfect for cutting out all those little pieces. Mine never leaves my workspace…seriously!

I drew and colored in a small platform for the hive to sit on. I used a Copic 0.3 Multiliner to outline it. To personalize the placemat, I cut some letters out using Altenew’s Caps Bold Alphabet Die Set. I colored them in an ombre fashion using copic markers.
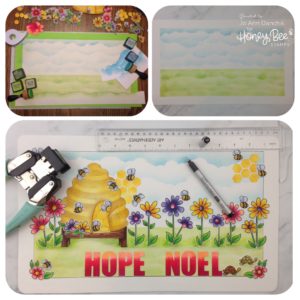
Before starting the background, I taped off a border using Post It Tape. I pulled out the cardstock stencils that I have used for the last three weeks. I made them using the Cloud Borders Die Set. I tore a piece of the leftover poster board paper to use as a mask to give some hills and valleys to the grass. I used Distress Ink and a Blending tool. Be sure to get some shading along the sides so that you have a clearly defined border when you pull off the tape. I outlined the edge with a Copic 0.3 Multiliner and a T-Ruler. All the pieces were glued down using a Lawn Fawn Glue Pen. The corners were rounded using a Cropodile 1/2” Corner Chomper.
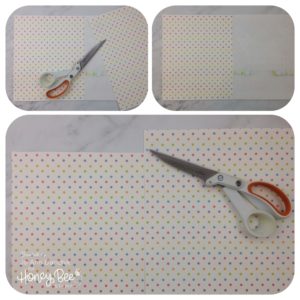
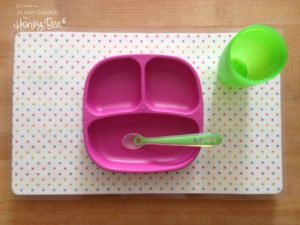
To finish the back I tacked down some patterned paper with glue. It is too long to trim in a paper trimmer. I found that my Fiskars Heavy Duty scissors work well. The long blades allow long, even cuts.
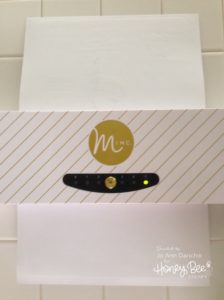
Now, back to the laminating pouches. I chose 5 Mil Menu 12 x 18 High Clarity Laminating Pouches. I thought that they would be sturdy and stand up to constant use. I have a link at the end of the post. Because the material is so thick, and I had several layers of paper, I tested it out on the #5 setting of my Minc Laminator. It worked beautifully. I had a hard time finding it on the internet but I found one that offers the same settings, and is much less expensive. I have also included that link at the end of the post. I have a regular laminator but have not tried that one yet.
I loved how easy this was, and how well it turned out. I plan to make many more…especially as I bought a box of 100! These would be perfect for so many occasions; think weddings, family reunions, and other special occasions. You could also add numbers and letters for an instructional placemat. It would be wonderful to make one with pictures of relatives who don’t live nearby. Your “littles” would be able to pick out Grandma and Pa Pa as they eat!! LOL The possibilities are endless!
Thanks for joining me today on another creative journey.
Joyfully, Jo Ann
Supplies used:
The products that I used are listed below in compensated affiliate links. You can click the icon of your choice, below the product picture, to go directly to your favorite shop. There is NO additional cost to you when using these links. Thank you for your support!
SaveSave