Creative Sundays with Jo Ann: You Make My Heart Smile
It is hard to believe that Valentine’s Day is just around the corner. It is exactly one month away! In the cardmaking world that means that it’s time to pull out the hearts, flowers, and love sentiments and start creating our cards for our significant others, loved ones, and friends. I have fond memories of my children working beside me, busily glueing hearts, cupids, and arrows onto heavily glittered cardstock. And while my days of supervising are over, I still look forward to getting these fabulous creations in the mail from my grandchildren!
——————–
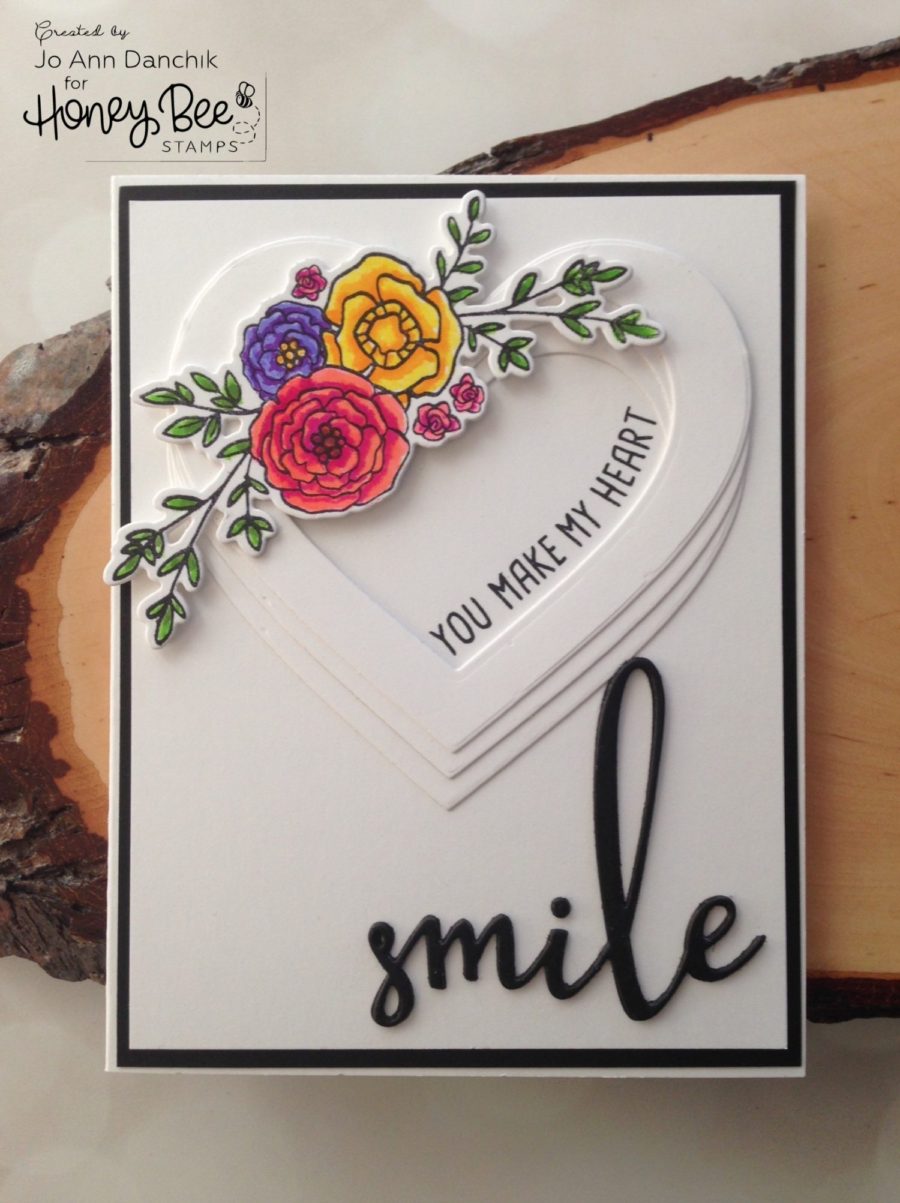
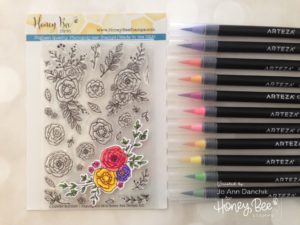
I thought that I would start my Valentine’s card making with a simple yet elegant look and a message that would be suitable for any loved one in your life. As I rummaged through my stamp sets I kept coming back to the floral arrangements in the Country Blooms stamp set. The coordinating Die that comes with this set is a solid die so stamping first and die cutting second can be challenging. Not to fear, it can be done in three easy steps when you use a stamping tool. I used my MISTI.
Using the stamping tool, stamp the image onto a plain piece of paper. Leave the stamp and paper in place.
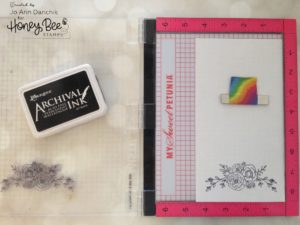
Use the die to cut the opening in your cardstock. Put the cut out piece aside. Line the opening up over the stamped image. Secure it all with a strong magnet or piece of tape.
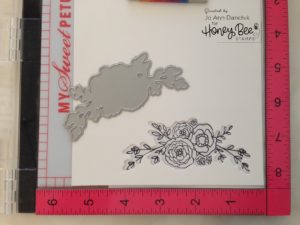
Put the cut out piece back into the opening in the card stock. It will now be lined up perfectly when you stamp the image.
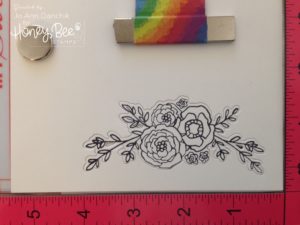
I wanted to try my new Arteza Real Brush watercolor pens so I used Koh-I-Noor Bristol Smooth cardstock. It’s white background blends well with the white card panel and it works beautifully with the watercolor pens. The floral spray was stamped with Ranger’s Black Archival Ink.
I looked through my supplies and found a set of heart shaped dies. Many companies make them. I taped two together with masking tape. I used a generous amount of powder, from an EK Success Applicator, to take away the stickiness of the tape. While I had the machine out I also cut a few more of the floral shapes.
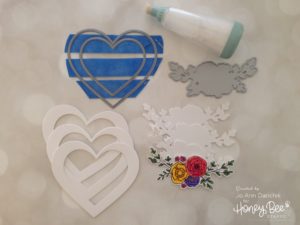
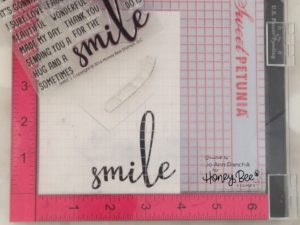
I laid one of the heart shapes on the card panel and lightly traced around the bottom portion with a pencil. I stamped the large sentiment, from the Smile stamp set, on the bottom. I lined the words ‘you’, ‘make’, and ‘my heart,’ also from the Smile stamp set, along the penciled curve. Once you close the lid, and they are stuck to the top, you can manipulate them to fit the curve perfectly. I tend to erase my pencil lines before I stamp. I am less likely to smudge any ink that hasn’t dried.
I staggered the hearts and glued them together. I also glued two more pieces behind the floral spray piece to give it a little more dimension. After adhering the floral spray to the hearts I flipped it all over and added some dimensional Scotch FoamTape to make it all the same height and give the pieces that stick out some added support.
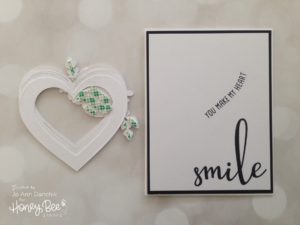
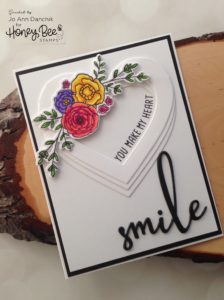
The panel was taped to a slightly larger piece of black cardstock and adhered to a white card base. After everything was assembled the sentiment on the bottom looked like it needed something more. Using the coordinating Die, I cut two white and one black ‘smile’ and glued them together. They fit perfectly on top of the stamped image. The card is not very thick and could easily be sent through the mail. It will work beautifully for Valentine’s Day but could truly be used at any time to let someone know that you care!
Thanks for joining me today on this creative journey. My new blog is up and running and can be found at jadanchik.com. You are also welcome to follow my Instagram account, jadanchik.
Joyfully, Jo Ann

