Honey Bee Sneak Peek Day Four: Happy Mother’s Day
This is Day Four of the HAPPY BEEday Release Sneak Peeks for Honey Bee Stamps. Be sure to visit the Honey Bee Stamp Blog to see what the other DT members have created.
 ____________________
Mother’s Day is right around the corner. What better way to show Mom that you care than by making and sending her a handmade card? Who knows…maybe your mother will like it so much that she will tape it to the refrigerator or display it on the mantle. You know…like she did when you were a young child?? LOL! I know that my day will be complete with a card, the Sunday paper and a latte in bed, a call from my children, and a meal that I didn’t have to prepare myself!
____________________
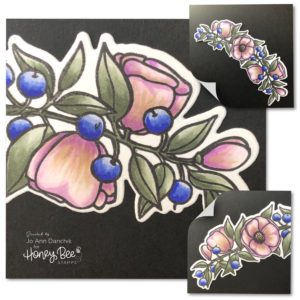
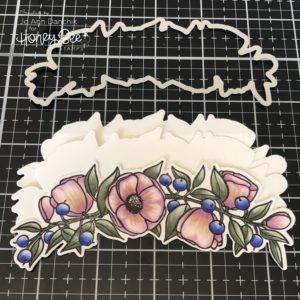
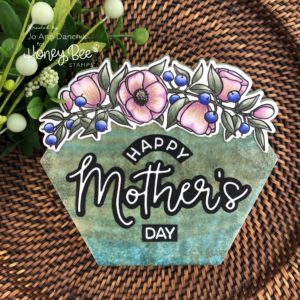
I started today’s card with the beautiful floral swag from the new Mother’s Day Stamp Set. It was stamped with Copic friendly Gina K Amalgam Ink onto #80 Neenah cardstock. I have included the colors for those who like to have them.
Flowers: VOOOO, V000, V01, V04, E40, E 42
Flower Center: E42, E44, E47
Berries: B60, B63, B66, B69
Leaves: BG90, BG93, BG96, BG99
The swag was cut using the coordinating Mother’s Day Die Set.
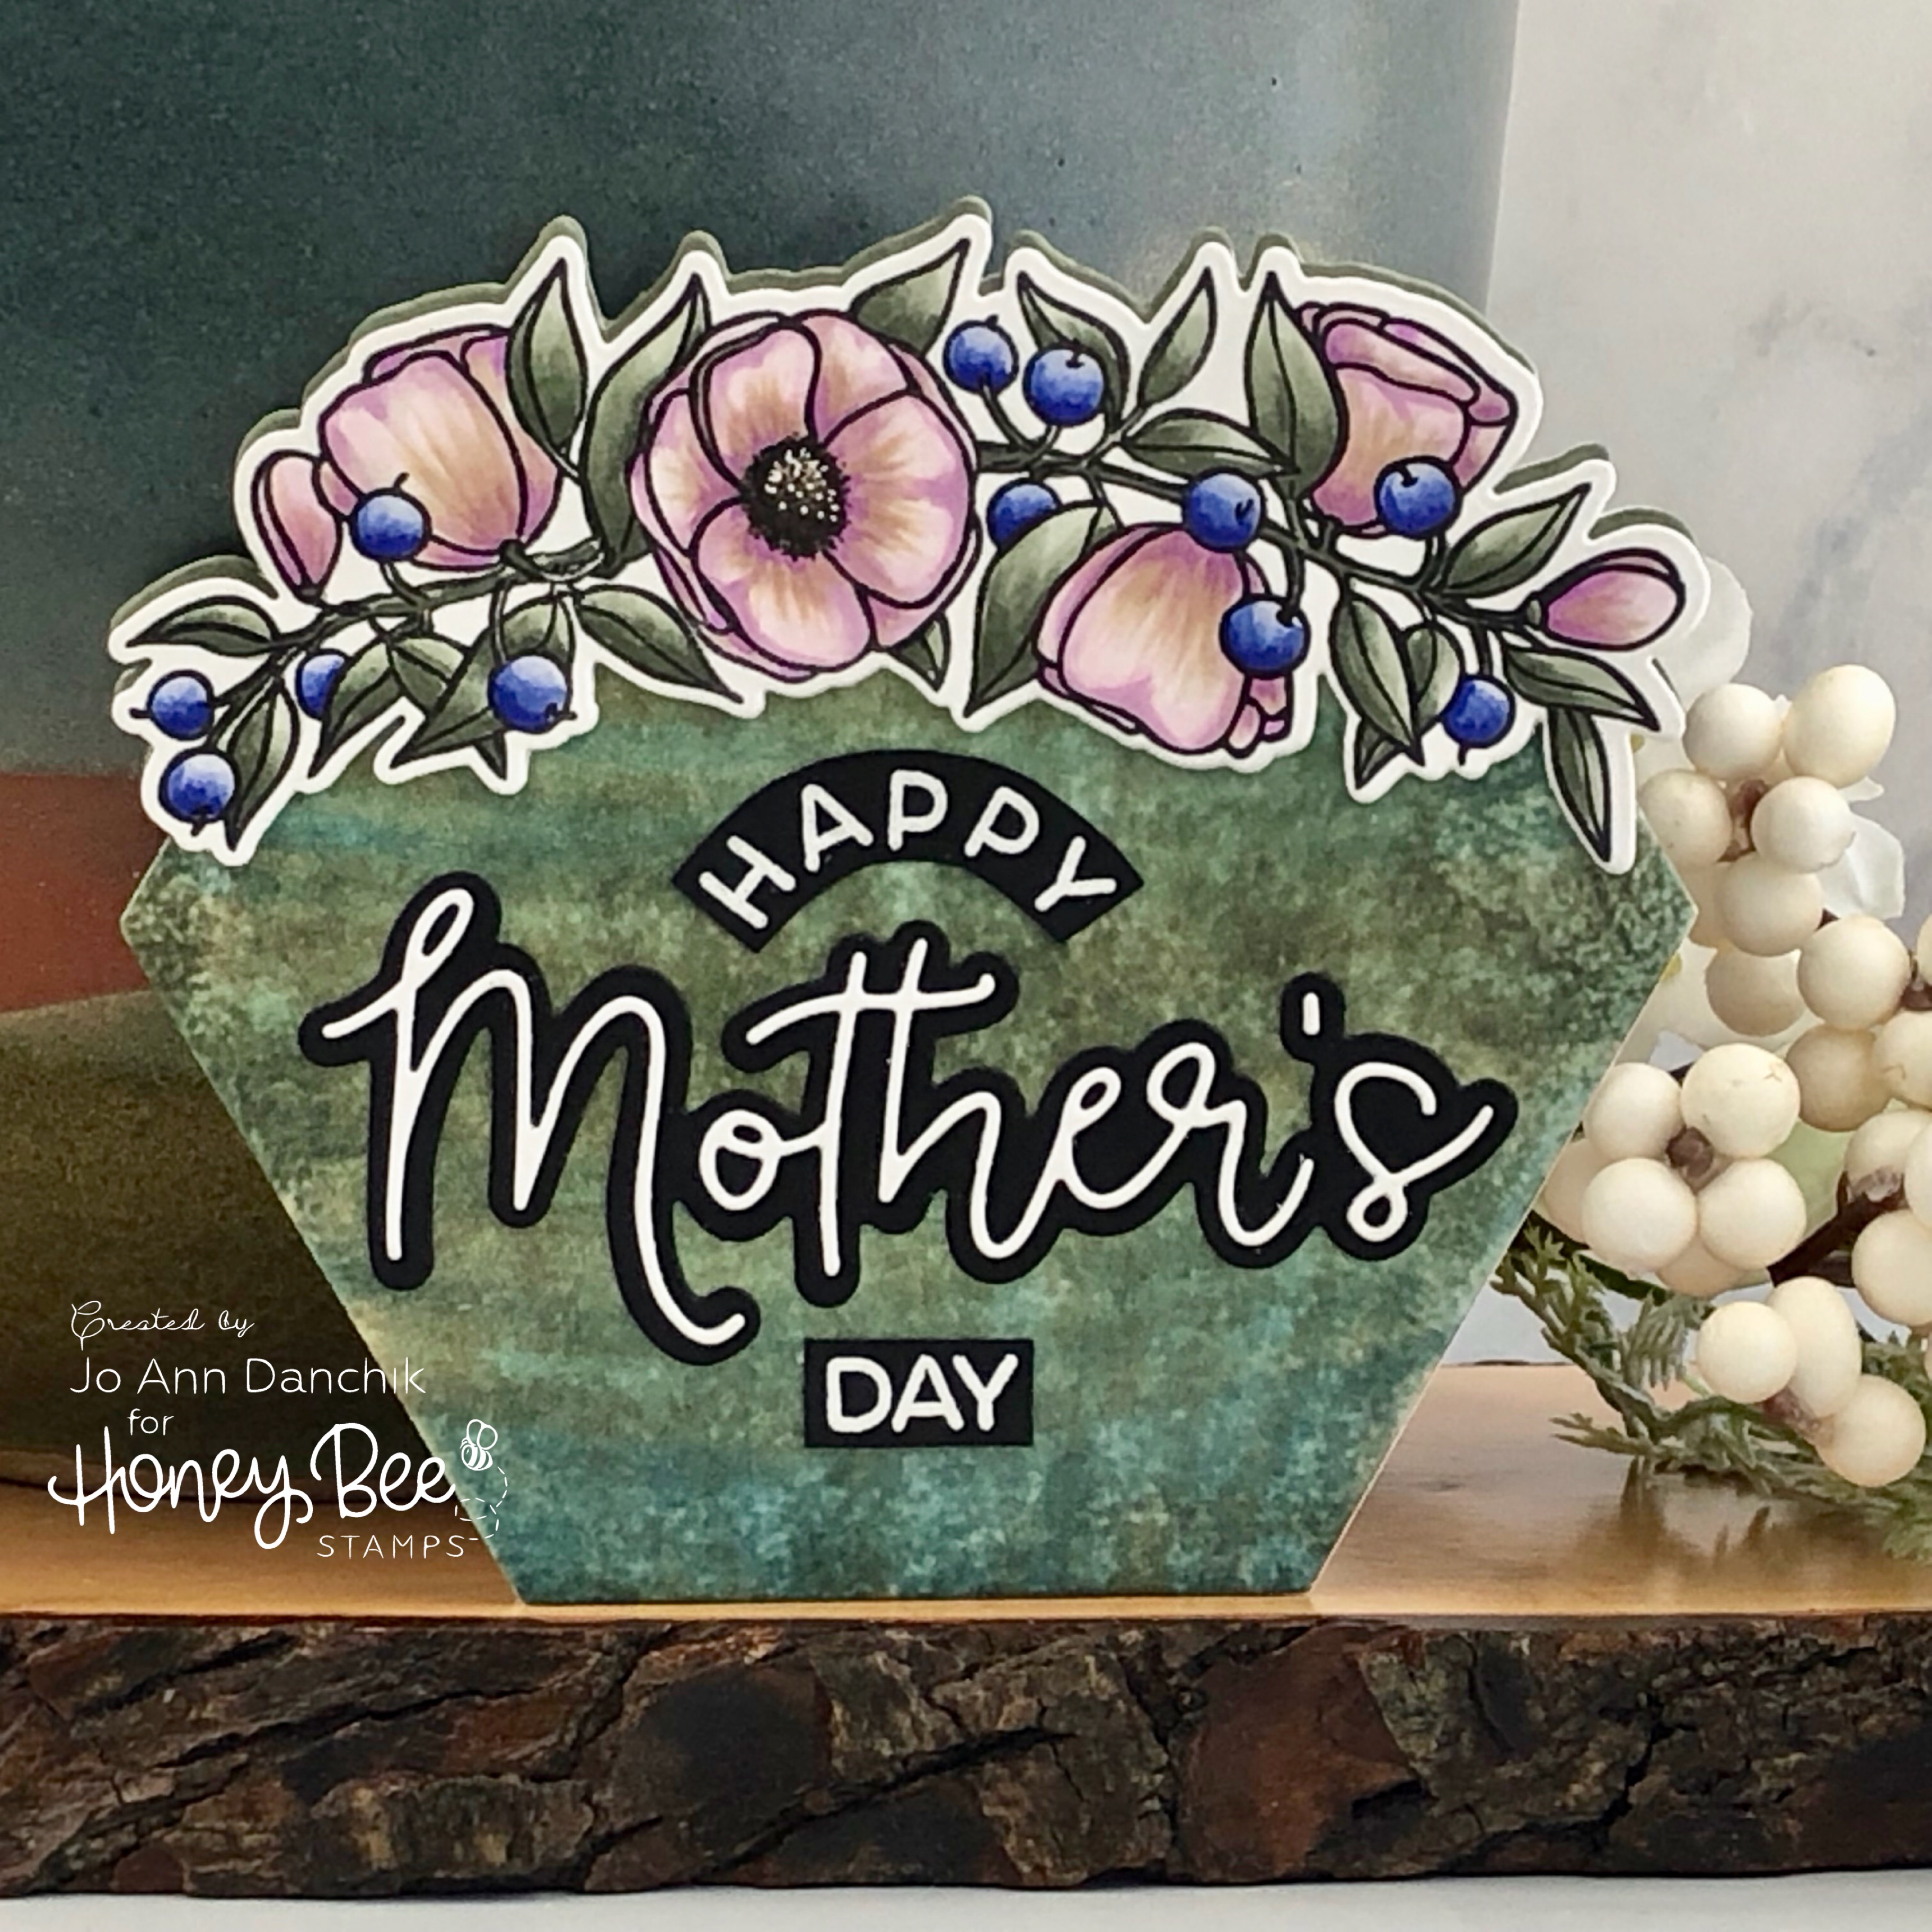
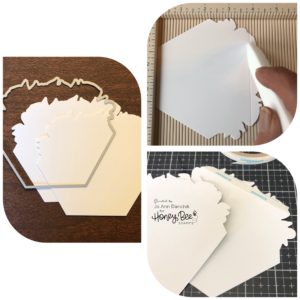
I was going to put the swag on a standard card front and then thought that it might be fun to use one of the pots to make a shaped card. The hard part was deciding which one of the two to use. I cut two sets of the straighter lines pot, from #110 Neenah cardstock, using the coordinating Mother’s Day Die Set.
To turn it into a shaped card I scored the back piece, 1/4” from the top, and added a piece of 1/4” Score Tape inside the fold.
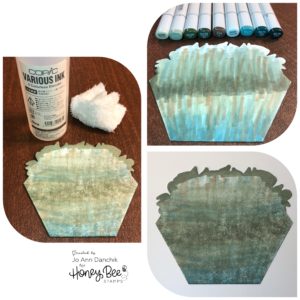
I wanted the card base to look like a glazed ceramic pot. I scribbled various colors of Copic markers onto the front card piece using:
BG90, BG93, BG96, BG99, E44, BG70, BG 72, BG75, BG78
It looked like a mess. I knew that it would take forever to get it all to blend so I pulled out a small piece of knubby washcloth and some colorless blending solution. I dabbed it on all over the card to give it some texture. I scribbled more color on horizontally and then dabbed some more. I added a solid line of BG93 along the top of the flowers.
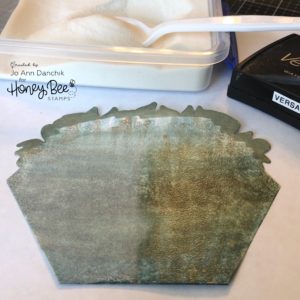
To give it a glazed look, I pressed a Versamark ink pad onto the front. I wasn’t overly concerned about getting even coverage. I sprinkled Hero Arts Clear Embossing powder on top and heat set it. The right side shows the shiny, dimply look that it creates. The left side is still unheated powder. The copic markers bled through the cardstock so I did have to die cut another thin piece of cardstock to cover the back.
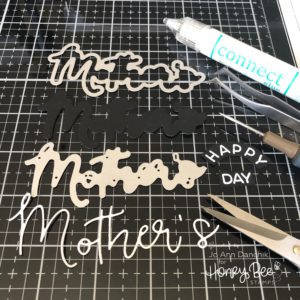
I decided that I wanted the flowers to have some dimension so I cut three more swag pieces and glued them together using a Gina K Connect Glue Pen.
The sentiment is also from the Mother’s Day Stamp Set. It is all one piece but I masked off the sentiment and stamped it separately using Versamark Ink. I heat embossed with Hero Arts White powder. I couldn’t use the coordinating Mother’s Day Die Set because of the separate pieces, so I had to fussy cut them. The word Mother had a set of separate dies that I could use. I cut the word out of white cardstock and the shadow out of black cardstock. I used the glue pen to assemble the sentiment.
The floral swag was adhered, slightly offset, creating a green shadow behind the flowers. The sentiment was added, completing the card. It is hard to photograph but the card really does have the appearance of a glazed ceramic pot!
Thanks for joining me today. Be sure to check back each day for more sneak peeks of the new release. I will also be part of the two day HAPPY BEEday Blog Hop on Friday and Saturday, April 19th and 20th, where you will be able to find additional inspiration.
Joyfully,
Jo Ann
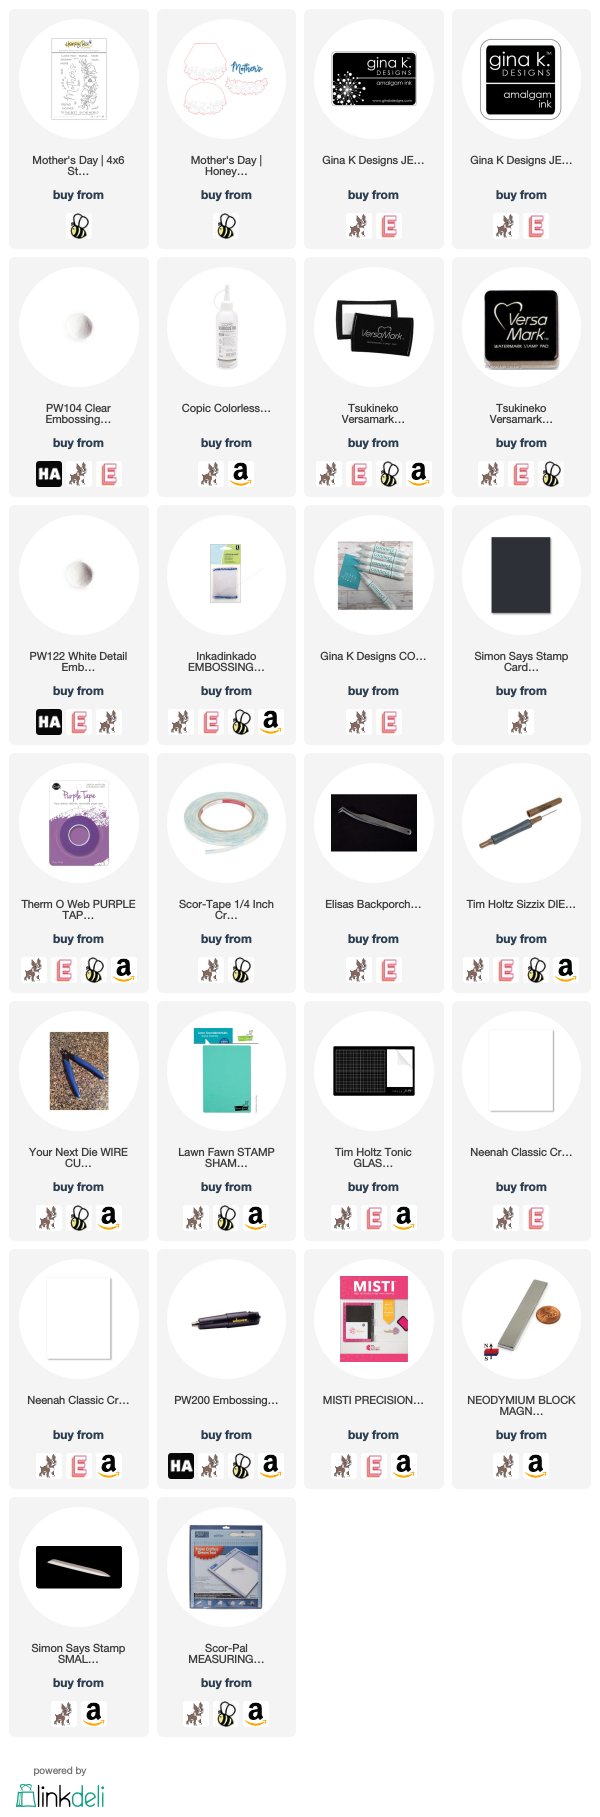
Supplies used:
The products that I used are listed below in affiliate links. You can click the icon of your choice, below the product picture, to go directly to your favorite shop. There is NO additional cost to you when using these links. Thank you for your support!