Honey Bee Sneak Peek Day Three: Life Is Sweeter
This is Day Three of the BEE BOLD Summer Release Sneak Peeks for Honey Bee Stamps. Be sure to visit the Honey Bee Stamp Blog to see what the other DT members have created.
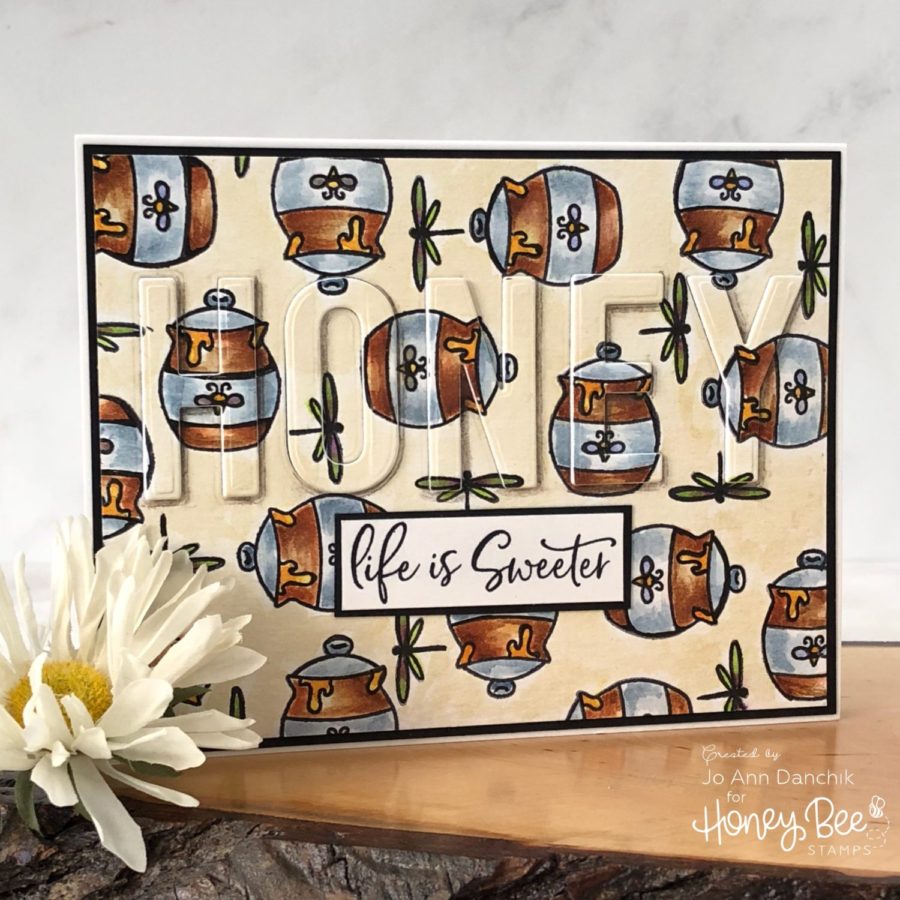
I hope that you have been enjoying the Sneak Peeks and are getting lots of inspiration. It was hard for me to choose which set to use today. I was going to use the bear, from the Bill The Bear Stamp Set, but I fell in love with the little honey pot and the dragonfly, so Bill will just have to wait until another day! LOL
____________________
To start, I stamped the honey pot in a random pattern onto Tim Holtz Watercolor Cardstock, using Ranger Black Archival Ink. I filled in the spaces with the dragonfly.
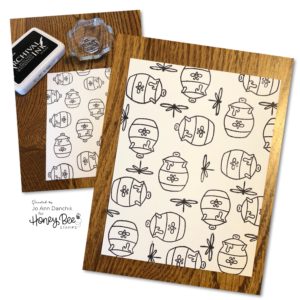
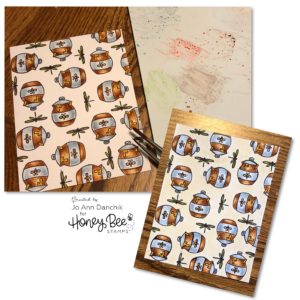
I used Tim Holtz Distress Inks (surprised?) and a #2 and #4 DaVinci Cosmotop Spin brush to watercolor the images. I watercolored the background using Antique Linen Distress Ink.
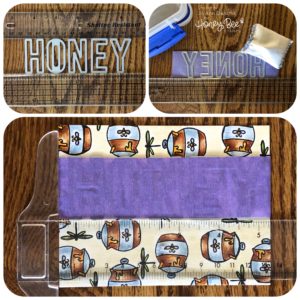
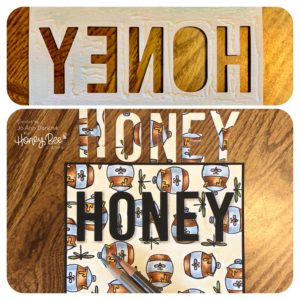
I pulled the letters from the Bee Bold Alphabet Die Set to form the word HONEY. I taped down two rulers and spaced the letters out between them.
Once you like your arrangement you can easily lay a piece of Purple Tape over the letters to lift them. I flipped them over and dusted them with an embossing powder pouch to get rid some of the tape’s stickiness.
I laid a T-ruler along the card panel, to get the alignment straight for the dies, and ran it through my die cutting machine. Be careful to keep the inside to the letter O.
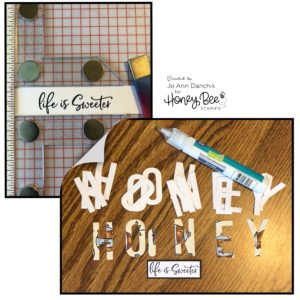
I stamped a sentiment from the Hi Honey Stamp Set, and layered it with a piece of black cardstock. I like to use my MISTI and Creative Corners to line up sentiments. It makes it so much easier! I also cut out four more sets of the word HONEY from white cardstock. The letters were stacked and glued using a Lawn Fawn Glue Tube.
To assemble the card I used a liberal amount of Kokuyo Tape Runner on the back of the cutout panel. Lawn Fawn glue was used around all the cutout spaces. The panel was then added to a piece of Simon Says Stamp Black cardstock. I also glued the inside of the O in place.
Before I glued the letters back in I added some cast shadows along the bottom and right sides of the letter openings, using two shades of grey Prismacolor color pencils. Everything was assembled onto a #110 Neenah Cardstock card base.
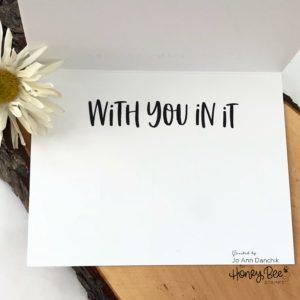
To finished the card, I stamped the rest of the sentiment on the inside of the card, using the Hi Honey Stamp Set.
As always, thanks for joining me today. Be sure to check back each day for more sneak peeks of the new release. I will also be part of the BEE BOLD Blog Hop, where you will be able to find additional inspiration. All the new products will be available here on Friday, August 3rd, at 7:00 am CDT.
Joyfully,
Jo Ann
Supplies used:
The products that I used are listed below in affiliate links. You can click the icon of your choice, below the product picture, to go directly to your favorite shop. There is NO additional cost to you when using these links. Thank you for your support!

