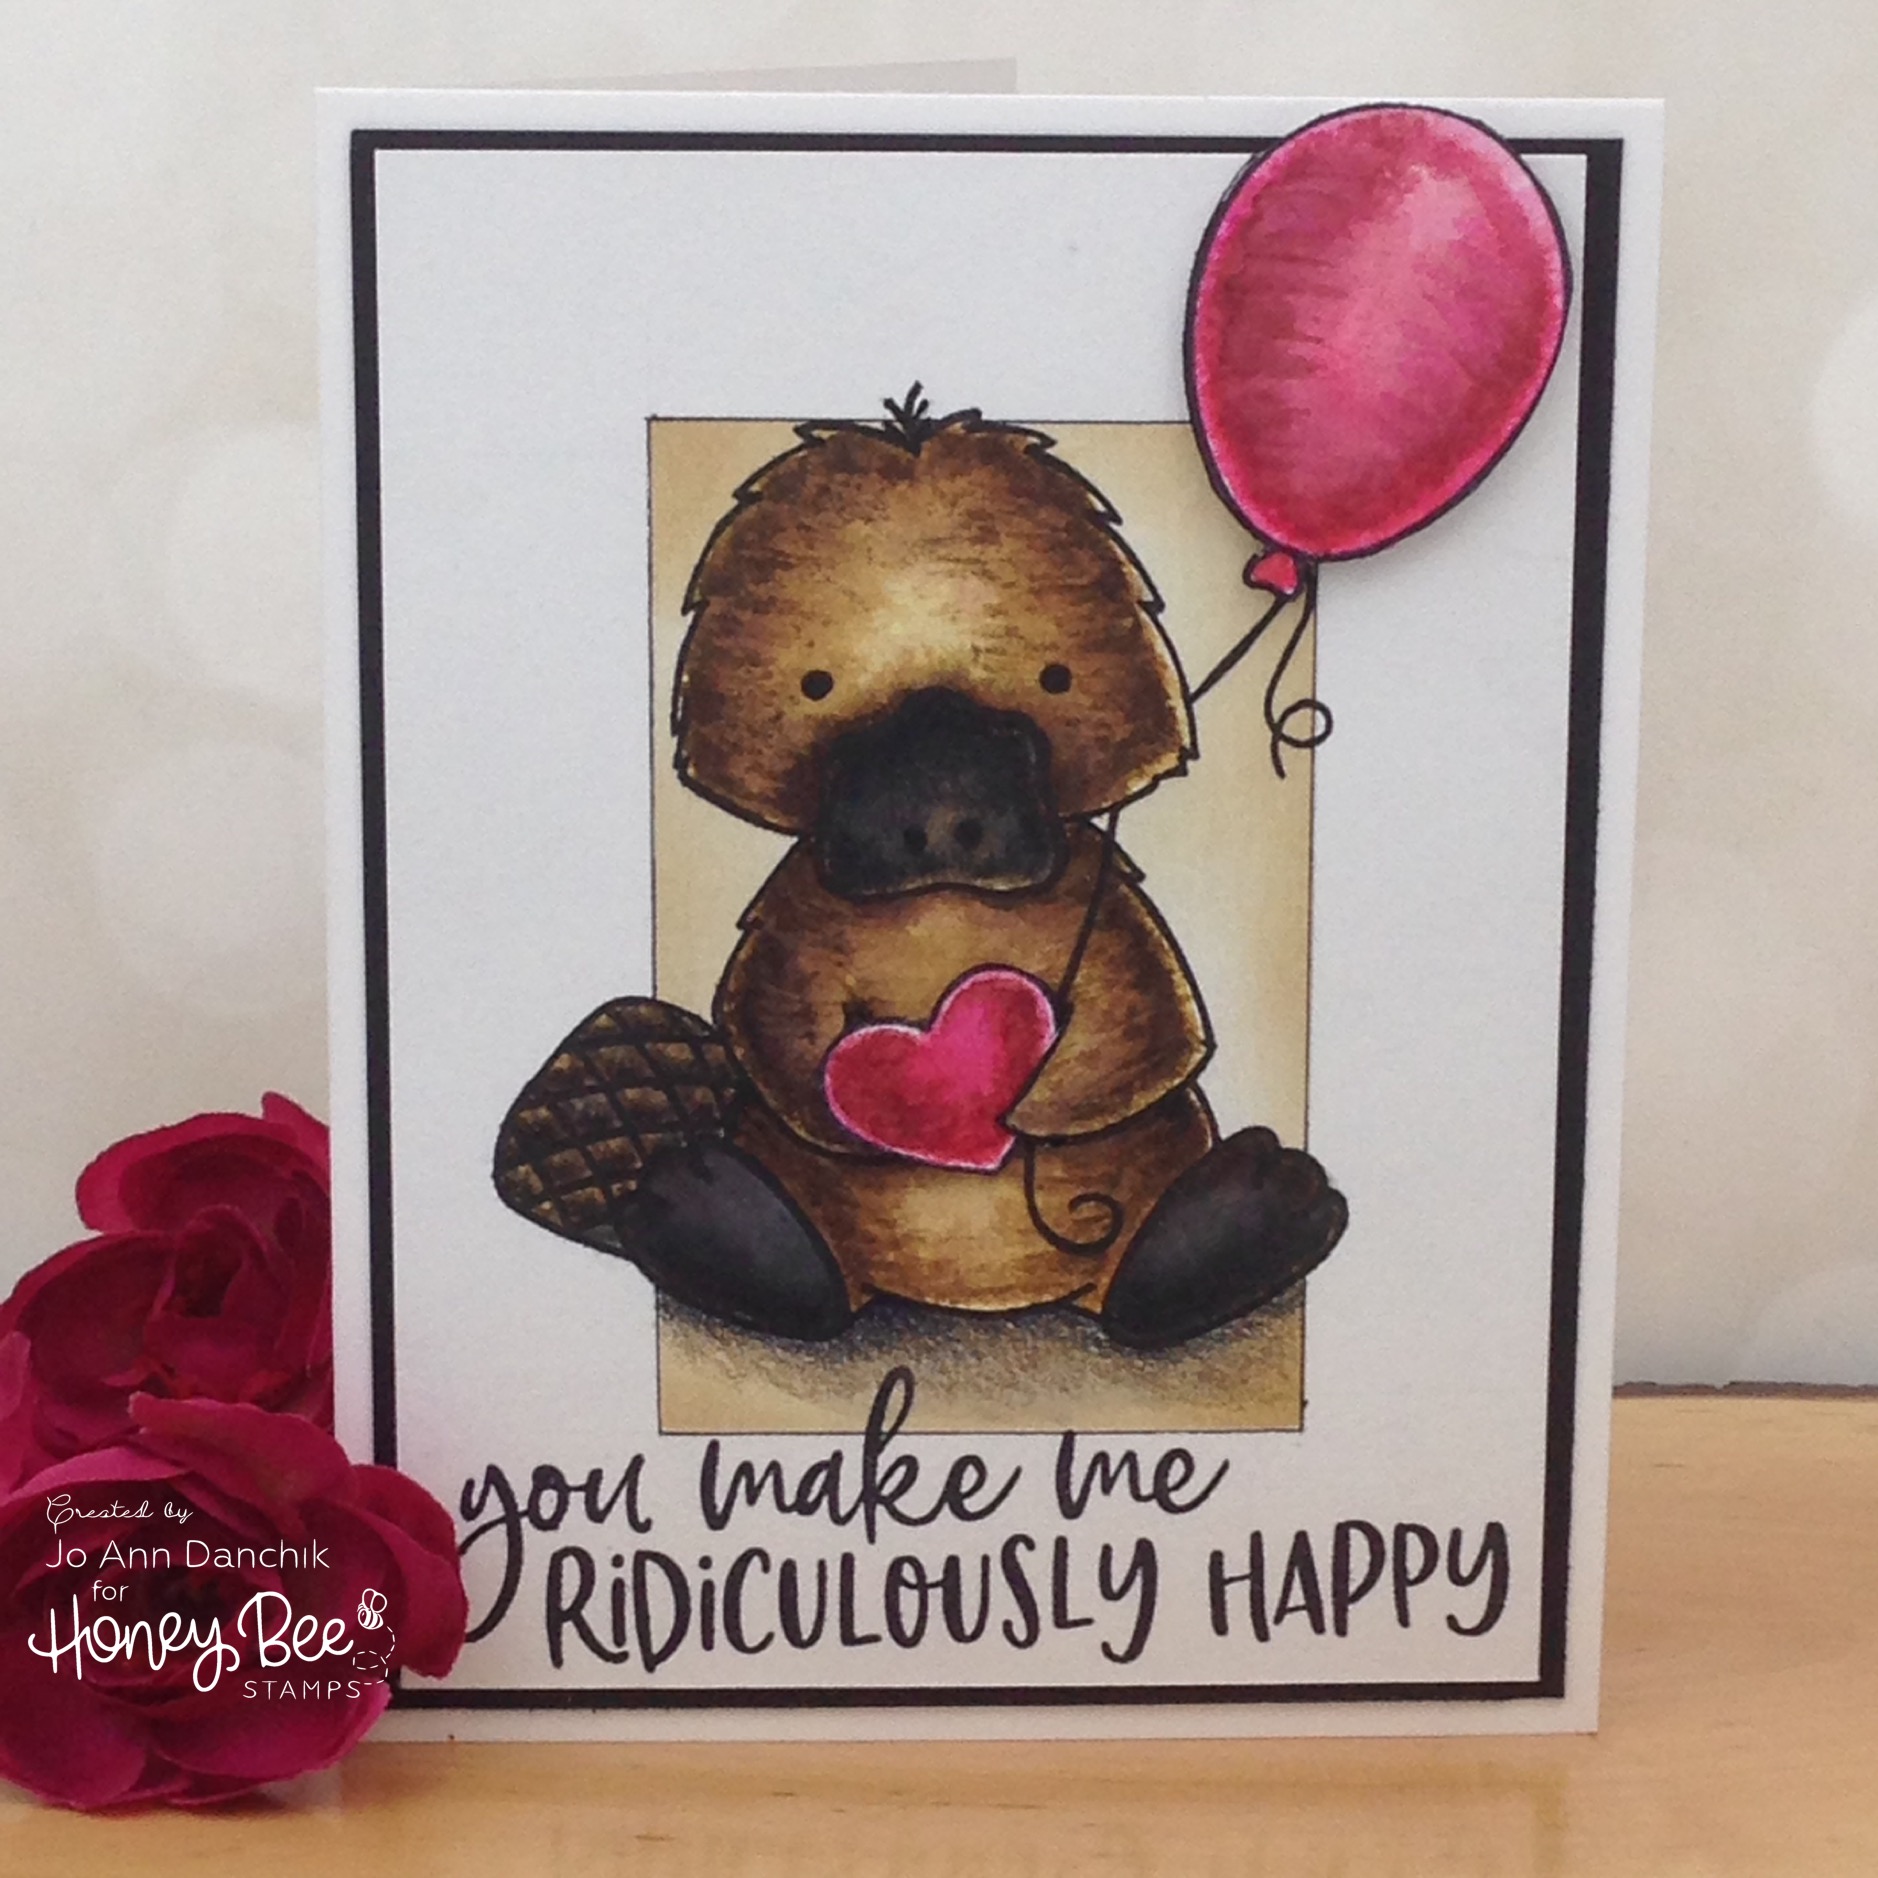
Honey Bee Sneak Peek Day Three: You Make Me Ridiculously Happy
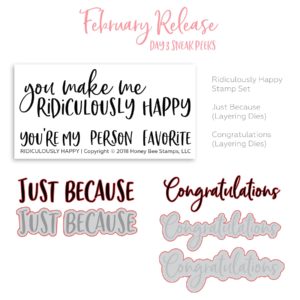
It’s Release Week at Honey Bee Stamps. This is Day Three of the Cheerful Love Sneak Peeks. Today we are featuring the Ridiculously Happy Stamp Set. I am crazy about the sayings on this cute little set and I see myself using them frequently on future cards! As promised, I was excited to pair this sentiment with Penny The Platypus from yesterday’s sneak peak.
(Compensated affiliate links are used with NO cost to you. Products highlighted in teal are active links. All the supplies used are also linked to multiple shops at the end of the post. Thank you for your support!)
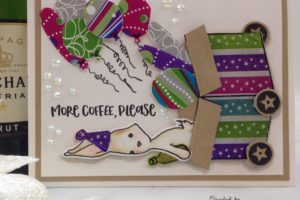
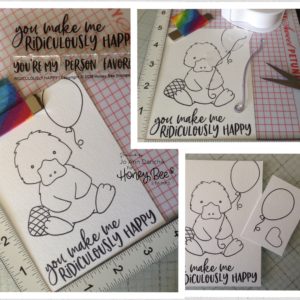
I laid out the sentiment, the platypus, and the balloon onto some Tim Holtz Watercolor cardstock and stamped it using Ranger Archival Black Ink. I find it so much easier to use my MISTI for this. Because of the bumpy nature of watercolor paper I find that I frequently have to restamp to get a good even impression. (see pic on left)
I wanted the balloon string to go under her arm, behind her head, and behind the balloon so I made a few quick masks with Post It tape. Again, the MISTI or other stamp positioner makes this much easier. (see pic upper right)
I stamped the small heart from the set and an additional balloon. (see pic lower right)
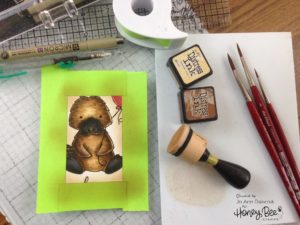
I watercolored the images using Distress Inks. Start light and keep adding layers of shadows. Platypus’ are such strange looking creatures. I outlined the figure with a black marker.
I used the bottom balloon as a practice for my shading. I knew that it would be covered and you would only be able to catch glimpses of it from the sides.

Here is one of my oops moments! I realized that I had grabbed the wrong marker and outlined the figure with a pen that was NOT waterproof so I could not add a watercolored background. It looked a little plain and needed something. A quick solution is to pencil in a rectangle, lay Post-It tape along all four edges, and add color to form a frame. I sponged on Antique Linen and Vintage Photo Distress Inks with a Mini Tool applicator.
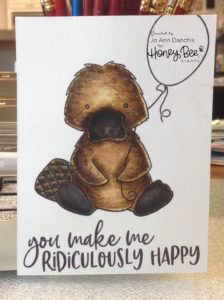
I removed the tape and traced over the pencil lines with a black marker using a black Sakura Pigma Micron 03 pen. I fussy cut the extra balloon and heart using my EK Success Cutter Bee Scissors, and cut a small slit in the arm using my Excel retractable knife. The heart was glued with Ranger Matte Multi Medium and tucked under the arm. I added Scotch foam tape to the balloon for extra dimension and added it to the panel. The image didn’t look grounded so I added some cast shadows underneath with some Prismacolor Colored Pencils. The eyes, nostrils, duck bill, feet, and tail lines were darkened with a black Sakura Glaze Gelly Roll pen. I love how the tail almost looks quilted! The card was assembled by layering it onto black cardstock and then onto a white cardstock base using a Kokuyo Dot Tape Liner.
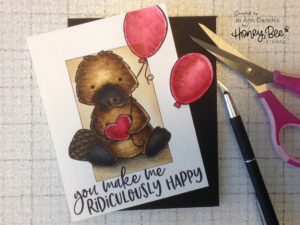
The deadpan look of the Platypus, combined with this joyful saying, makes me ridiculously happy!! This is virtually a one layer card. You can make it more so if you don’t add dimension to the balloon.

Keep checking back each day for more sneak peeks of the new release. The links below are active for the products used. I will be part of the new release Blog Hop and you will be able to find more inspiration and all the new products here, at 7:00 am CST on Friday, February 23rd.
Joyfully, Jo Ann
Supplies used:
The products I used are listed below in compensated affiliate links. You can click the icon of your choice, below the product picture, to go directly to your favorite shop. There is NO additional cost to you when using these links. Thank you for your support! All products used were personally purchased by me, except for the release from Honey Bee Stamps. This post was NOT paid for.
SaveSave