Honey Bee Stamps: Brie Mine Blog Hop
Today I am part of the Honey Bee Stamp Brie Mine Blog Hop. You should have arrived here from the blog of Galina Filippenko.
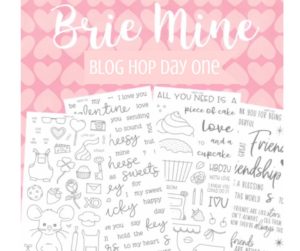
The Brie Mine Release has been available in the stores for a couple of weeks but the Honey Bee Design Team has put together a blog hop to share some fun projects and to give away some prizes.
_____________________________
(Compensated affiliate links are used with NO cost to you. All the products and supplies used today are linked to multiple shops at the end of the post. Thank you for your support!)
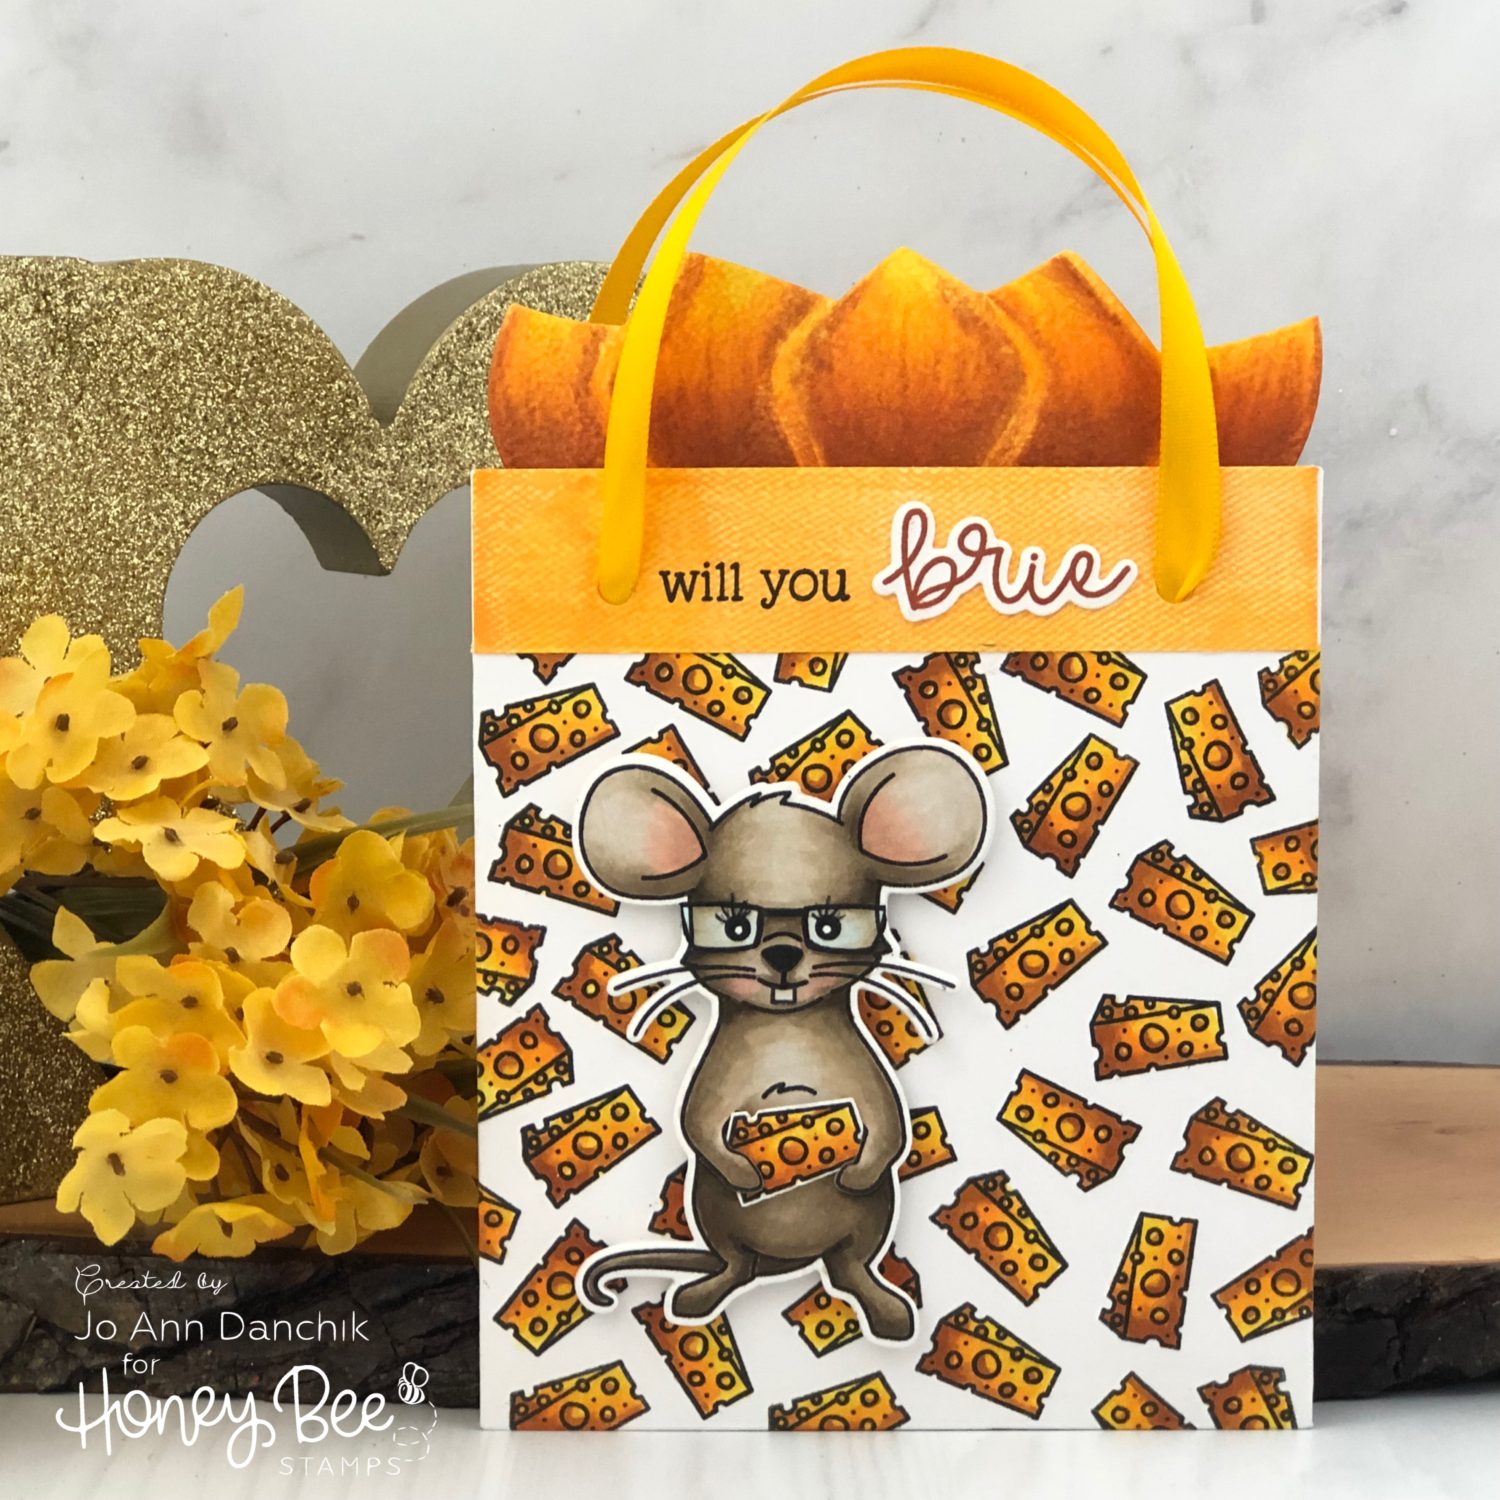
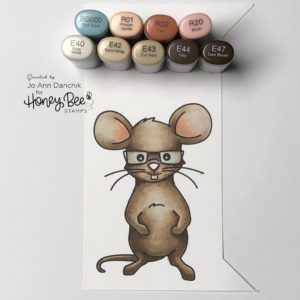
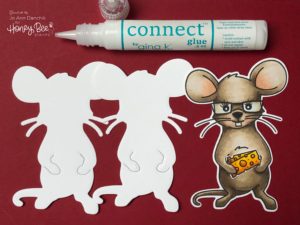
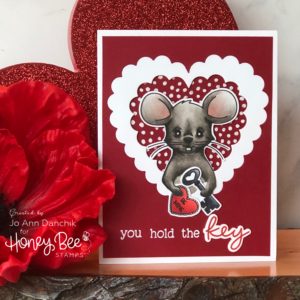
Today’s project started with the Mae The Mouse Stamp Set. This mouse is beyond adorable and comes with many items that she can hold for various holidays and occasions. There is also a tooth and eye glasses that can be added separately. That single tooth just makes me smile!
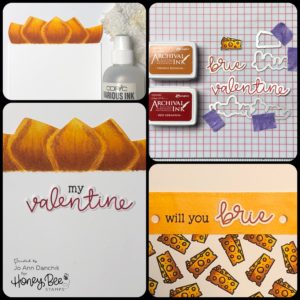
*All the images were stamped onto Neenah #110 cardstock, using Copic friendly Gina K Amalgam Black Ink, and colored with Copic markers.
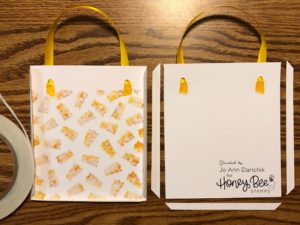
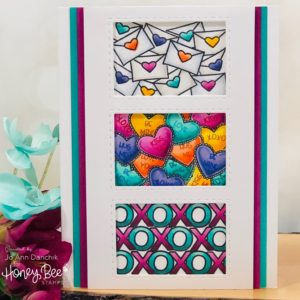
I cut two panels and the tissue paper insert from the Gift Bag Card Die Set. I masked off the top of the front panel and stamped multiple images of the small cheese wedge. Be sure to stamp some of the images off the edge.

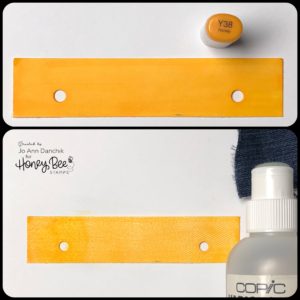
I cut an additional top from the bag and colored it with a Y38 marker. I soaked a scrap of denim material with Copic Colorless Blending Solution and pressed it onto the strip for a couple of seconds. It leaves a fun textured pattern. I glued the strip on top of the bag front.
The tissue paper insert was colored with the same Copics that I had used on the cheese. Again, I used the Colorless Blending Solution and a piece of an old washcloth to help blend the colors and to give it a fun texture.
I stamped the sentiments, from the Brie Mine Stamp Set, and cut them with the coordinating Brie Mine Die Set. I also colored and cut an additional piece of cheese.
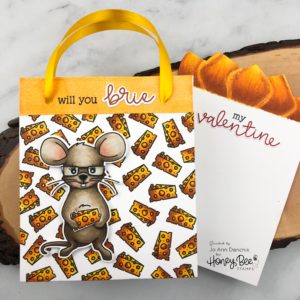
Two additional mice were cut, using the coordinating Mae The Mouse Die Set, and glued together for some added dimension. The cheese was added with a small piece of Scotch Foam Tape. I went over the eyes and nose with a black Gelly Pen and drew eyelashes on with a .03 Copic Multiliner. The mouse was added to the front of the bag with additional foam tape.
I find it easiest to add the ribbon or cord for the handles before assembling the bag. I have also found it easier to assemble the bag by cutting off the scored edges to the back panel. Add 1/8” or 1/4” Scor-Tape to the front panel scored edges to assemble the bag.
A gift card can be added to the the front or the back of the tissue insert. Also, the bag is large enough to accommodate a small gift such as a candy bar or a piece of jewelry. I find myself frequently reaching for this gift bag card set. I have used it for Christmas, birthdays, and now for Valentine’s Day!
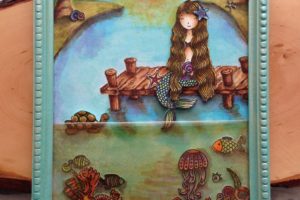
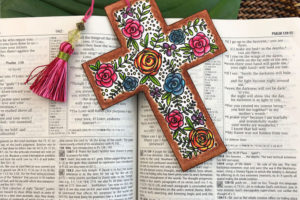
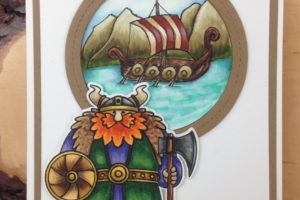
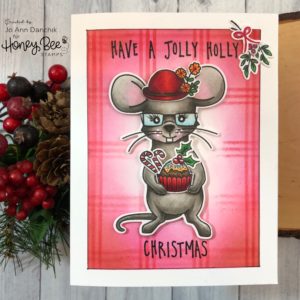
To see more of my tutorials from this release you can click on each picture below!

Prizes!!!
What’s a hop without some prizes? Honey Bee will be giving away (two) $30 gift cards to the Honey Bee Stamp store. You must visit each blog and leave a comment to be eligible to win. The next stop on the hop is Kelly Latevola.
If you have come directly here, and want to start at the beginning, here is the Blog Hop lineup for Day One:
Honey Bee
Brenda Novel Noelke
Carol Hintermeier
Cathy Zielske
Emily Midgett
Galina Filippenko
Jo Ann Danchik (you are here)
Kelly Tribout Latevola
Don’t forget to leave a comment below and on each blog to be eligible for the prizes!
Be sure to visit the Honey Bee Stamp blog tomorrow for Day Two (January 26th) of the Blog Hop. Winners will be announced on the Honey Bee Stamp Blog (here) on Febuary 1st.
Thanks for stopping by!
Joyfully, Jo Ann
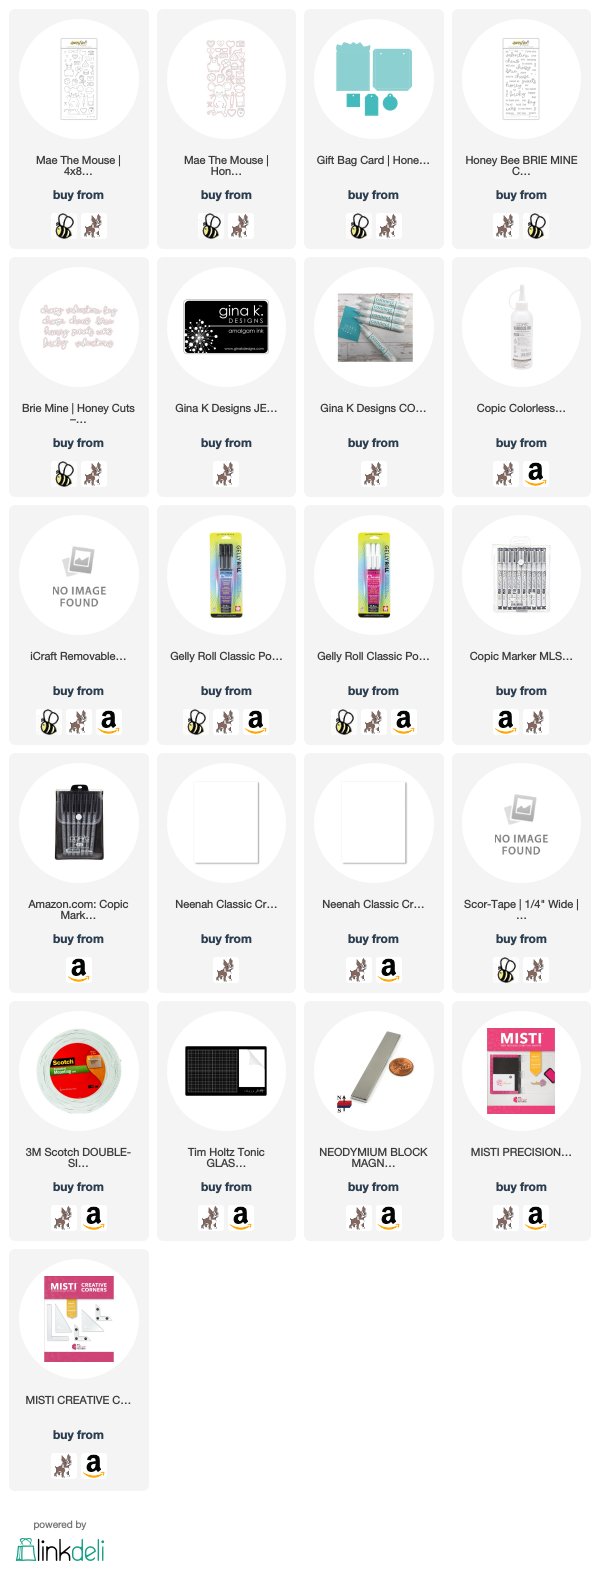
Supplies used:
The products that I used are listed below in compensated affiliate links. You can click the icon of your choice, below the product picture, to go directly to your favorite shop. There is NO additional cost to you when using these links. Thank you for your support!