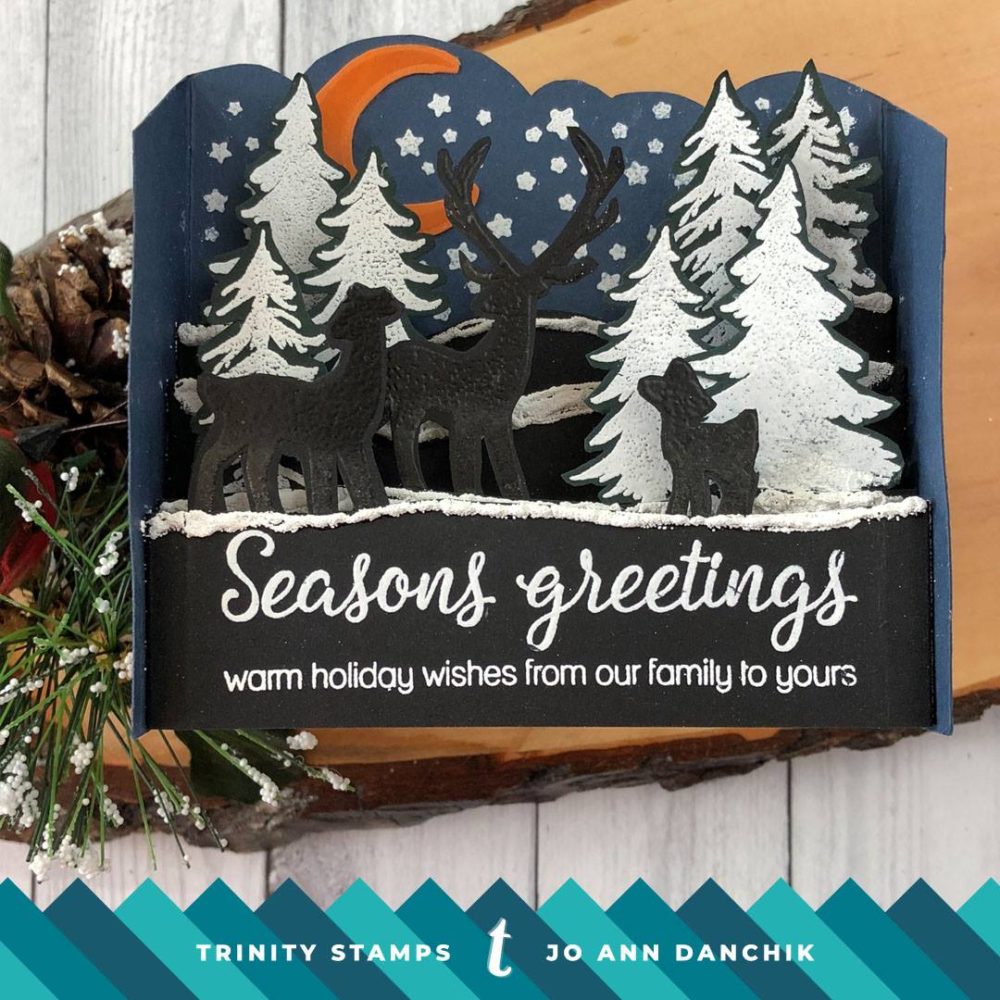
Midweek Creations With Jo Ann: Season’s Greetings Silhouettes
With the holidays rapidly approaching I find myself rushing to create Holiday cards. Of course, we work ahead here to give you ideas so that you can start your holiday preparations, but I still find myself taken aback when the stores start pumping Christmas music through the airwaves and filling their shelves with holiday trimmings long before the summer has ended. We tend to rush through the seasons. Rather than the hustle and bustle, I prefer to sit and contemplate the quiet wonder of the holidays. The deer standing guard in the silent, star filled forest is the holiday spirit that I strive for…a time to reflect in the wonder of it all.
____________________
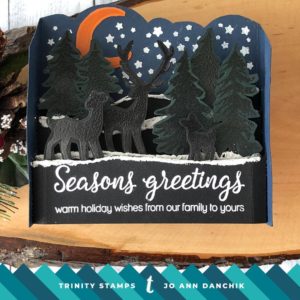
Today’s card is not just a card…it is also a decoration that the recipient can display on a table or mantle. There are many companies that have dies for similar cards, but they really are simple enough to create without one.
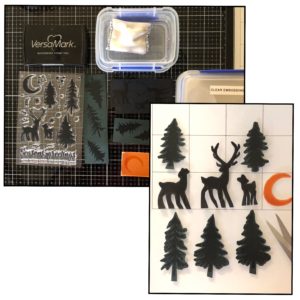
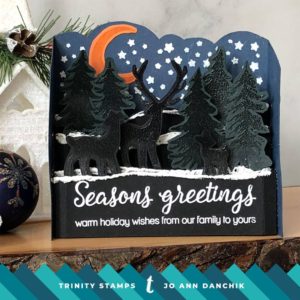
I started with the Season Greetings Silhouette Stamp Set. I stamped the deer onto Simon Says Stamp Black cardstock, using Versamark Ink. I embossed them with clear embossing powder for a tone on tone effect. I repeated these steps by stamping multiple trees onto Simon Says Stamp Midnight Green cardstock. Be sure to use an anti static powder tool to avoid stray powder. I colored a scrap of white cardstock with an orange Copic marker and stamped the crescent moon.
There are no dies yet for this set so I fussy cut the images with scissors. To create the female doe, I cut off the antlers from one of the stags. Be sure to leave little tabs at the bottom of each image so that you can attach them easily to the strips.
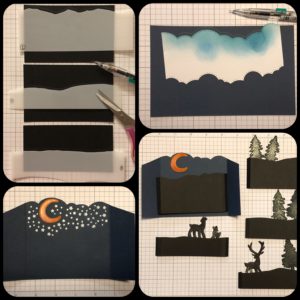
To create the shadow box base, I cut one 6.75” x 4.5” piece of Simon Says Stamp Soft Navy cardstock. Score at 1.25” and 5.5” and fold. (score 1.25” from each side)
Cut two pieces of black cardstock at 4.75” x 3” and one piece at 4.75” x 2.5”. Score each piece at .25” and 4.5” and fold. (score 1/4” from each side)
You can free hand the curves on each piece but I used the stencils from Honey Bee Stamps Winter Wonder Background Stencil Set. I varied the height of the strips and ended up being able to use the top half excess for another strip.
I also used their Cloud Border Dies to cut a cloud edge stencil. I use this cardstock stencil frequently to create clouds. I used it here to give the back of the box a sky shape.
I attached the moon with Gina K Designs Connect glue. To create a starry sky I stamped multiple star clusters from the Season Greetings Silhouette Stamp Set. They were stamped with Versamark and embossed with Hero Arts White Embossing Powder.
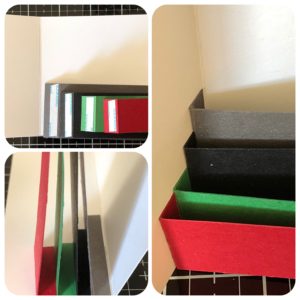
It was difficult to show how to build the box using all black strips so I created a colored version to walk you through the assembly.
Add 1/8” Scor Tape to the folded edges of each strip. Starting on the left side fold of the box, attach the strip that will be in the back (gray) butting up to the edge. Add the next strip (black) by butting it up the the edge of the first strip. Continue this step adding each additional strip (green and red). All the pieces will be attached to the left inside of the box frame.
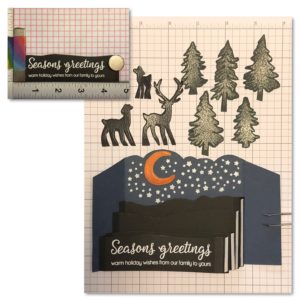
Before I actually attached mine, I stamped and embossed the sentiment, also from this set, onto the front strip.
To attach the other end, open the card so that it is flat. Remove the backing from the Scor Tape. Make sure that the bottom edges line up with the bottom of the box. Fold the right side of the box over. This will capture all the ends of the strips.
I attached the trees and deer to the back of the strips using Gina K Designs Connect glue. It dries fairly fast but gives you time to move things around.
At this point I thought that it needed something more so I used a Hero Arts Lacquer Pen to draw lines along the tops of the strips and added Puffy Embossing Powder. When you heat this powder it puffs up. Magic! It is easier to add this before you attach the strips to the box…ask me how I know! LOL
I loved how it turned out but it is difficult to show in the photographs. So…I restamped and cut the trees, heat embossed them with white embossing powder, and cut them out again.
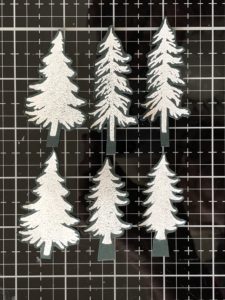
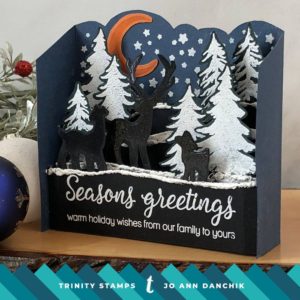
I pulled off the clear embossed trees and replaced them with the white trees. I think that I like this much better. It adds more depth to the card and allows the deer to stand out against the white background.
The card folds up easily and fits into a standard size envelope. If you want to leave a personal message you can write on the back of the box.

I have included both versions so that you can decide which look works best for you!
As always, thanks for joining me today.
Joyfully, Jo Ann
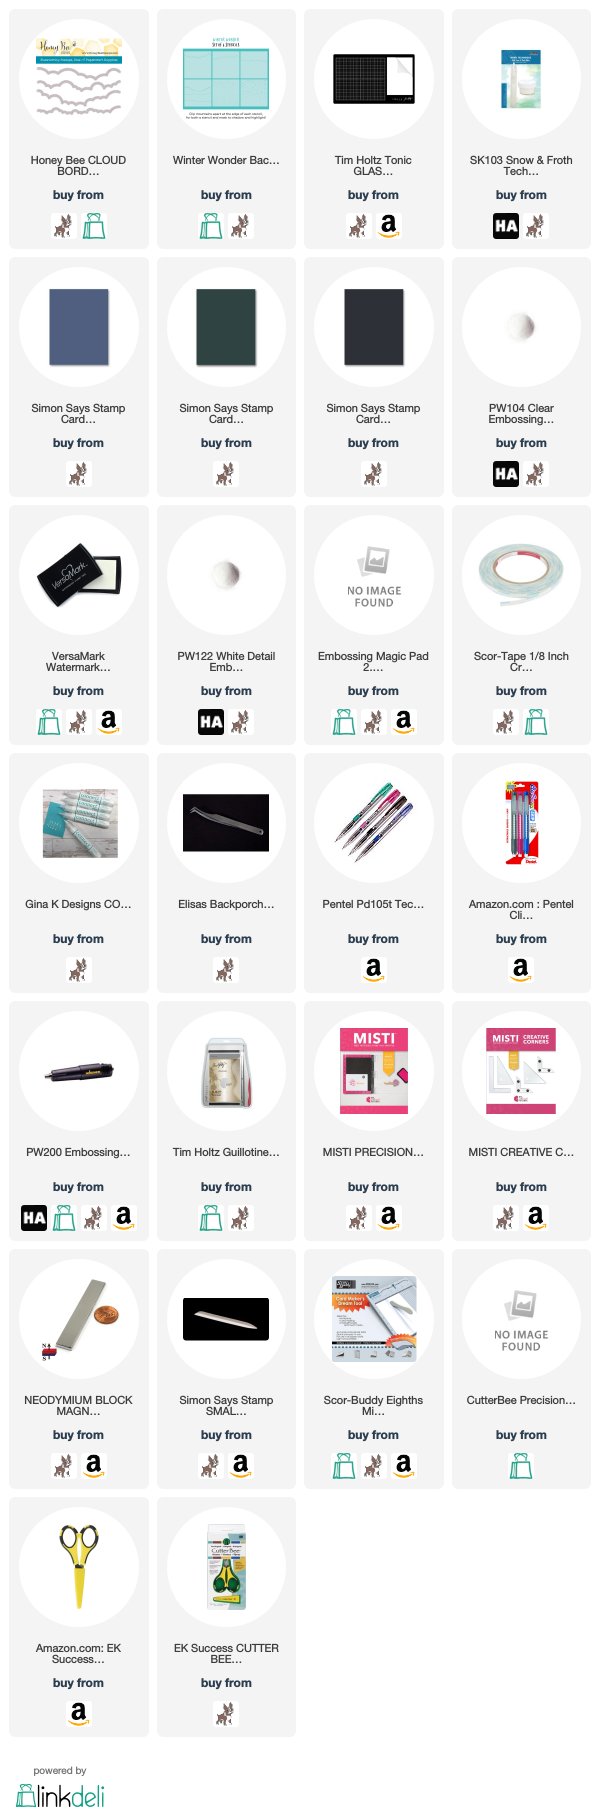
Supplies used:
The products that I used are listed below in compensated affiliate links. You can click the icon of your choice, below the product picture, to go directly to your favorite shop. There is NO additional cost to you when using these links. Thank you for your support!