National Honey Bee Day Blog Hop: You’re The Bee’s Knees
Today I am part of the To Bee Or Not To Bee Blog Hop celebrating World Bee Day. Honey Bee is a sponsor and many of the Design Team Members are participating. Be sure to visit the Honey Bee Blog and leave a comment to be eligible for a $30 Gift Certificate to the shop.

There are over 20,000 different species of bees in the world and today we celebrate their important role as pollinators in our ecosystem. Before we get started I thought that I would share a few fun facts:
1. It takes the nectar of two million flowers to make one pound of honey.
2. The average bee will only make 1/12th of a teaspoon of honey in it’s lifetime.
3. They cannot see the color red.
4. Honey Bees communicate with each other by dancing. Their dance tells their fellow bees the position of a good source of nectar in relation to the sun and the hive. This is known as the “Waggle Dance.” LOL
____________________
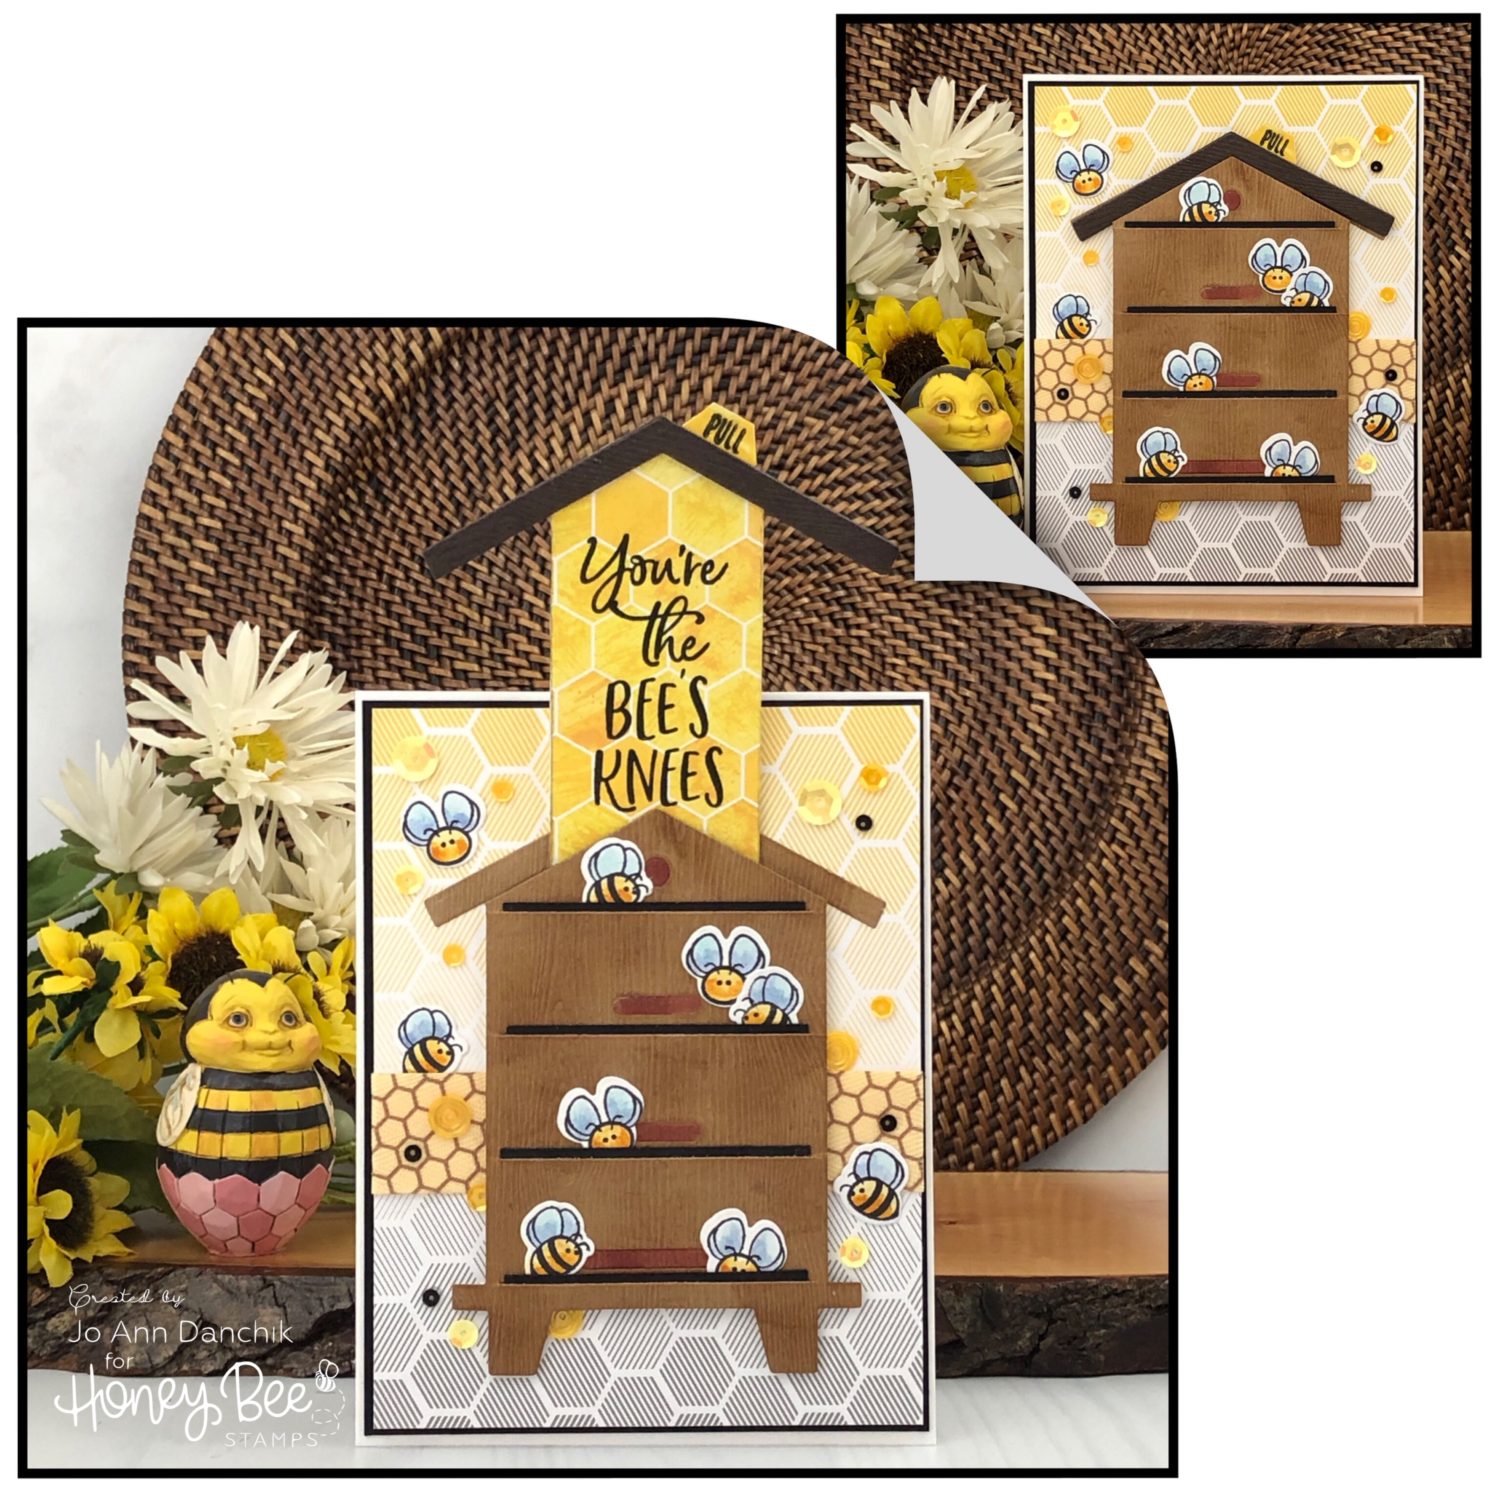
Today’s project starts with the Bee Hive Box Die Set. It was cut from Ellen Hutson Woodgrain Cardstock. I used a finger dauber to lightly add Vintage Photo Distress Ink over the top of the raised areas for contrast. The draw handle inserts were colored with an E07 Copic Marker and taped back into the openings.
I cut the roof off of the hive box and die cut three more roofs using Altenew’s Bark Woodgrain Cardstock.
I added small scraps of black cardstock into the draw slits. At this point I traced around the hive onto #80 Neenah cardstock and cut it slightly smaller. I thought that I would be adding the sliding mechanism behind it and that it might catch on the small bits and pieces. I ended up not needing to, but I still hadn’t worked out the mechanics at this point.

The bees are from all the free bee stamps that come with orders and the matching dies that come with $75 orders. Also, there is a cute limited edition enamel bee pin that is still available!
I have a baggie of these bees left over from a past project. I like to stamp and color a full sheet of them at one time. They were stamped with Archival Ink on Tim Holtz Watercolor Paper and watercolored with Distress Ink.
The honeycomb patterned background paper is from the new The Bees Knees 6 x 6 Paper Pad. I found some honeycomb ribbon from my stash that worked well. I believe that it is from Michael’s.

I chose another piece of patterned paper from the same The Bees Knees Pack. I sketched a simple banner shape that would fit behind the hive. The extension flaps on the bottom will keep the insert banner from coming all the way out. A few bees were tucked into the drawer slits.
The sentiment is from the Hi Honey Stamp Set. I cut the sentiment apart to make it fit on the banner insert. It doesn’t harm the stamp and it can still be used as intended when put back together on a stamping block. The sentiment was stamped with VersaFine Clair Nocturne Ink and heat embossed with Hero Arts Clear Embossing Powder.
A hexagon was cut from the patterned paper and backed with cardstock to make it sturdier. The “pull” sentiment was stamped and embossed using the One-Of-A-Kind Stamp Set.

To assemble the panel, I laid the hive and roof down for placement. I added Hero Arts glue to the roof. I marked the width of the sentiment banner insert and cut the opening slightly larger with an x-acto knife. I cut the outside roof edges off so that I could insert the banner from the back.
I flipped the hive over and added Scotch Foam Tape. I stopped where the roofline starts to keep the slit opening free. The hive was attached to the panel.
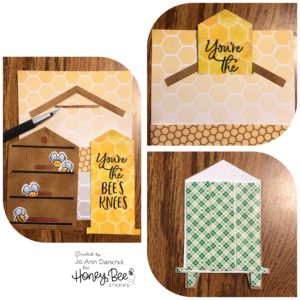
You can see the back of the panel in the next pic. (top left) I added the pull tab to the front of the banner insert. (bottom left) I flipped the card over and added one of the extra roof pieces to the back. (right)
The other two roof pieces were added to the front. Because the hive is raised, the roof stops where it is supposed to.

Scotch Foam Tape was added to the back of the panel creating a channel for the insert to move freely. Make sure that the tape does not cover the opening slit. The tape below the bottom of the insert, as well as the roof, keep the banner from going too far in. The side extensions keep it from coming all the way out of the opening.
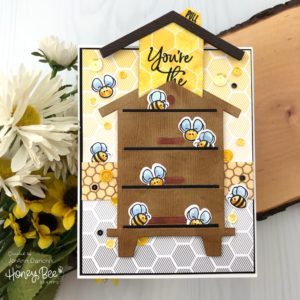
Additional bees, and sequins from the Raw Honey Sequin Mix, were scattered on the front for a finishing touch.

The panel was attached to a piece of Hero Arts Black Cardstock and attached to a #110 Neenah Solar Cardstock folded cardbase using a Kokuyo Tape Runner.
I love that this card works well for any occasion and any gender. An additional sentiment on the inside will turn it into a Birthday, Mother’s Day, Father’s Day, Congratulatory, Encouragement, or Thinking Of You Card.
As always, thank you for sharing a bit of your time with me today on another creative journey.
Joyfully,
Jo Ann
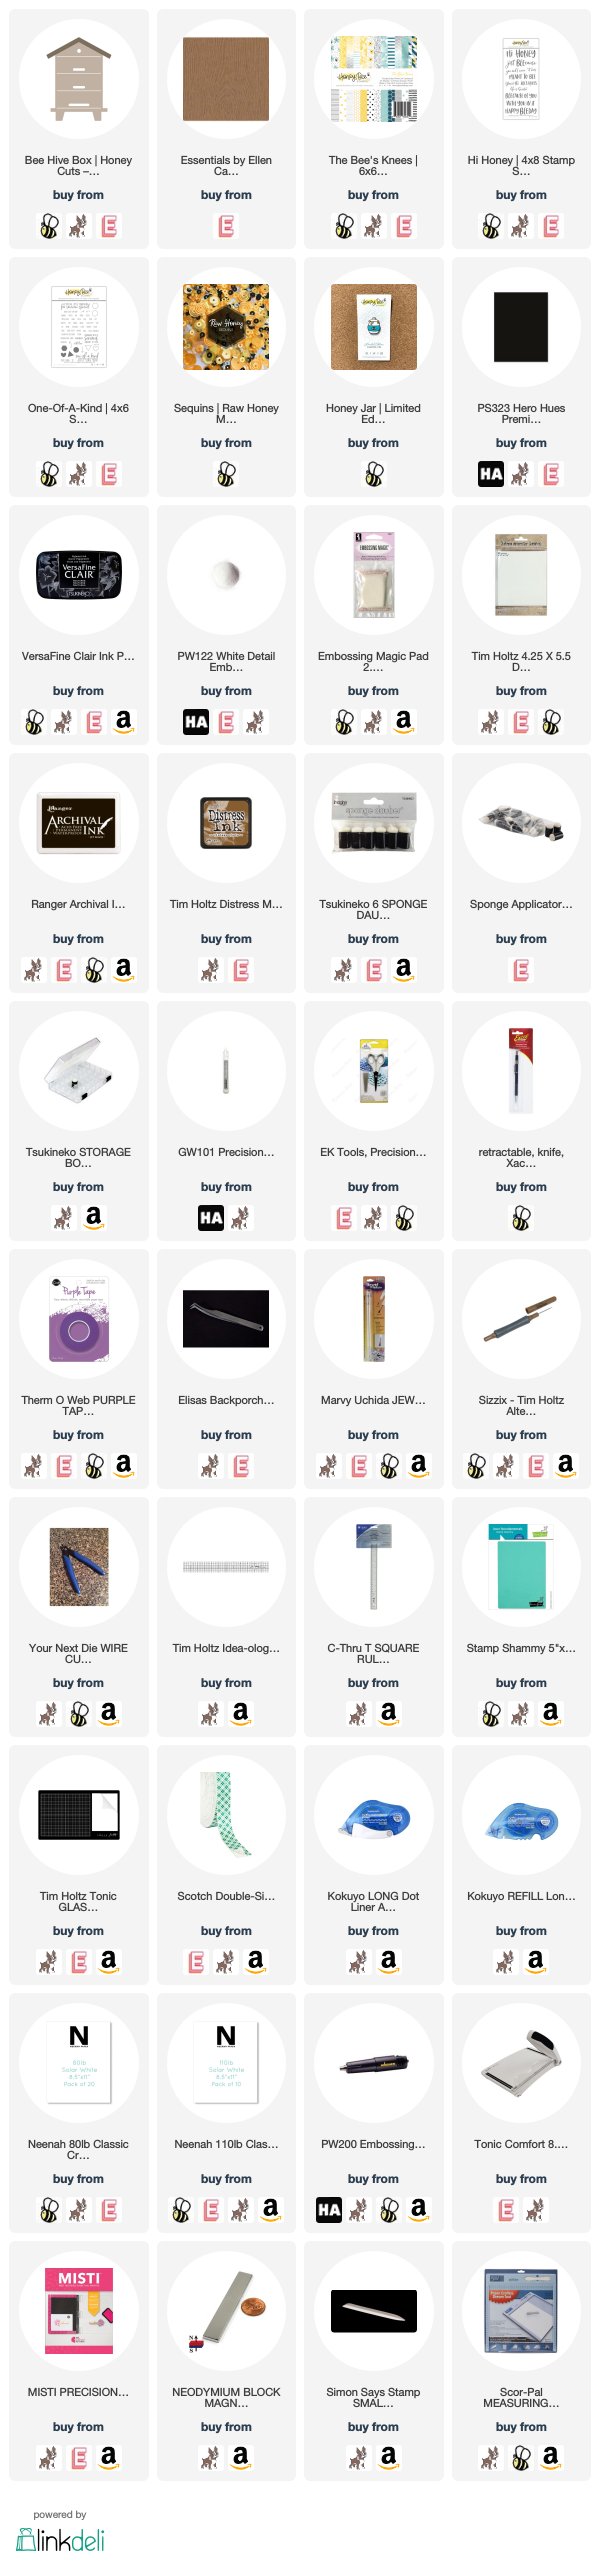
Supplies used:
The products that I used are listed below in compensated affiliate links. You can click the icon of your choice, below the product picture, to go directly to your favorite shop. There is NO additional cost to you when using these links. Thank you for your support!