Trinity Stamps: Spring Fling Release Blog Hop
Today we are celebrating the new Trinity Stamps Spring Fling Release with a blog hop full of inspiration from the Design Team. You should have arrived here from the blog of Jeannie.
This release features seven stamp sets with coordinating die sets, two stand alone die sets, a stencil, and over 80 fun and innovative embellishments and assortment packs. You can find all of the new products available in the shop here.
____________________
(Products highlighted in teal are active links to the shop.)
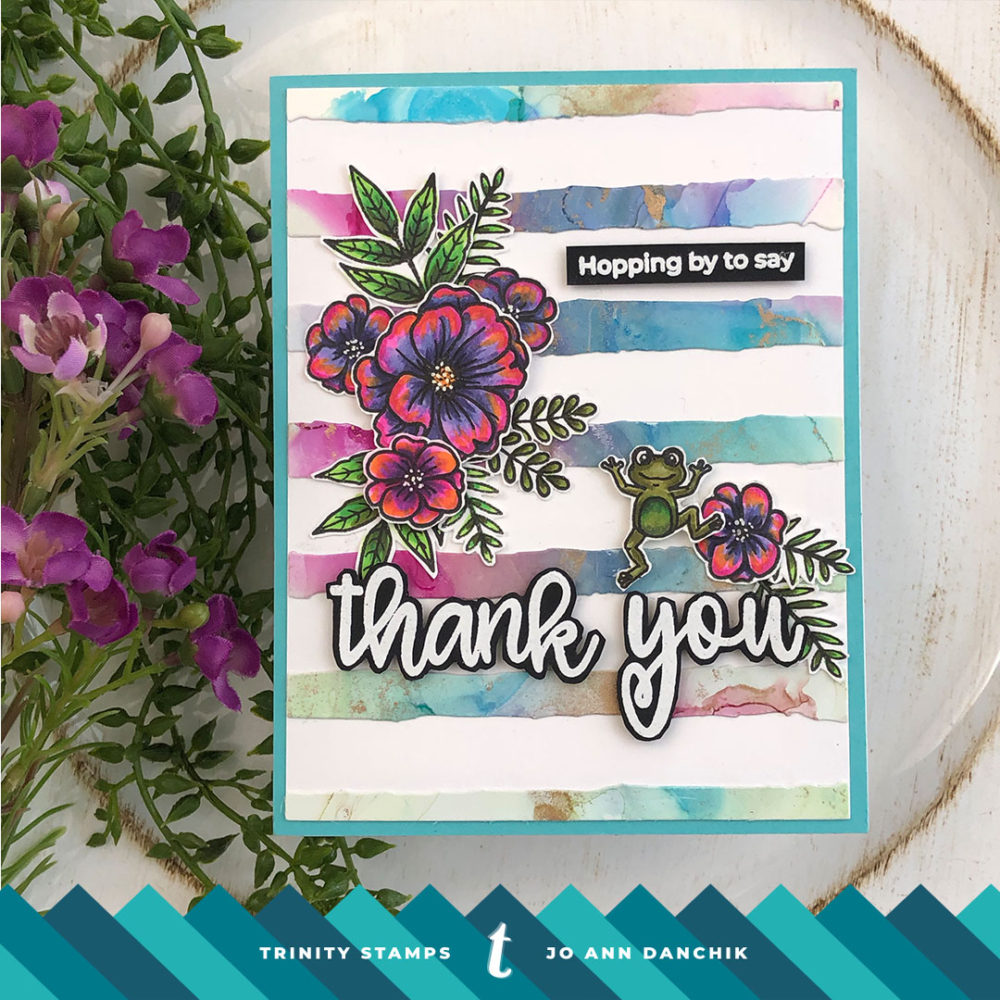
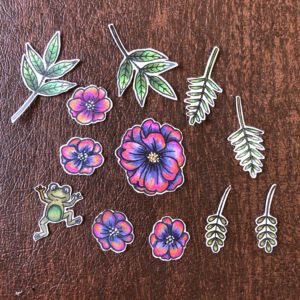
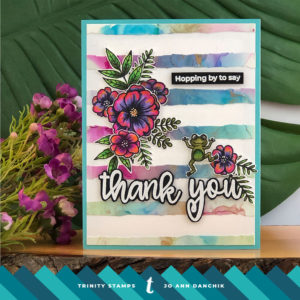
Today’s card started with images from the Spring Fling Floral Stamp Set and the Puddle Jumpers Stamp Set. The images were stamped onto #80 Neenah cardstock, using Copic friendly Gina K Designs Black Amalgam Ink.
The images were colored with Copic Markers. I added white dots to the inside of the flowers with a White Gelly Pen. There is a coordinating Spring Fling Floral Die Set and a Puddle Jumpers Die Set, but I don’t have them yet so I fussy cut the images.
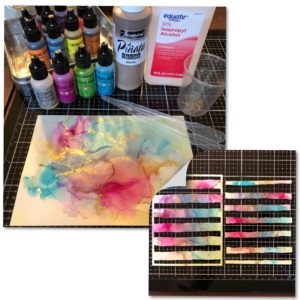
For the background, I started with a piece of white Yupo paper. It comes in a variety of sizes and thicknesses. I have listed several choices below for your convenience. I used the Tim Holtz heavyweight brand.
I played around with the new Tim Holtz Intrigue, Sublime, and Tranquil Pearl Alcohol Inks. As I added them I thinned them down with Alcohol Blending Solution and blew them around the paper. I used a pipette to add 91% Isopropyl Alcohol around the hard edges to thin it out even more.
I put some Jacquard Brass Piñata Alcohol Ink into a small cup. I buy these disposable cups in bulk and use them a lot in the studio. They are great for dyeing glitter, mixing colors, and paint pouring. I added drops of the Brass and thinned it out with more of the Isopropyl Alcohol. When I was happy with the results I used a heat gun to set it all, being careful not to melt the Yupo paper. I love the way the background sparkles and shimmers!
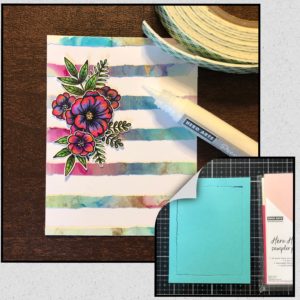
I cut the background with a Watercolor Lines Cover Die. This background was made for another card post. You can see it here. I saved the leftover inside pieces and used them on today’s card.
I aligned the strips with the top and bottom edges of a card panel, glued the middle strip down, and pretty much eyeballed the others using the grid marks on my glass mat. The flowers and leaves were added using a Hero Arts Glue Pen. Some of the flowers were given dimension with Scotch Foam Tape.
I glued the panel to a piece of Hero Arts Mist cardstock. I usually cut the middle out of these background panels to save paper, since you won’t see it anyway. The inside scraps come in handy for sentiments, small images, etc.
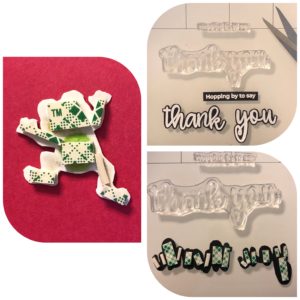
The sentiment is from the new Thank You Senti-mini Stamp Set. It was stamped onto black cardstock, using Versamark Ink, and heat embossed with Hero Arts White Embossing Powder. Don’t forget to use an anti static pouch first. The coordinating Thank You Senti-mini Die Set not only cuts out the word but also has a shadow die. I don’t have this set yet either (LOL) so I fussy cut around the letters.
Scotch Foam tape was added behind the sentiments and the frog for added dimension. The panel was added to a #110 Neenah card base using a Kokuyo Tape Runner.
I love the tropical look of this card. As you can see, you can easily mix and match some of the smaller elements from the sets to create a fun scene.
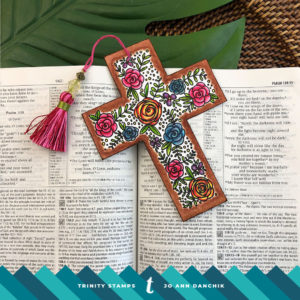
To see the bookmark tutorial from earlier this week, using the new Floral Cross Stamp Set, click here.
 ____________________
Prizes!!!
What’s a hop without a prize? You must visit each blog along the hop and leave a comment, including the Trinity Stamps Blog, to be eligible. One reader will be randomly selected to receive a $25 Trinity Gift Card and an embellishment goodie bag.
The next stop on the hop is the talented Judy.
If you have come directly here and want to start at the beginning I have included the lineup below.
Trinity Blog
Amy
Brenda
Carly
Carrie
Christine
Courtney
Donna
Emelie
Emily
Erica
Jeannie
JoAnn (you are here)
Judy
Katie
Shanna
Don’t forget to leave a comment below and on each blog to be eligible for the Prize Pack. Thanks for stopping by!
Joyfully,
Jo Ann
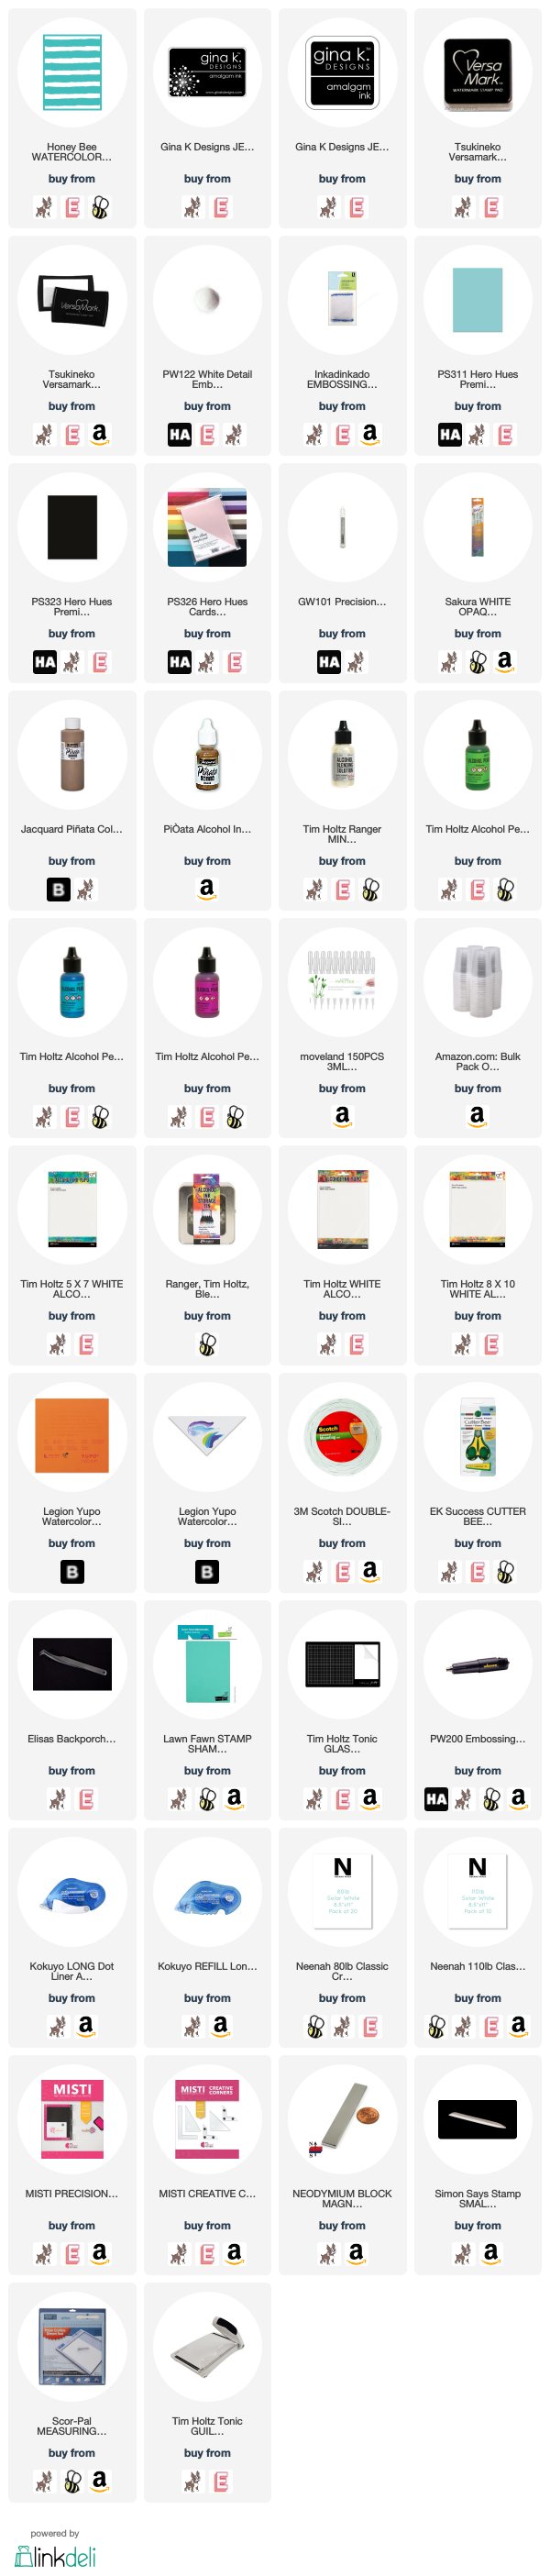
Supplies used:
The products that I used are listed below in compensated affiliate links. You can click the icon of your choice, below the product picture, to go directly to your favorite shop. There is NO additional cost to you when using these links. Thank you for your support!